
Setting up a local database server allows you to work offline without an internet connection.
Interactive Demo
Import a database
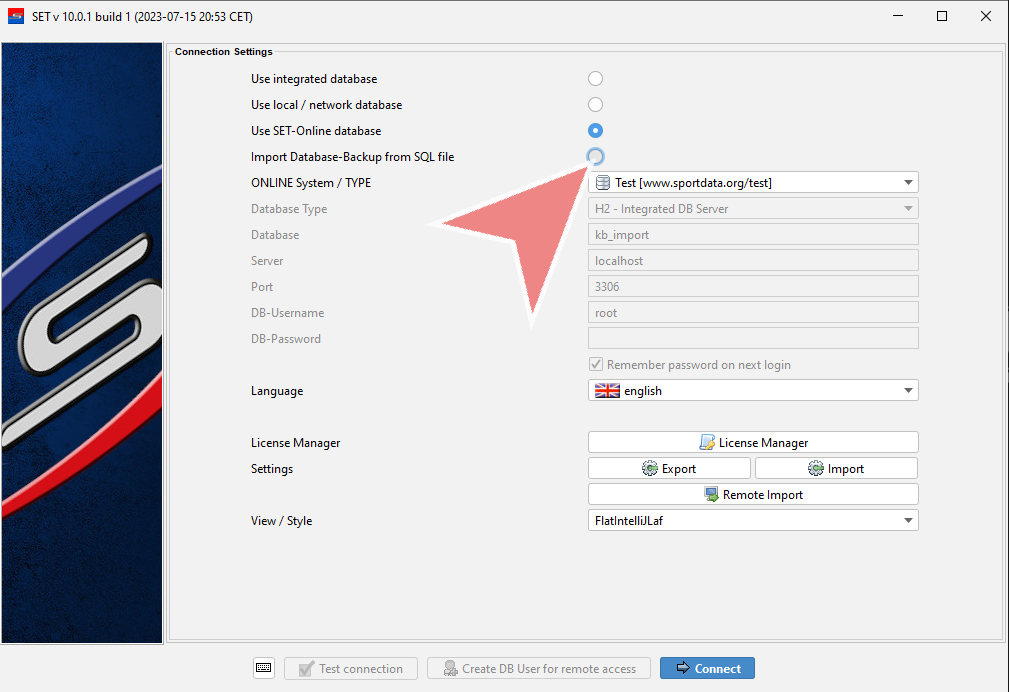
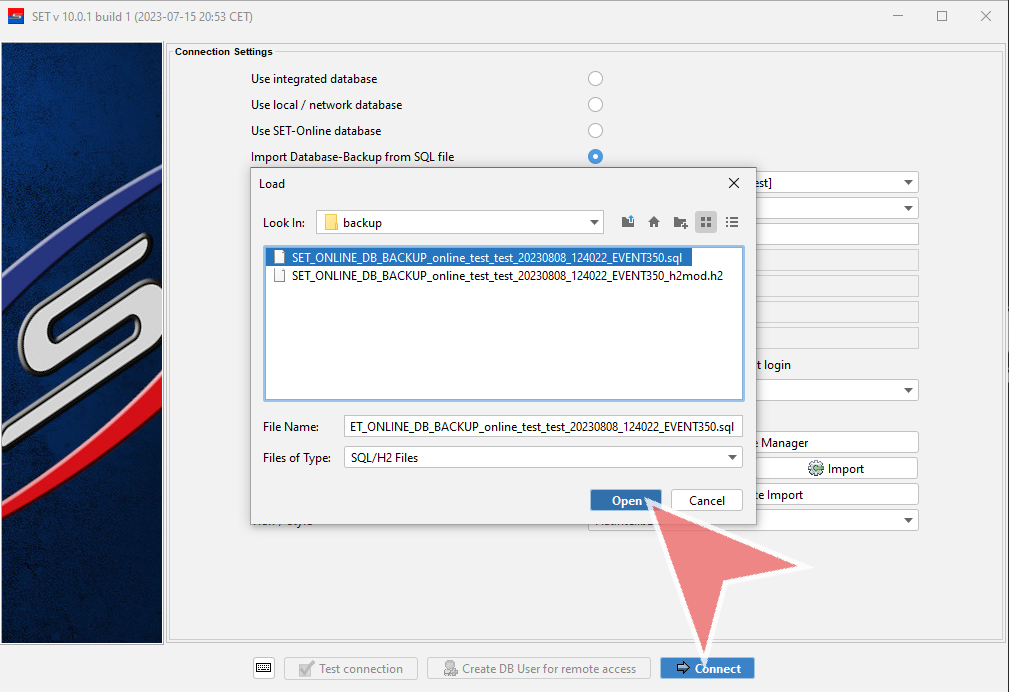
To setup a laptop as a local database server, you have to import the database first. Therefor choose the option “Import Database-Backup from SQL-file”.
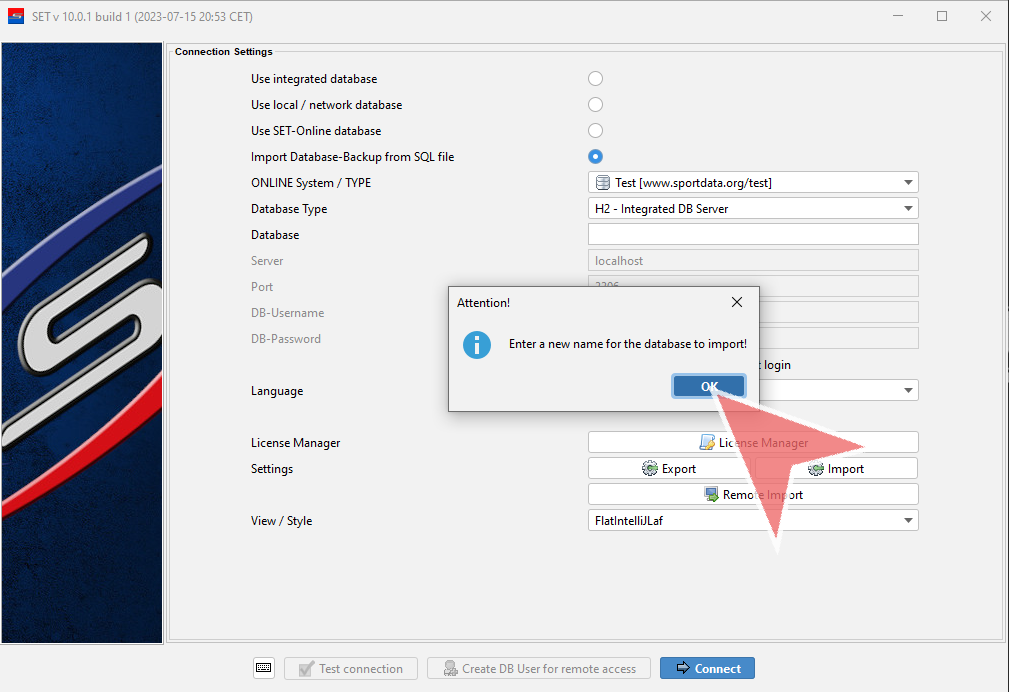
A pop-up window reminds you, that you have to enter a name for the database to import. You can close it with “OK”.
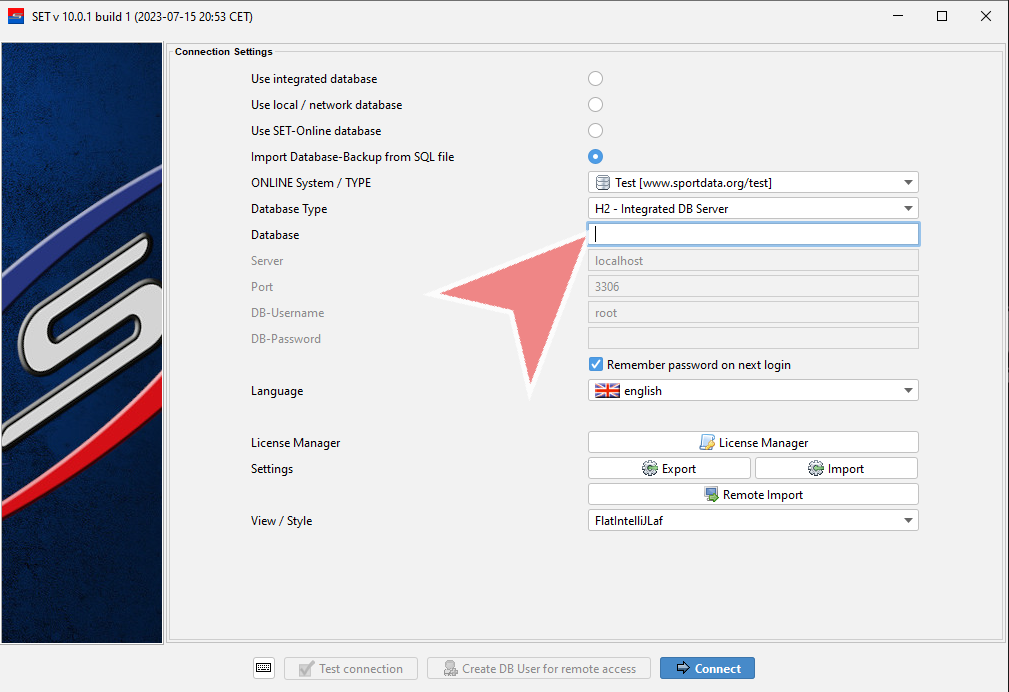
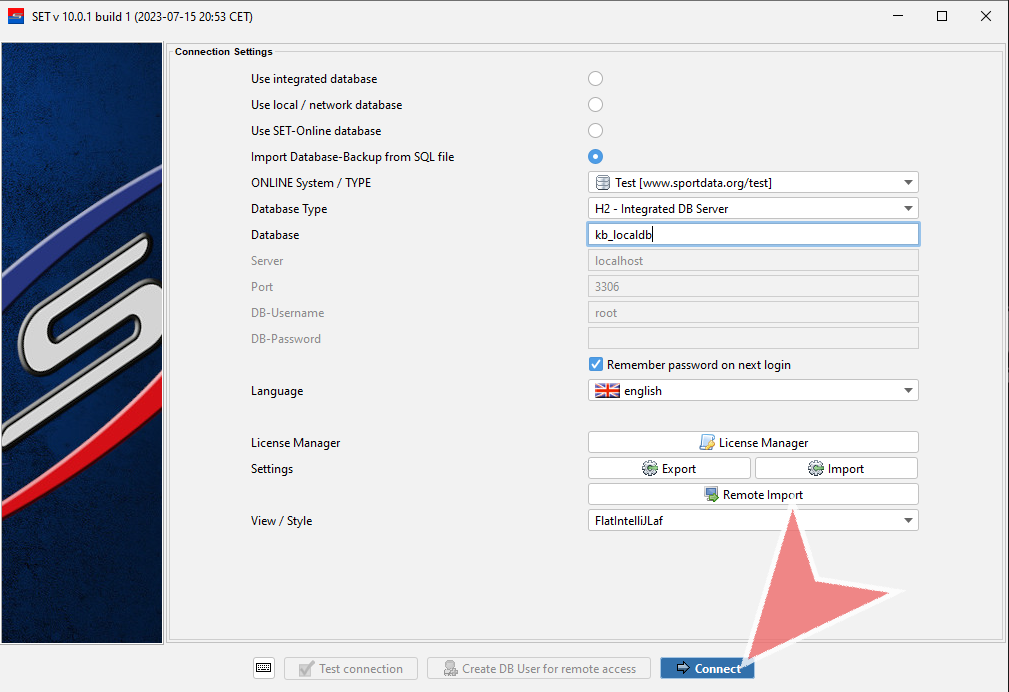
Enter a name for the database in the “Database” text box. This name should not have been used on the same device before, otherwise you will receive an error message.
Continue by pressing the button “Connect”.
Choose the SQL file of the database backup that you would like to import and click on “Open”.
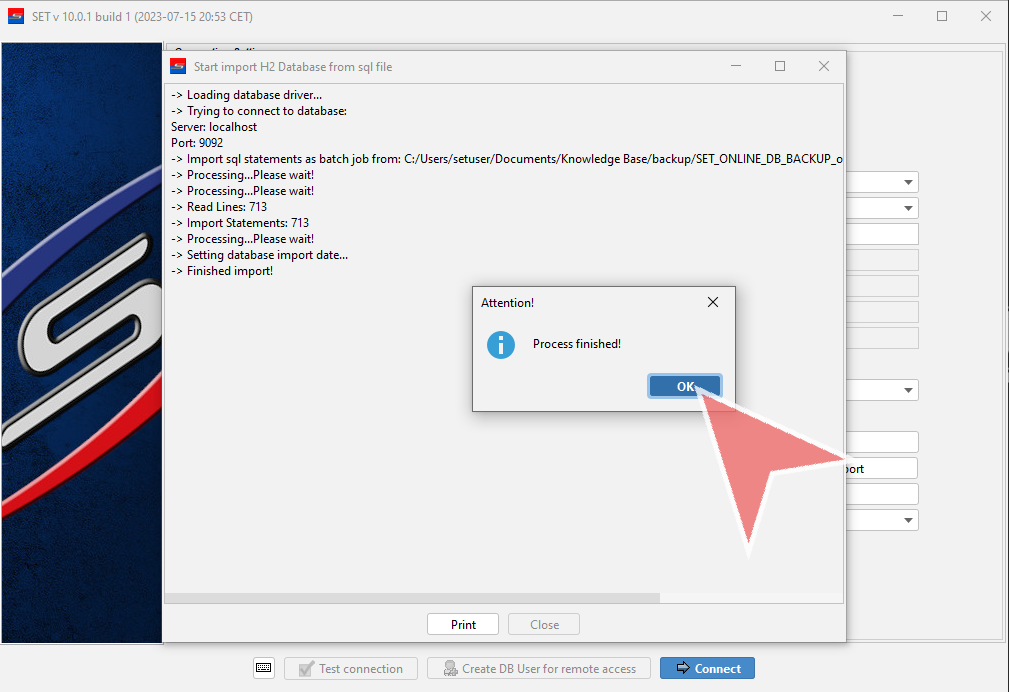
Once the process is finished you get a notification which you can close with “OK”.
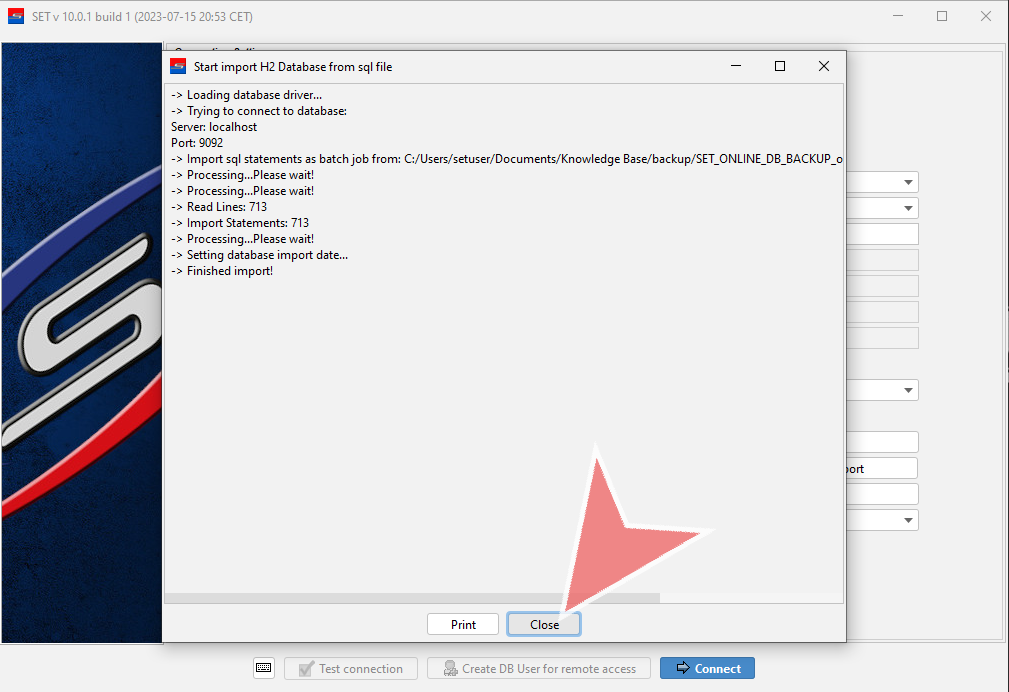
In the message console you find all information about the imported database. You can be closed it once the import is finished.
Connect to the local database
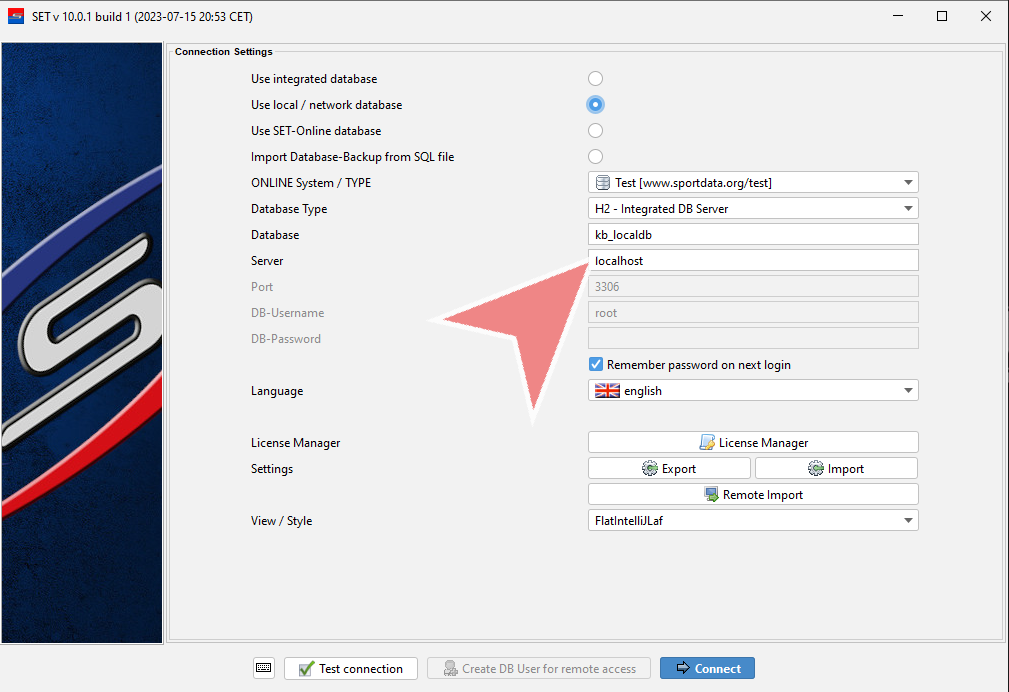
To connect to the imported local database, select the option “Use local / network database”.
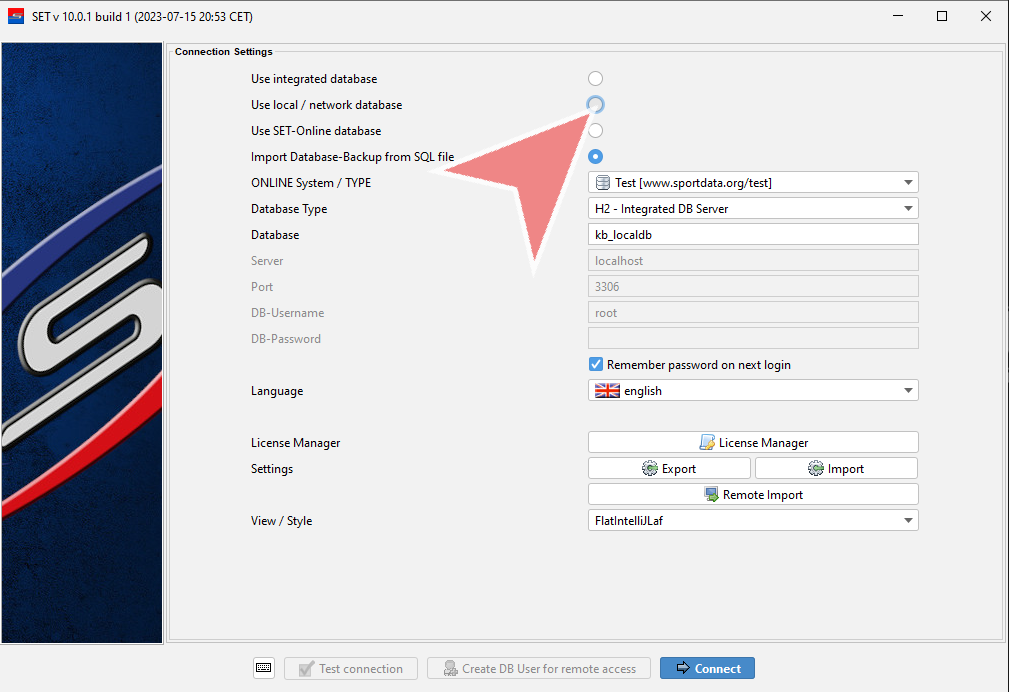
In the text box “Database” you have to put in the name of the database that you would like to connect to. As the “Server” you use “localhost”, since the database is imported on this device. This laptop works now as the local database server.
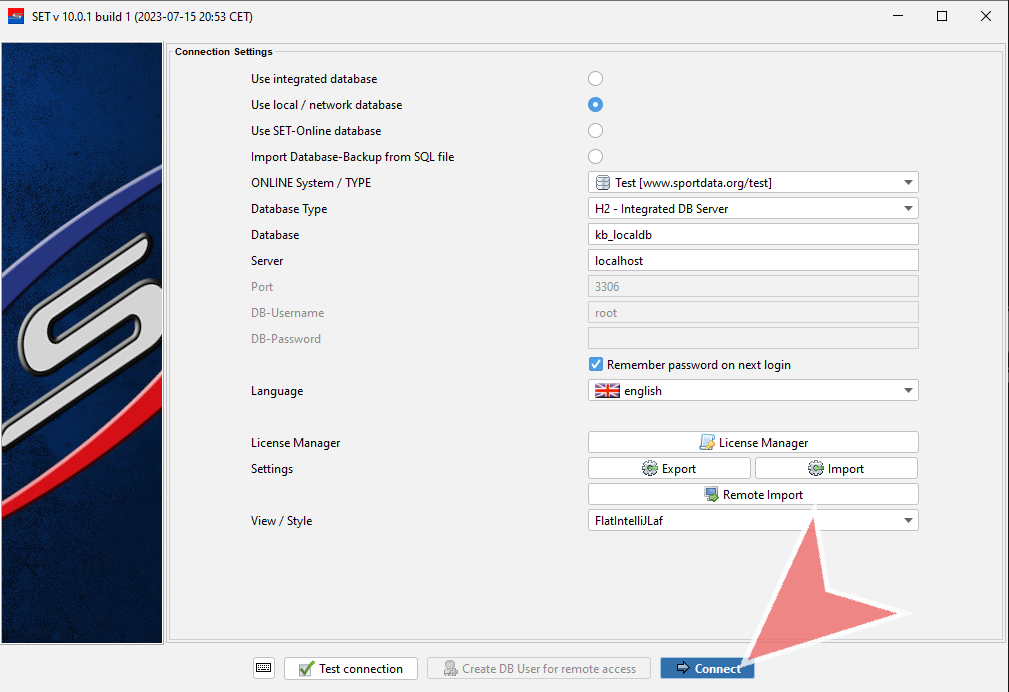
To continue click on “Connect”.
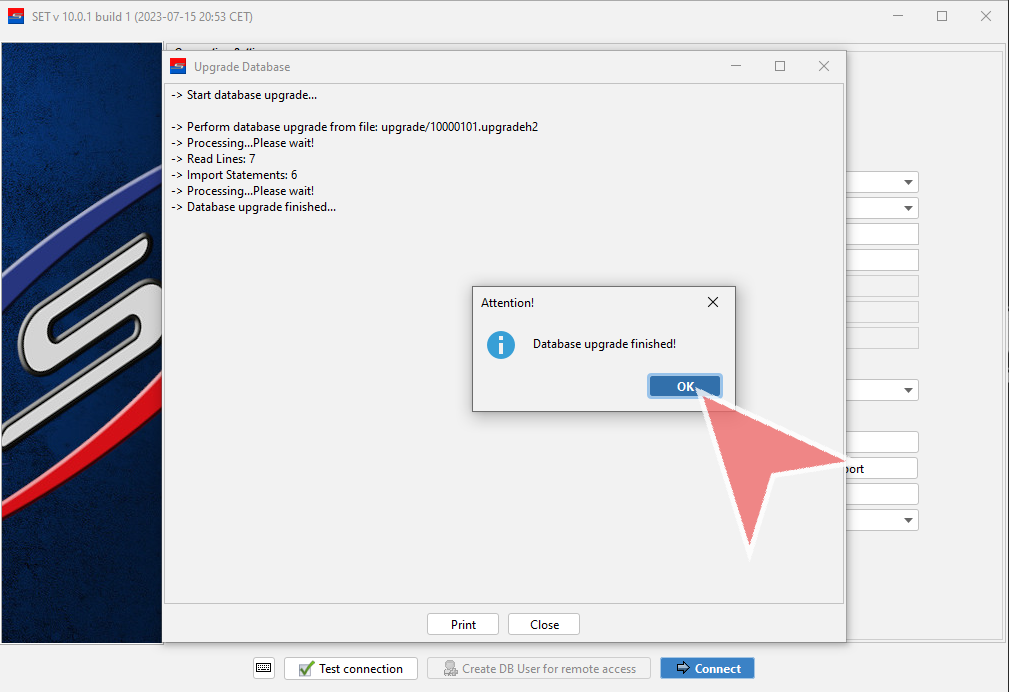
When you connect to a database for the first time, the software will automatically upgrade the database. You can close these windows afterwards.
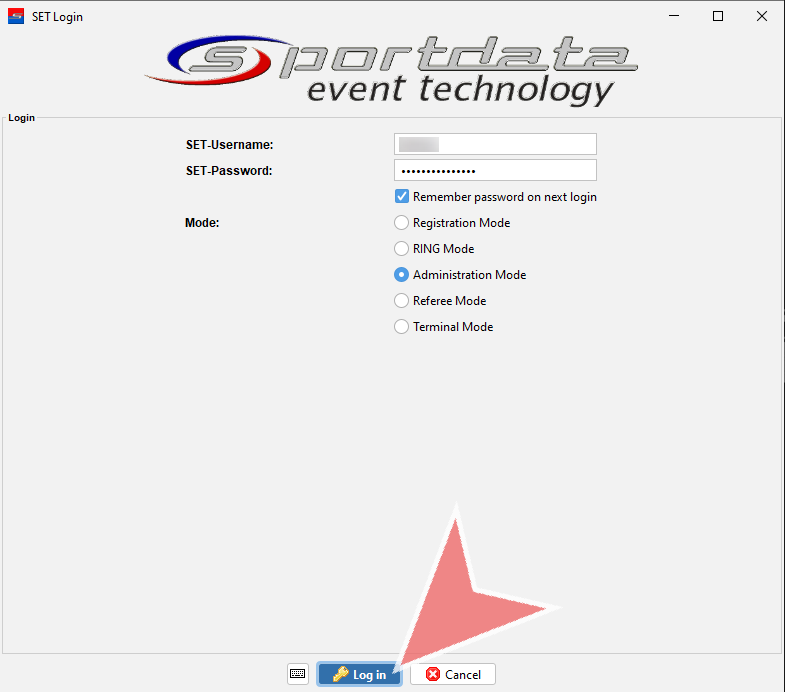
After you enter the SET-Username and password of the database backup, choose the “Administration Mode” and continue by pressing the “Log in”-button.
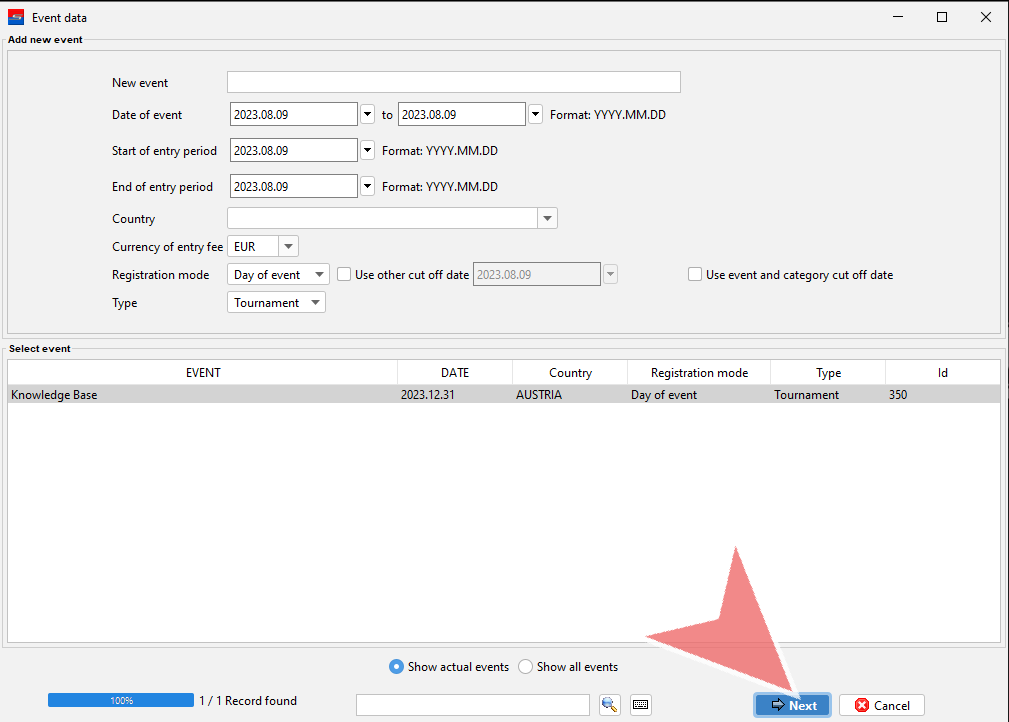
Here you find information about the database you are connecting to, like the name and date of the event the database belongs to. Click on “Next” to continue.
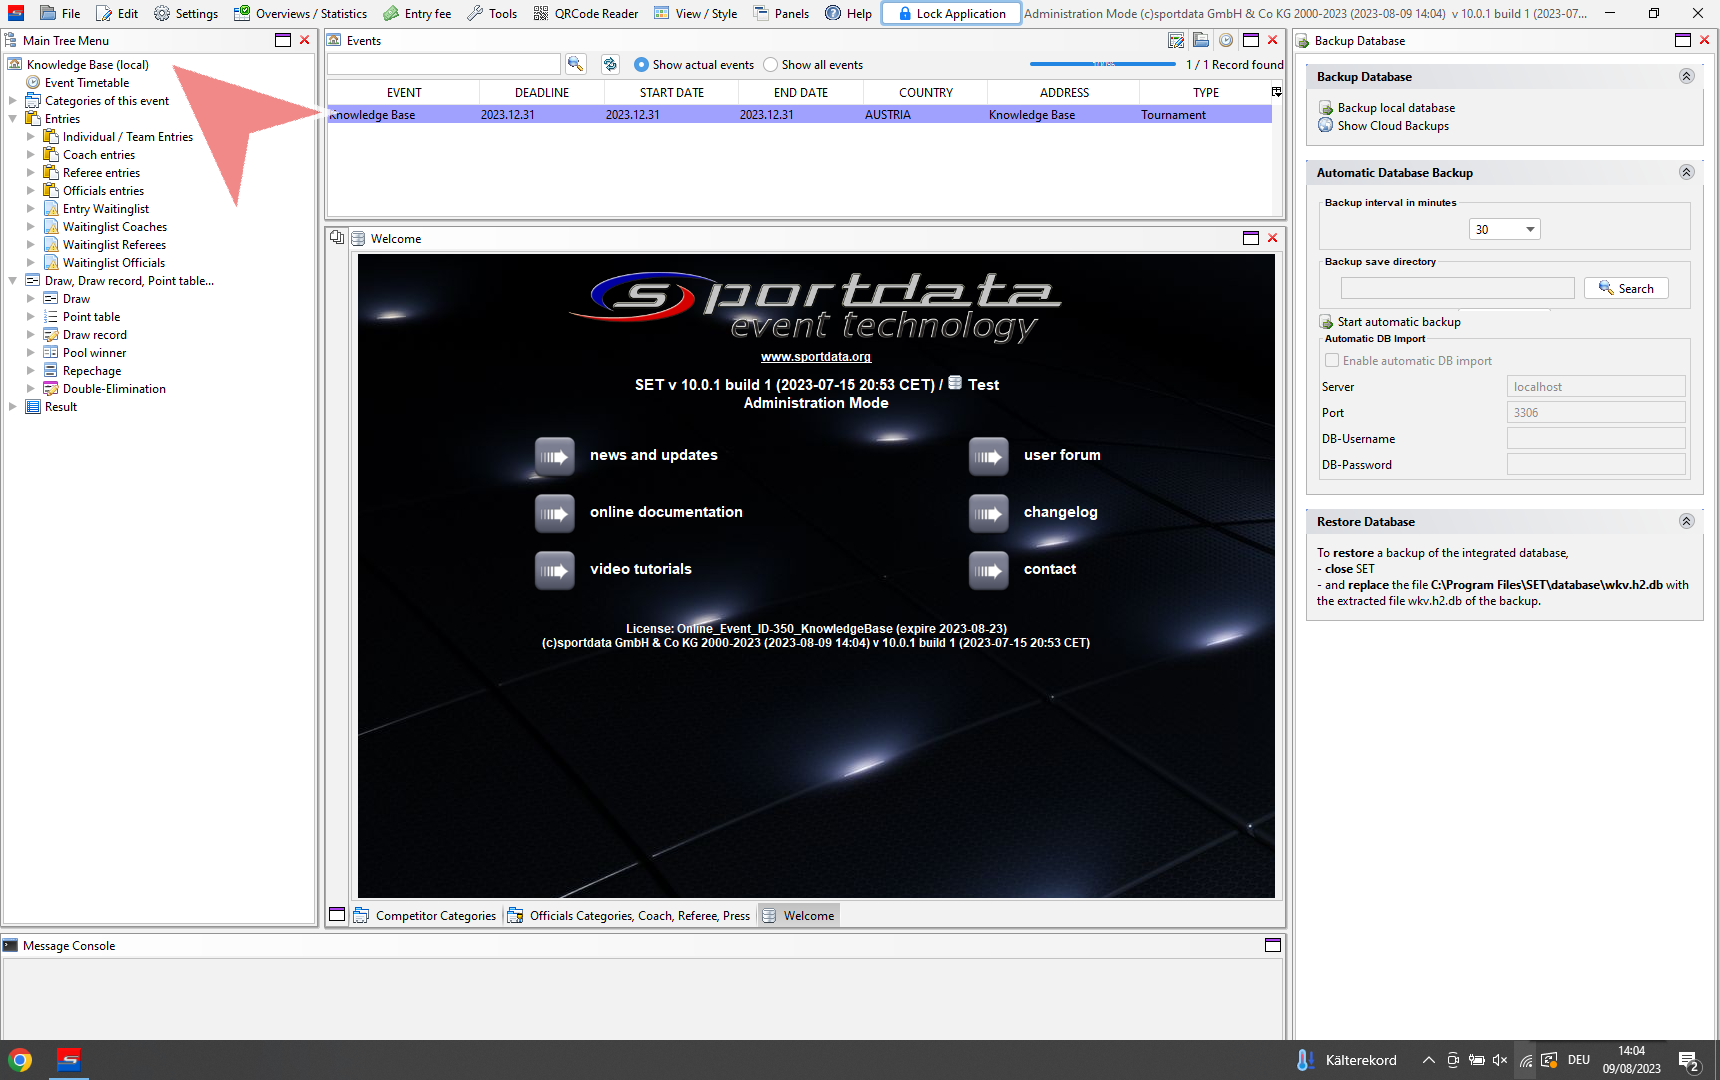
Next to the event name on top of the Main Tree Menu, you find now the information “(local)”, which indicates that you are working on a local database.
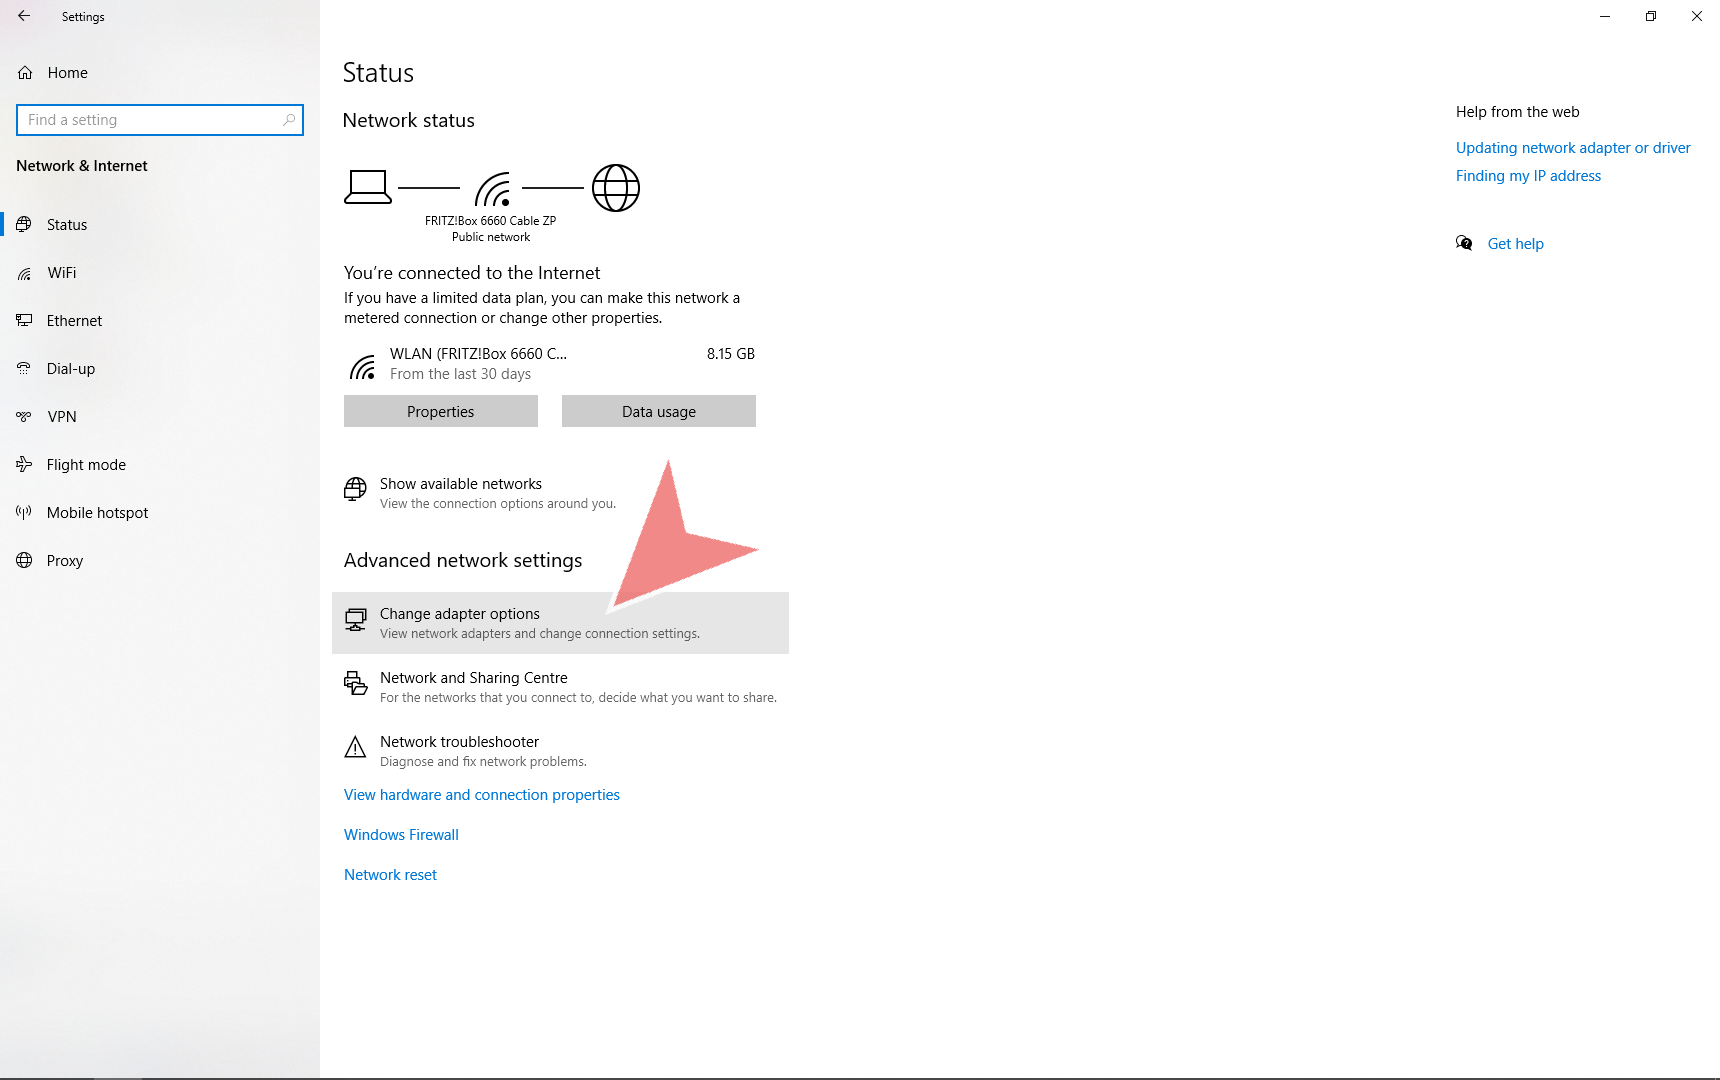
Change the IP-adress of the local database server
If you want to work with multiple devices on the same database, you should give the local database server a static IP-address. Therefor open the network settings and click on “Change adapter options”.
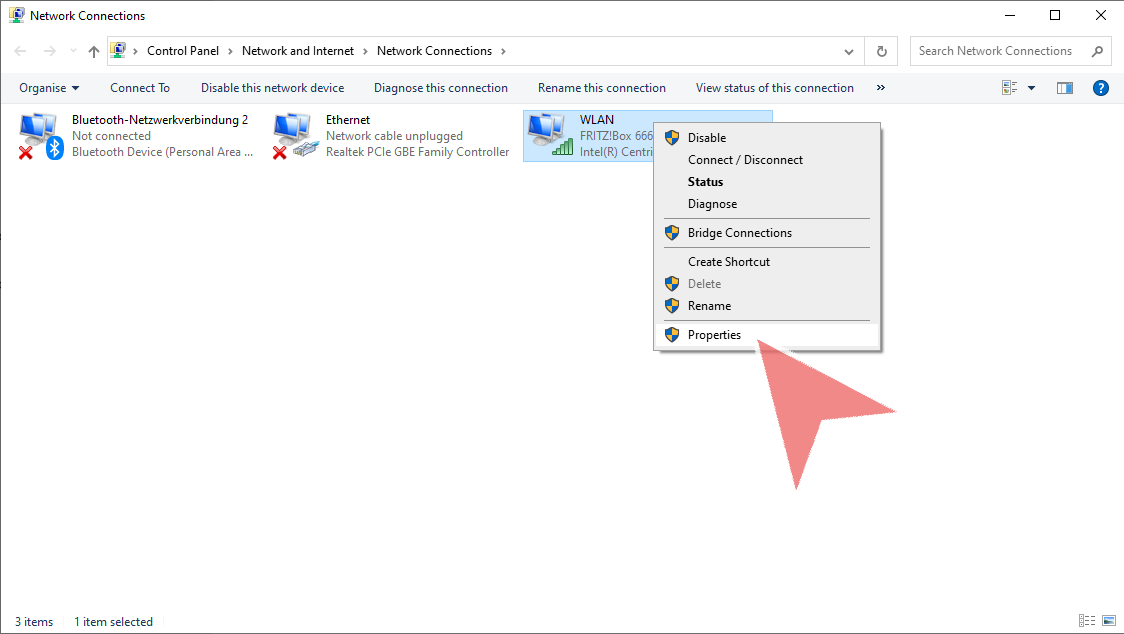
Right-click on the connection of the local network in which you want to use this local database server (preferable Ethernet connection).
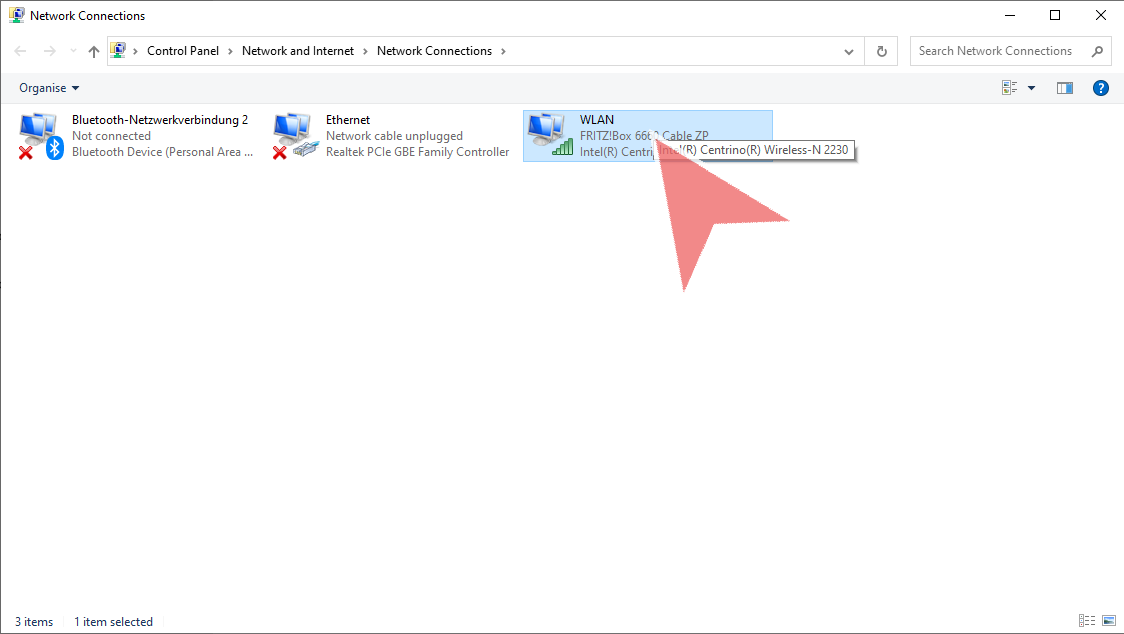
Open the “Properties” from the menu.
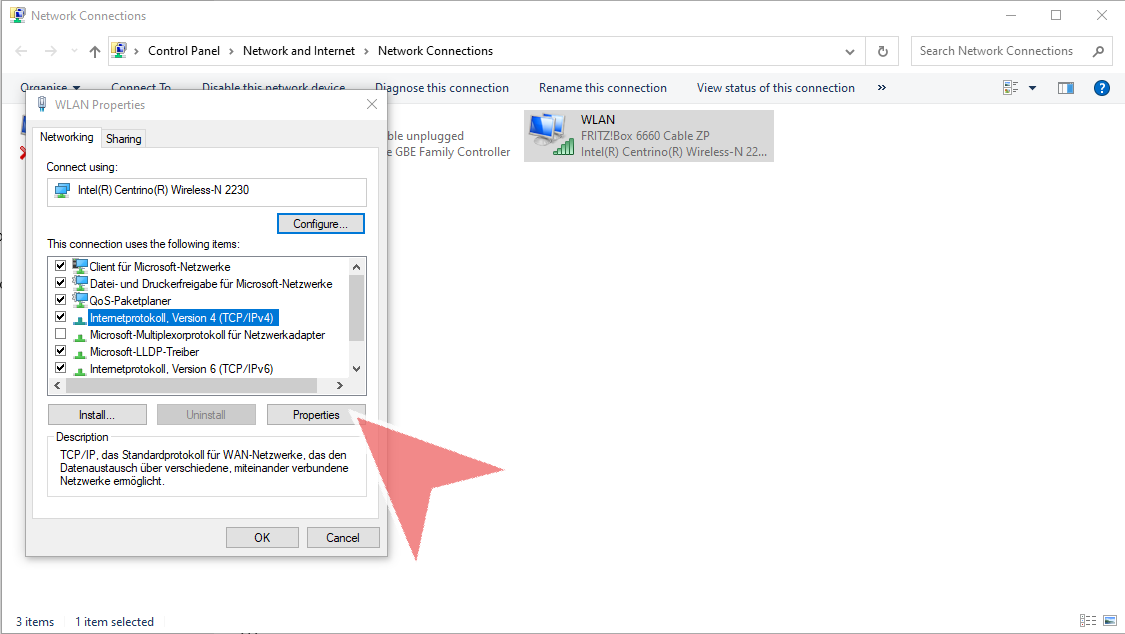
Select the “IPv4” item and click on “Properties”.
Instead of obtaining an IP address automatically, choose the option “Use the following IP address”. Make sure to use the corresponding IP address range of your router which no other device in the network uses at the same time.
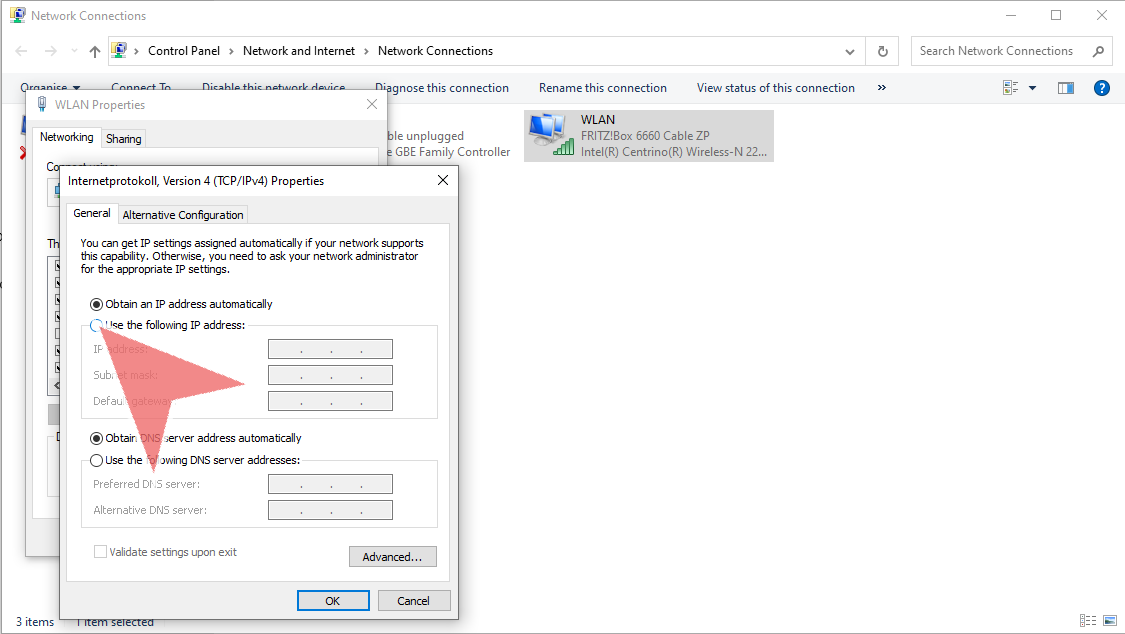
To check your current IP-address and the Subnet mask, enter the command “ipconfig” in the command prompt. Use the same IP-address range and subnet mask for the static IP-address. Click on “OK” to save the changes. The IP-address of the local database server is now successfully changed.
