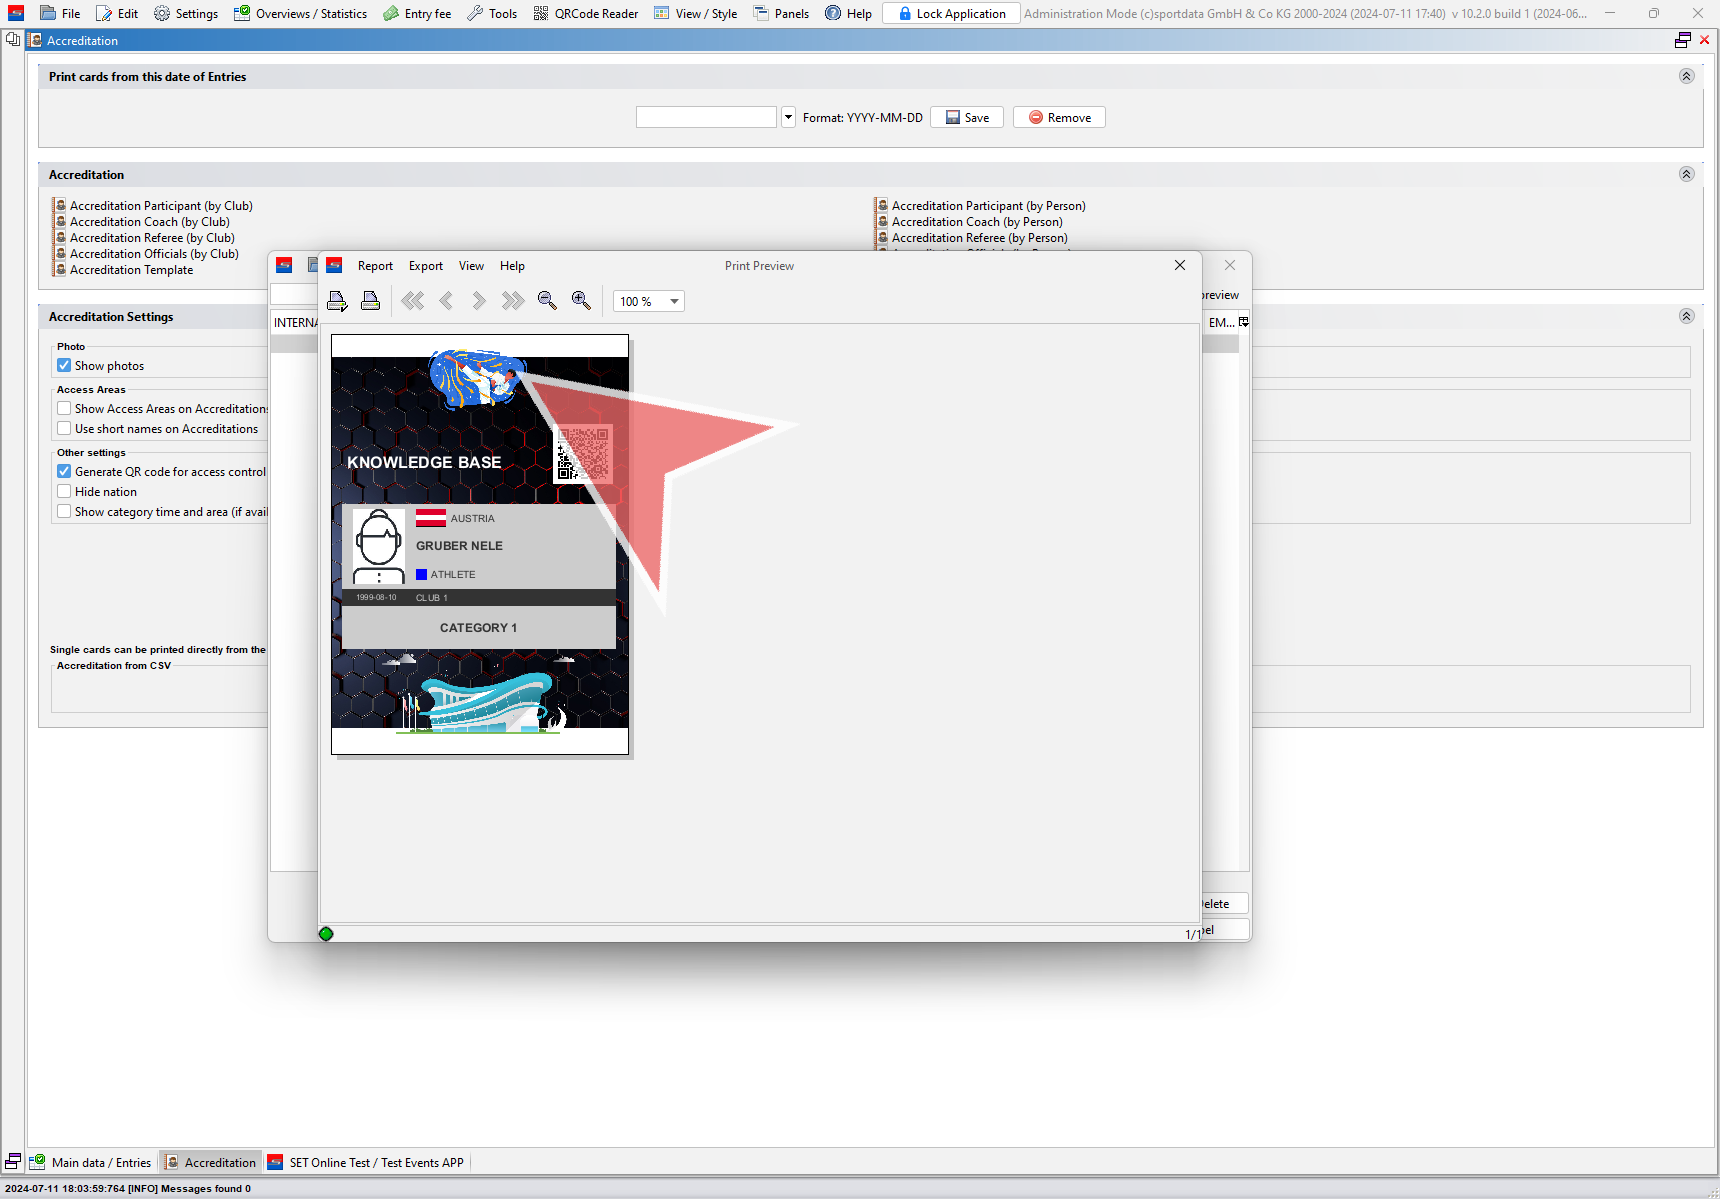
This article explains the basics how to generate an accreditation with generic templates that are included in the SET software.
Interactive Demo
Accreditation settings
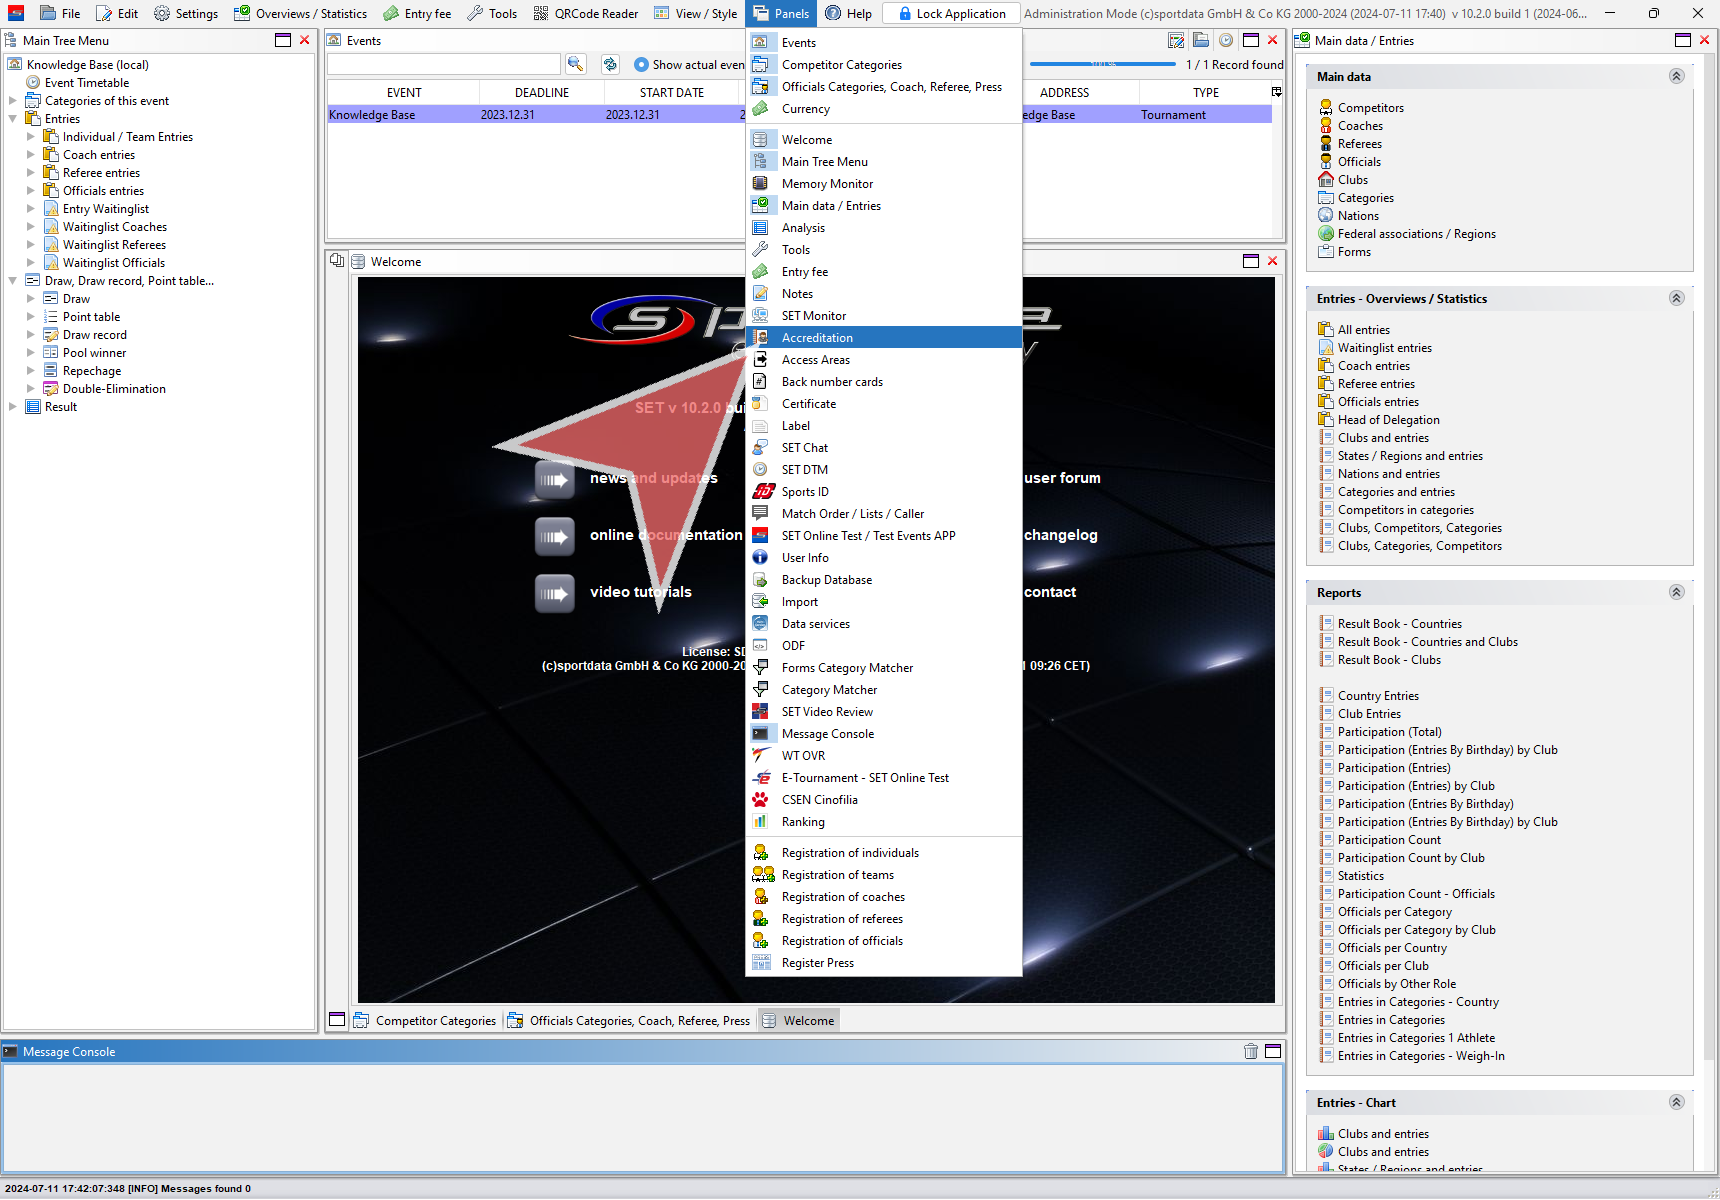
To access the accreditation settings open the “Accreditation” panel.
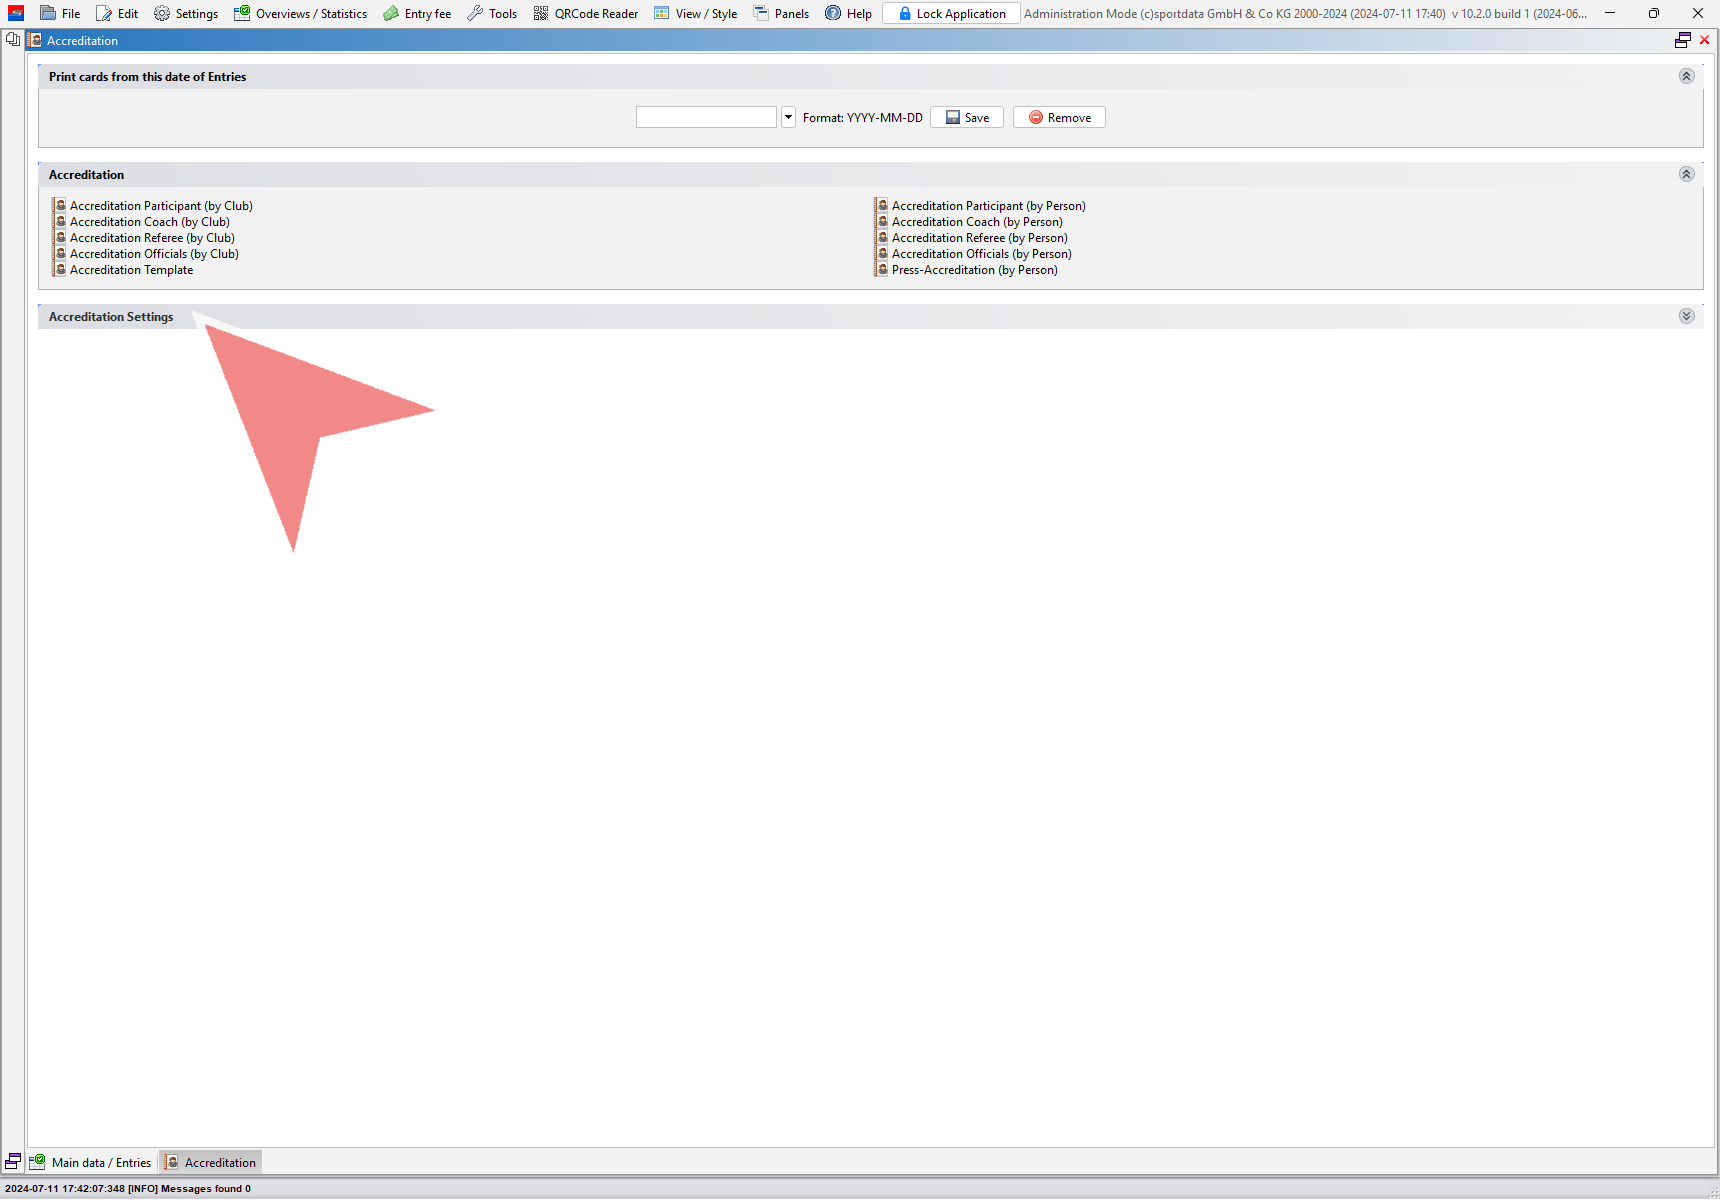
Double click on the title bar to change to full screen view and click on “Accreditation Settings” to extend the settings.
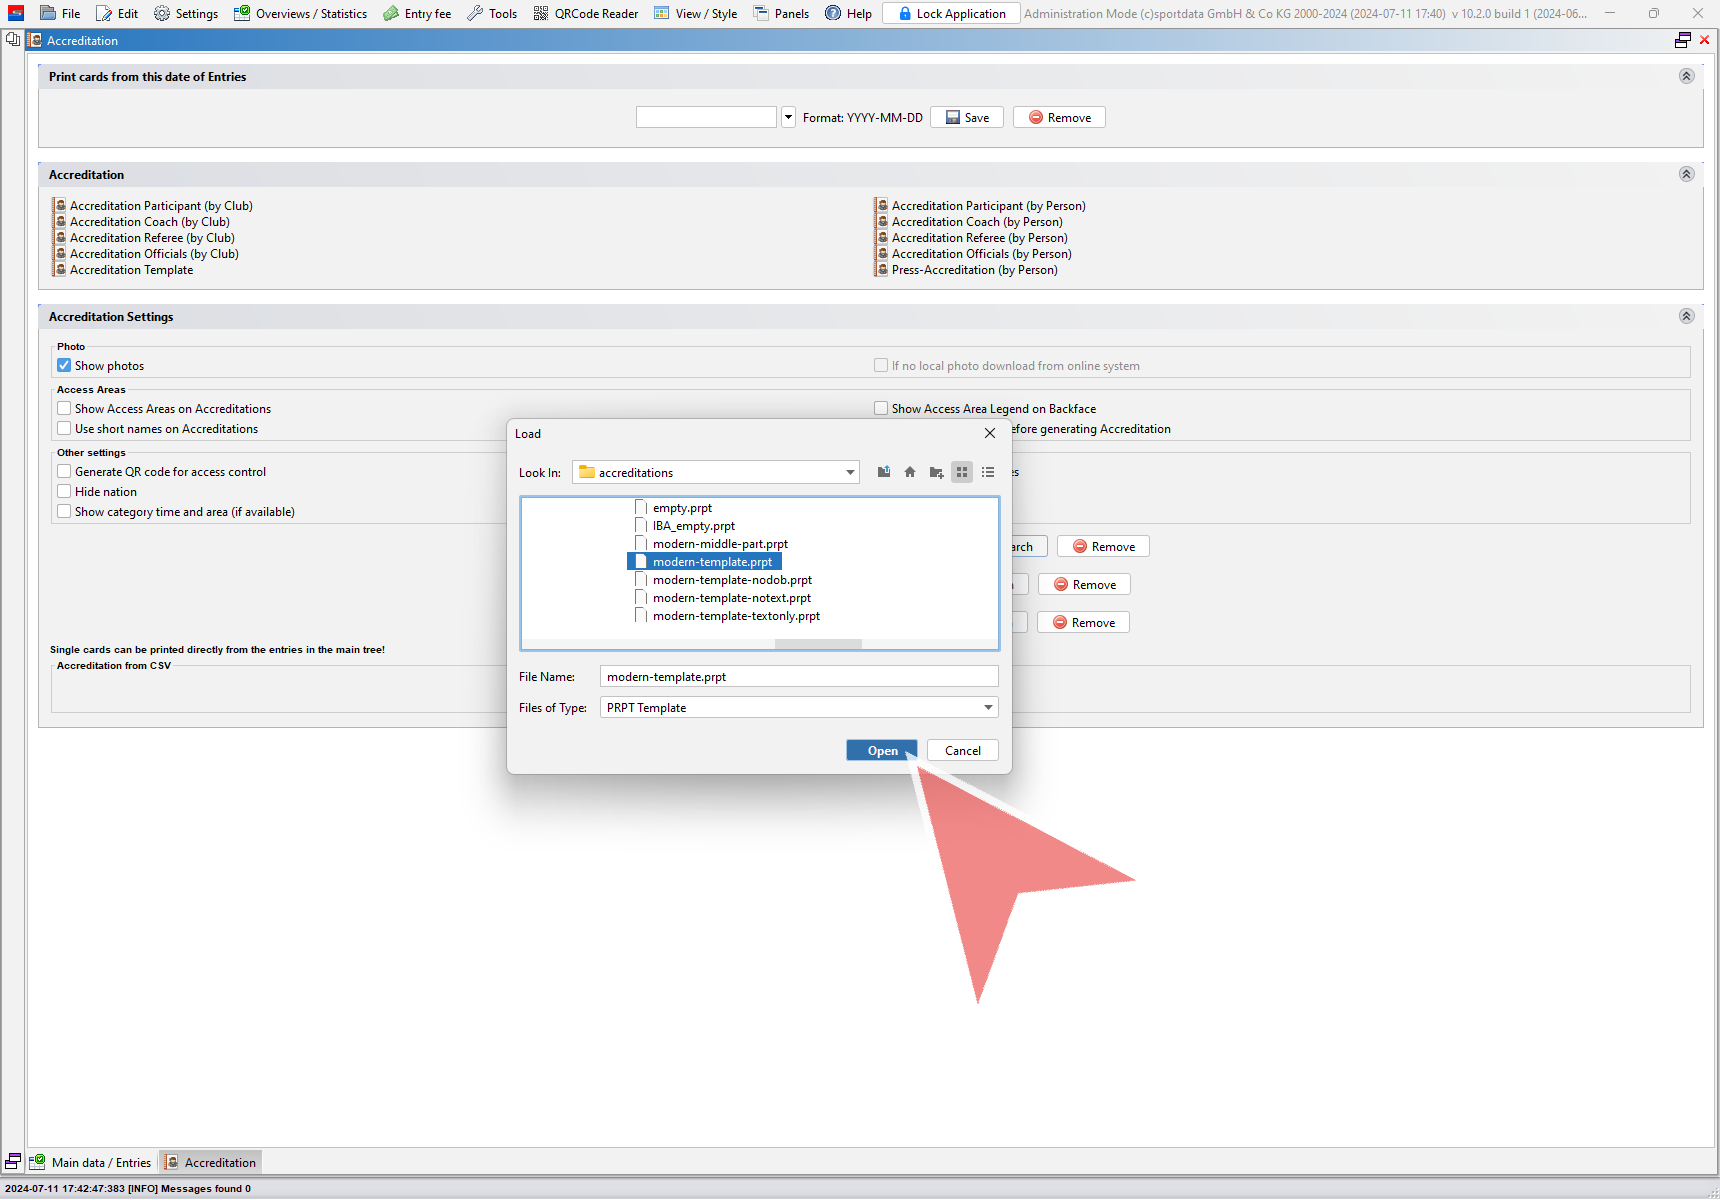
To change the template of the accreditations click on the “Search”-button.
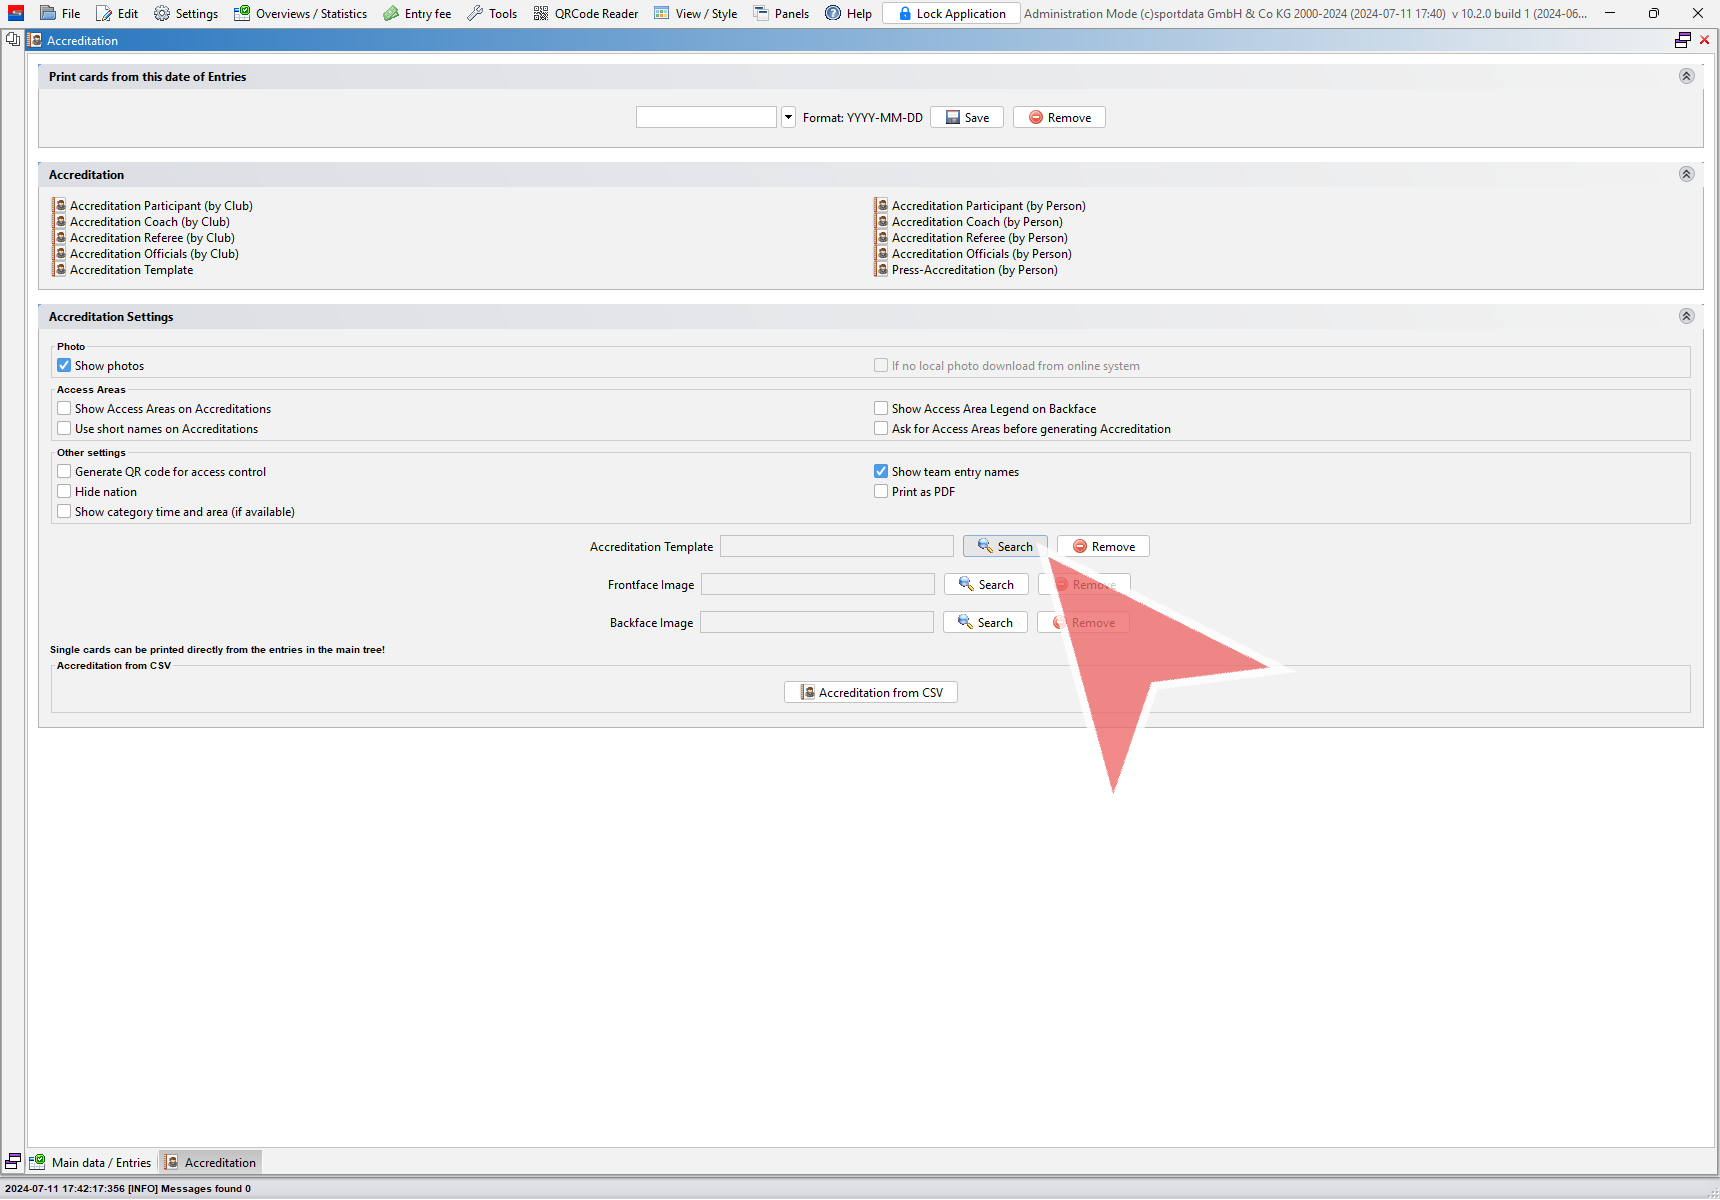
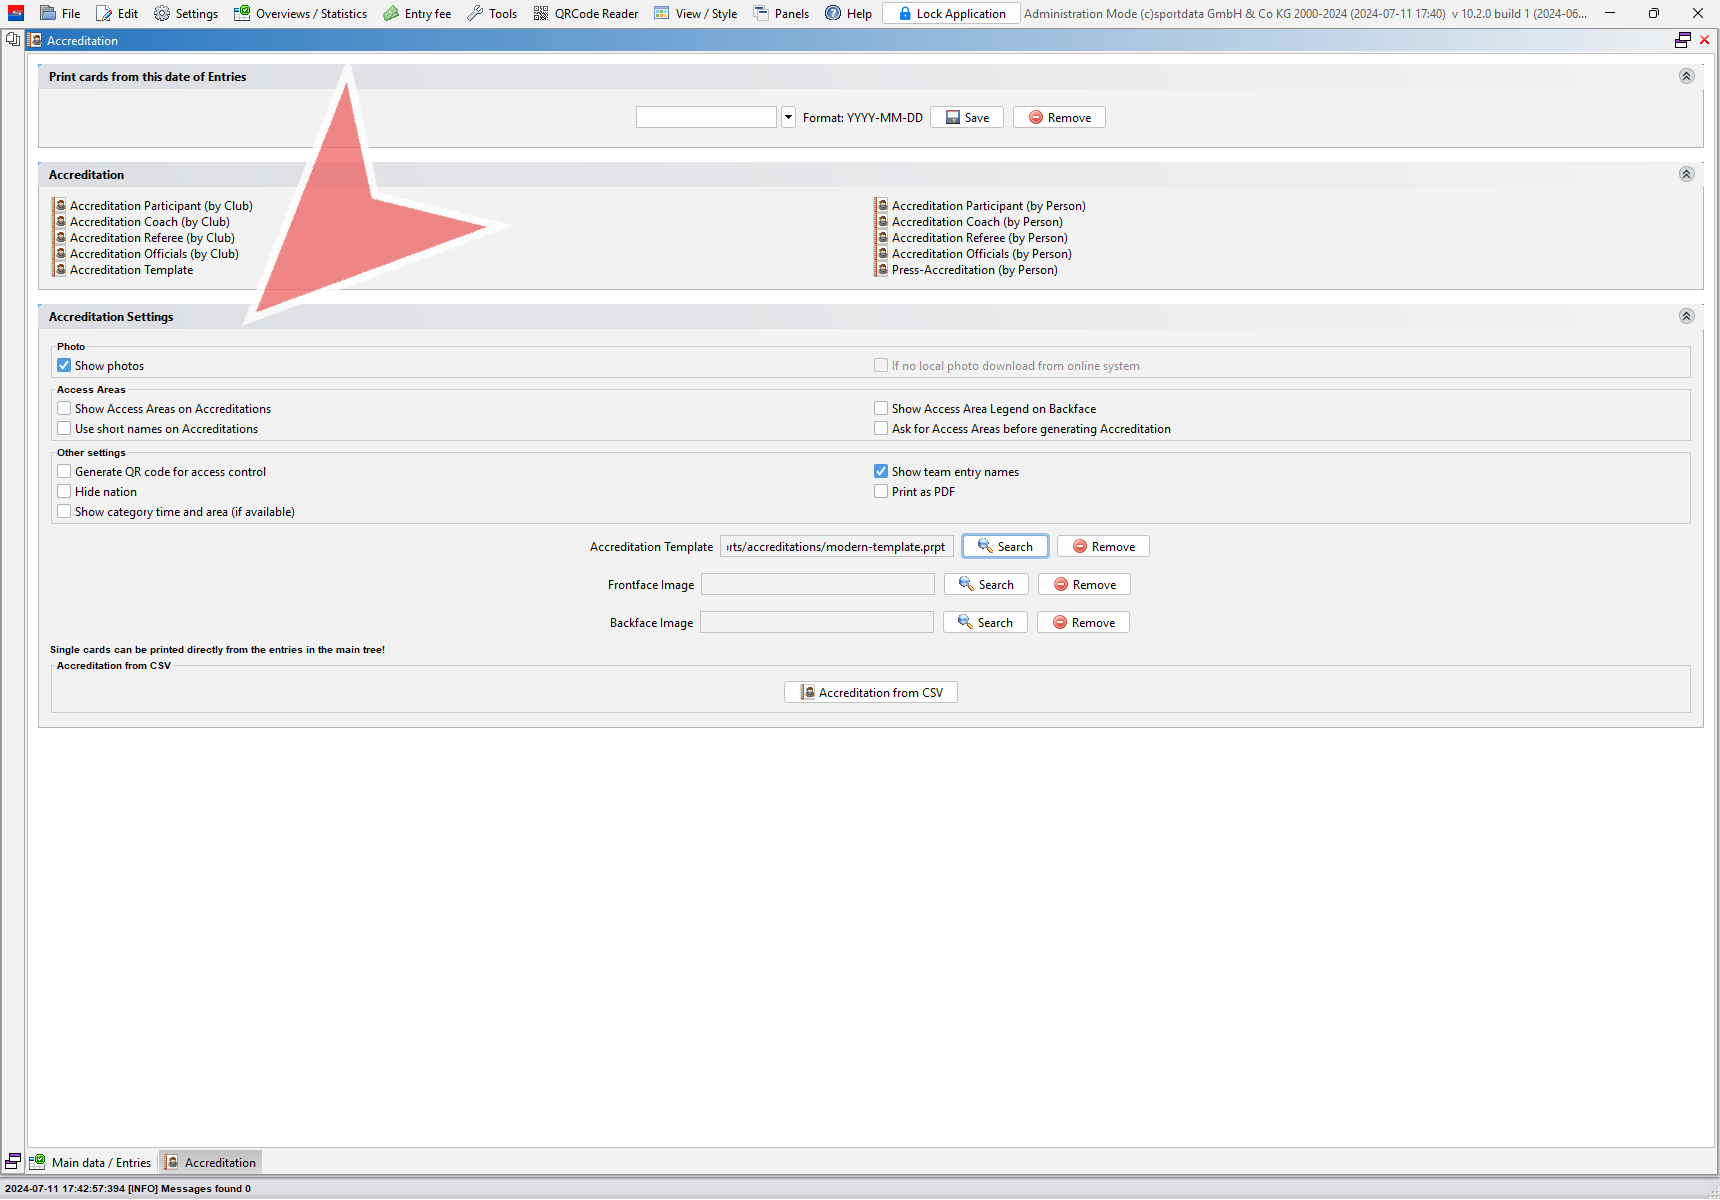
The SET folder contains multiple standard templates with different information and layouts for accreditations. Select for example the modern-template and confirm with “Open”.
Here you find multiple options to adjust the information on the accreditation. In this article focus on the most important settings.
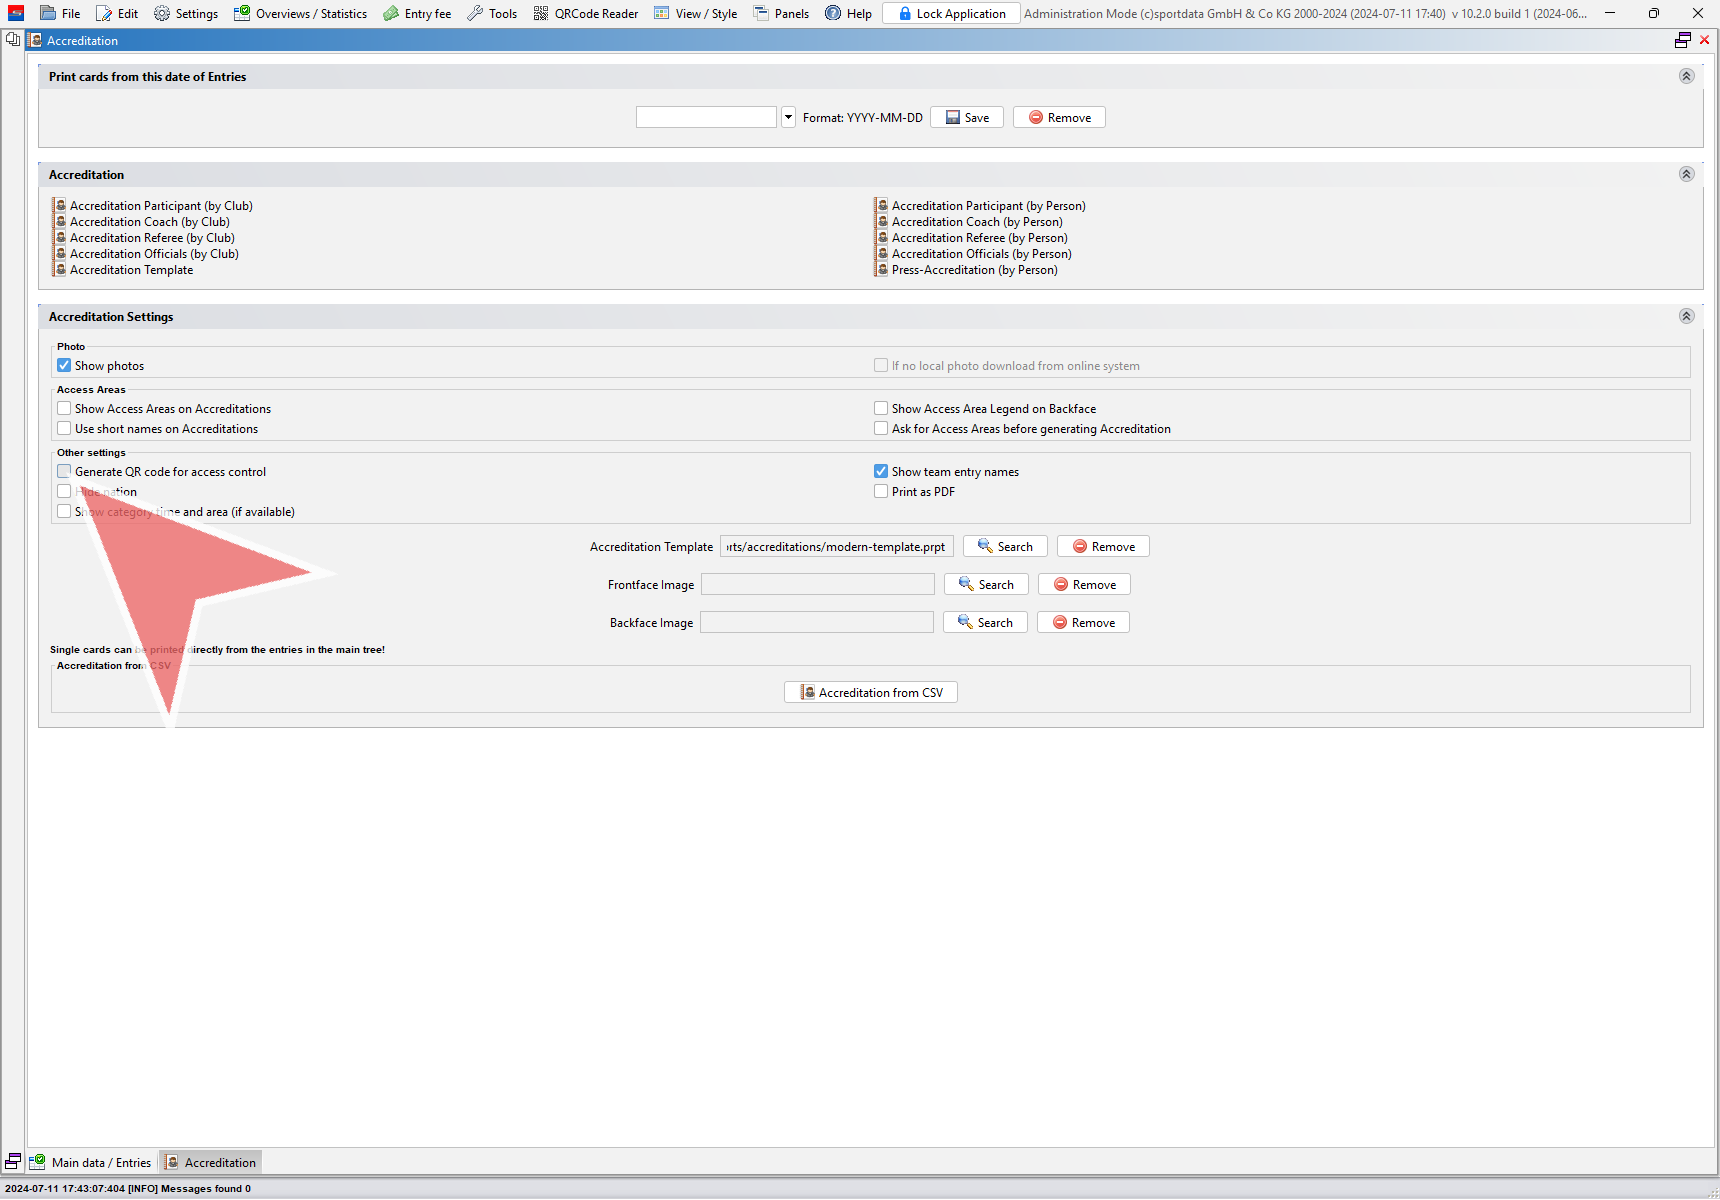
If you use a barcode scanner e.g. for weight control, check in, access control etc. it is necessary to generate an unique QR-code on each accreditation. Therefor tag the checkbox.
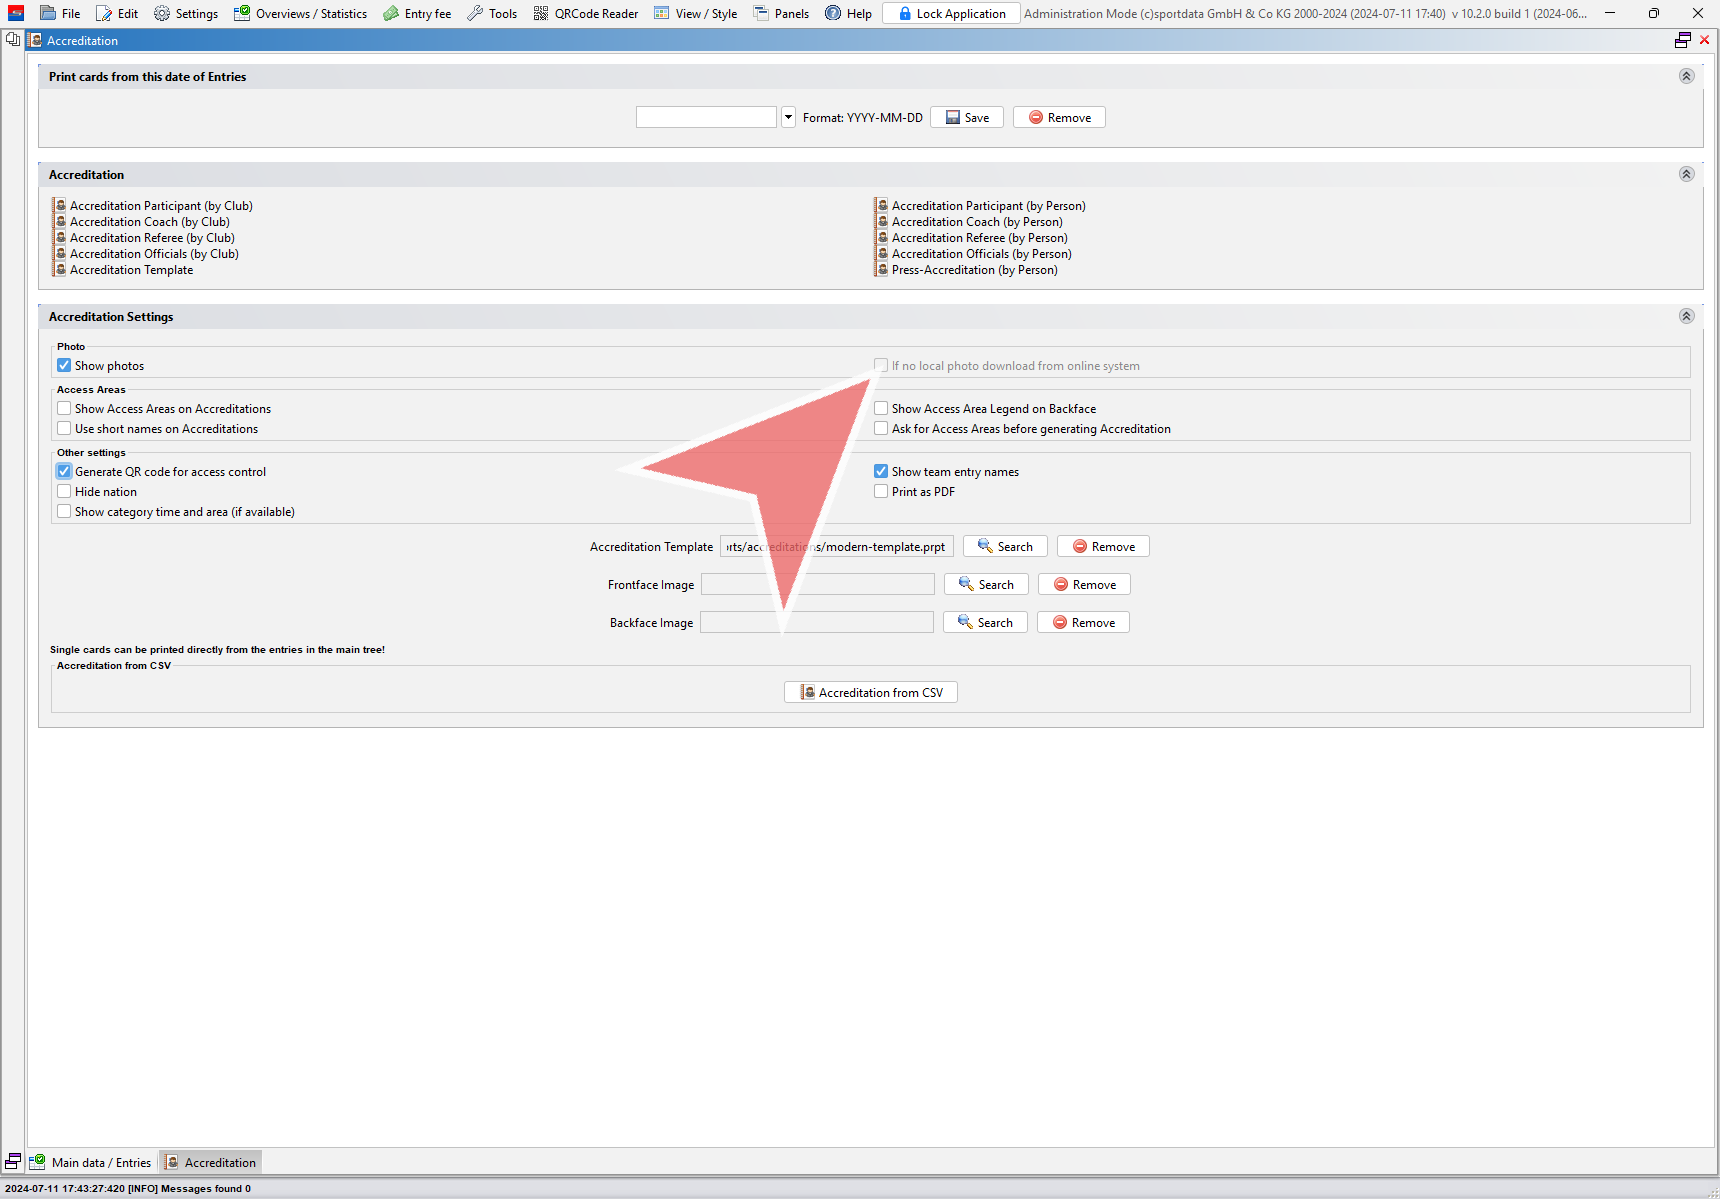
To show pictures on the accreditation the left checkbox must be tagged. The right option is only available if you work in an online database.
Download photos
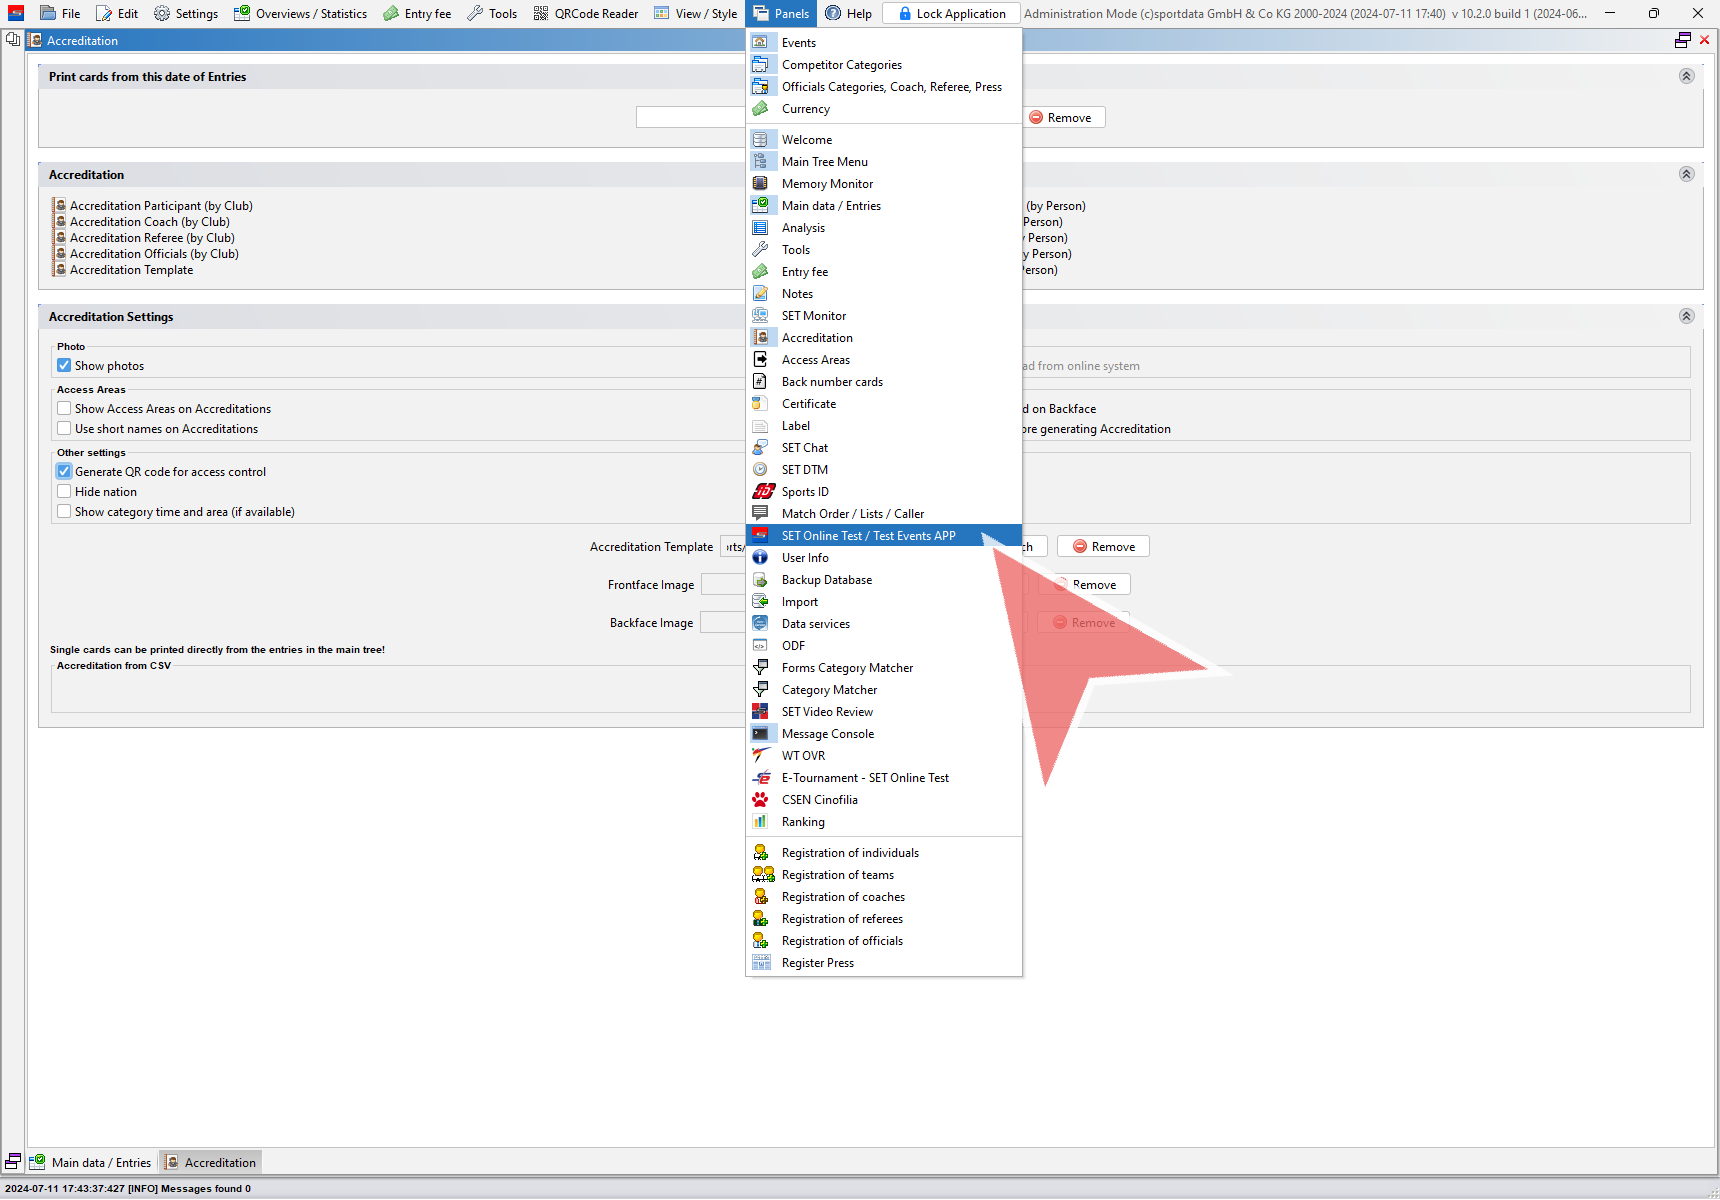
If you work in a local database and want to show pictures on the accreditation you need to download them first. Therefor open the “SET Online…”-Panel.
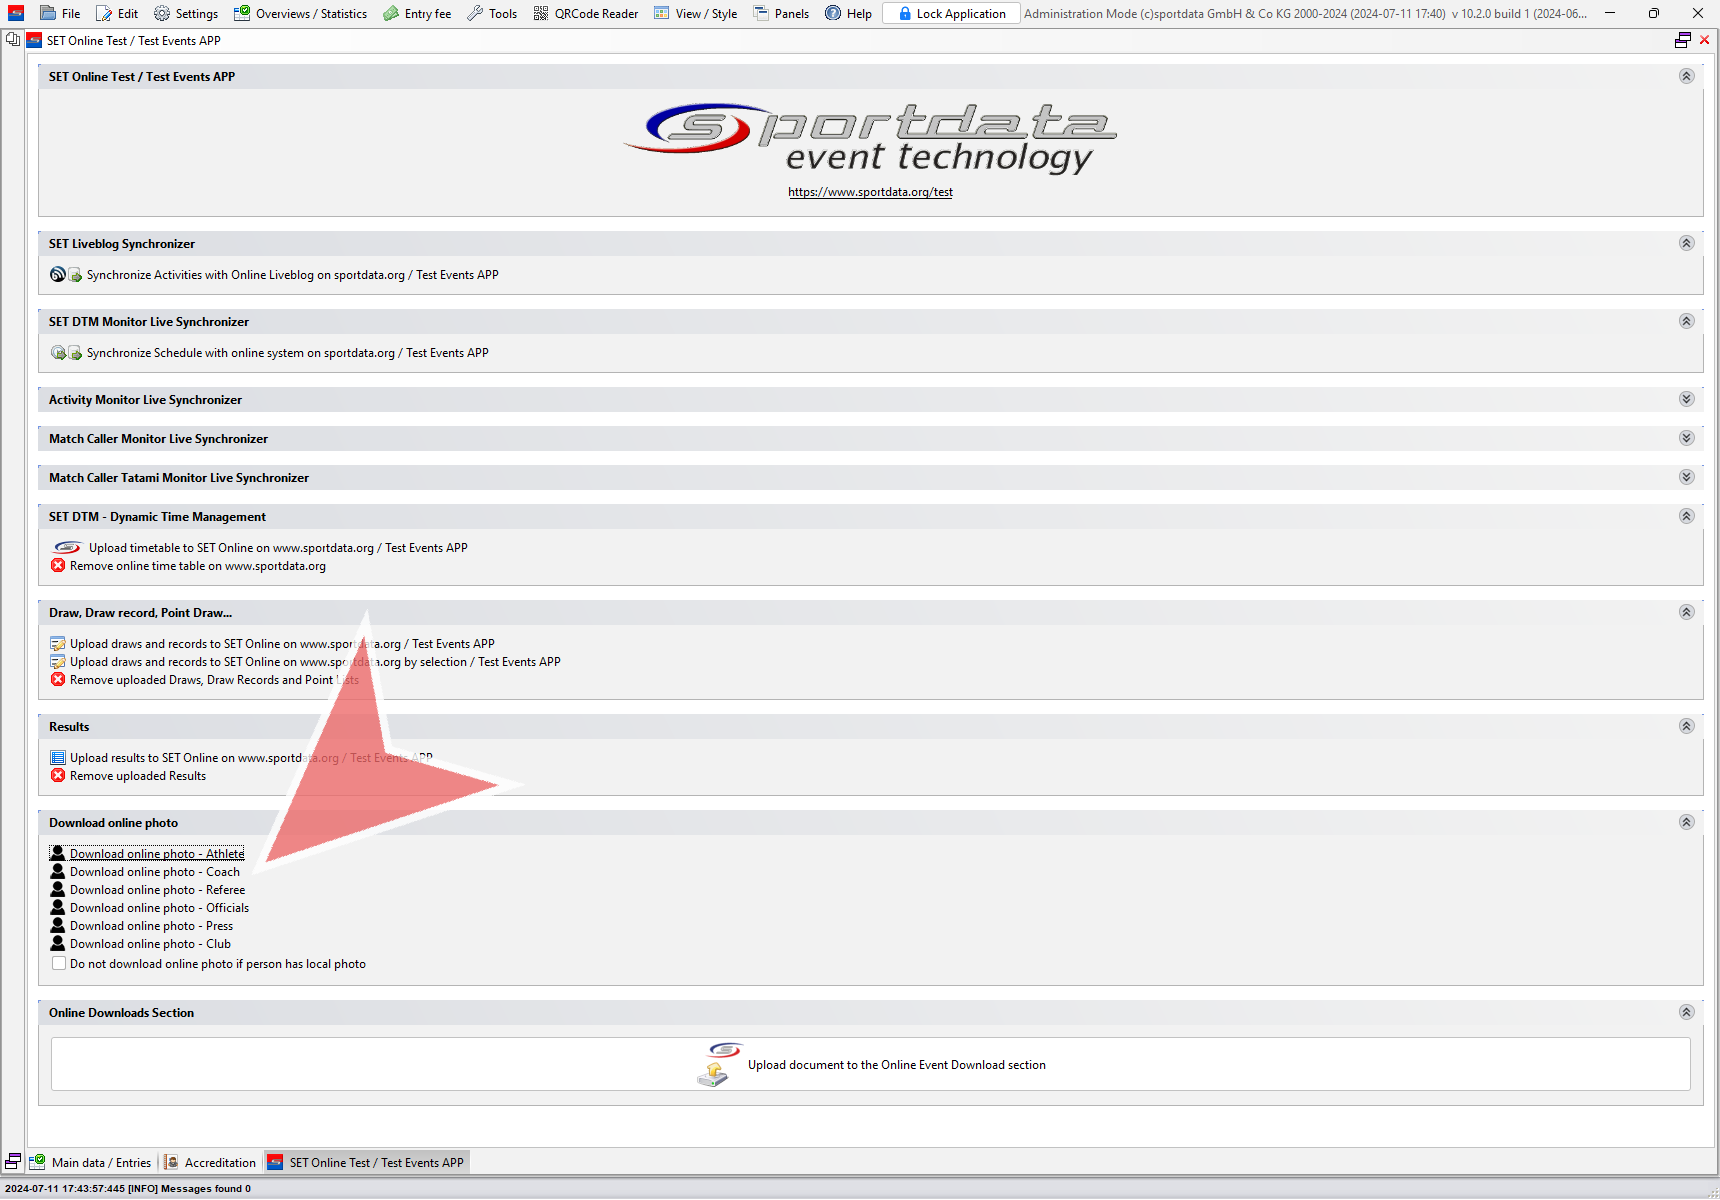
Here you find the option of downloading the online photos for each role. If you want to make sure to use the newest pictures, disable the checkbox at the bottom.
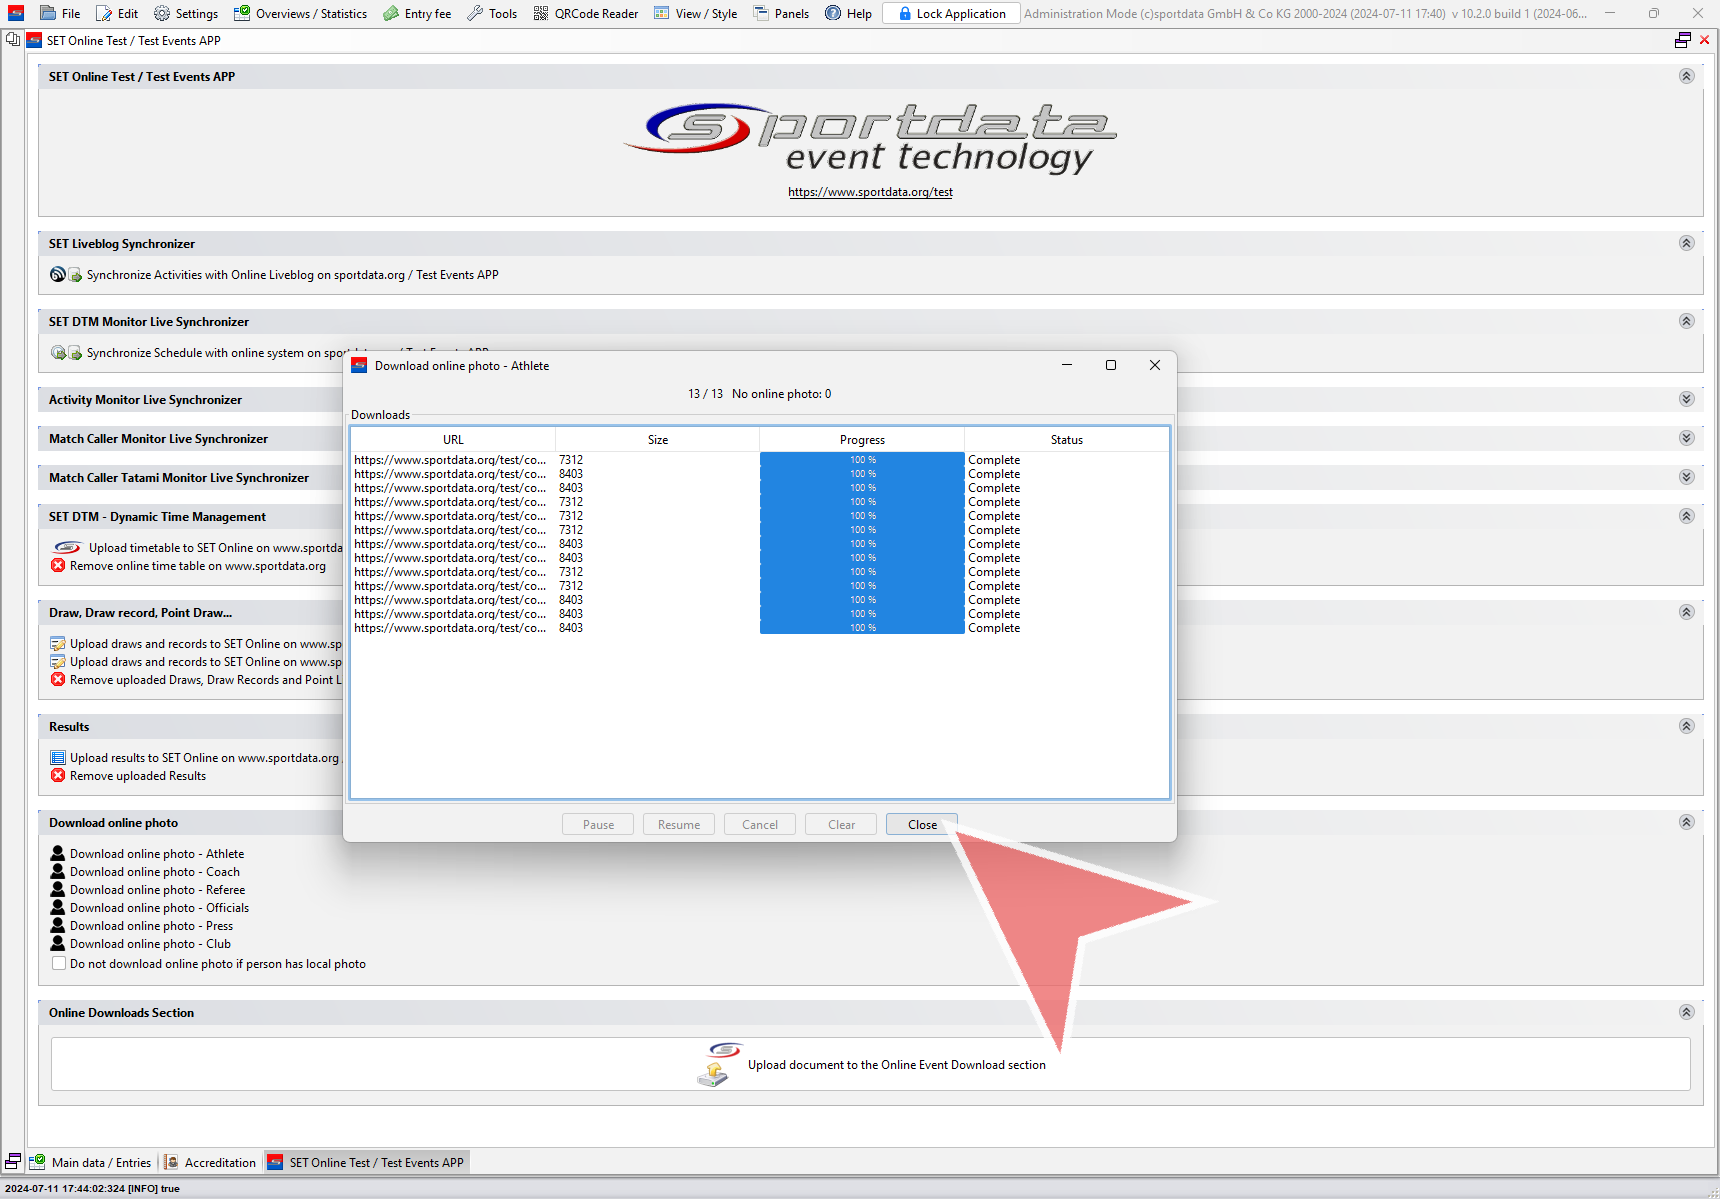
The Download online photo window shows the download status. Close this window after all photos are downloaded.
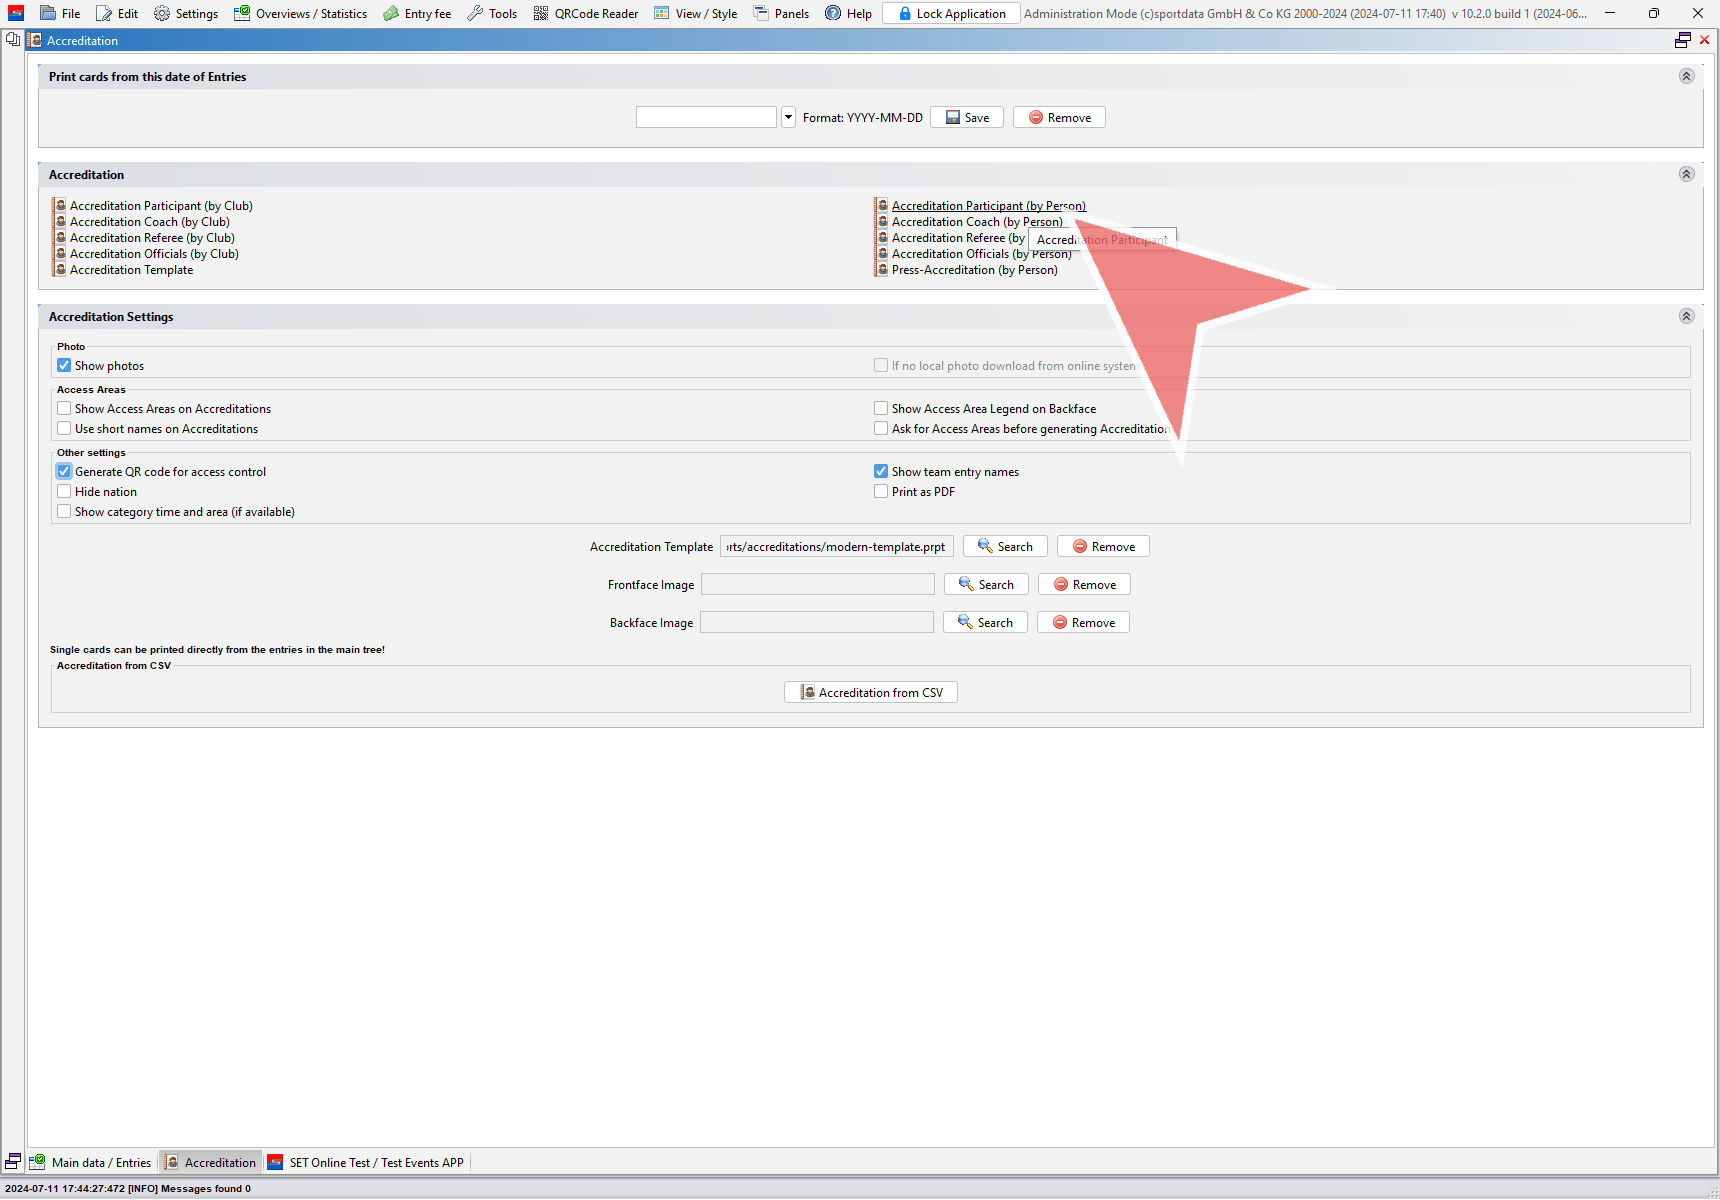
Generate accreditations – Individuals
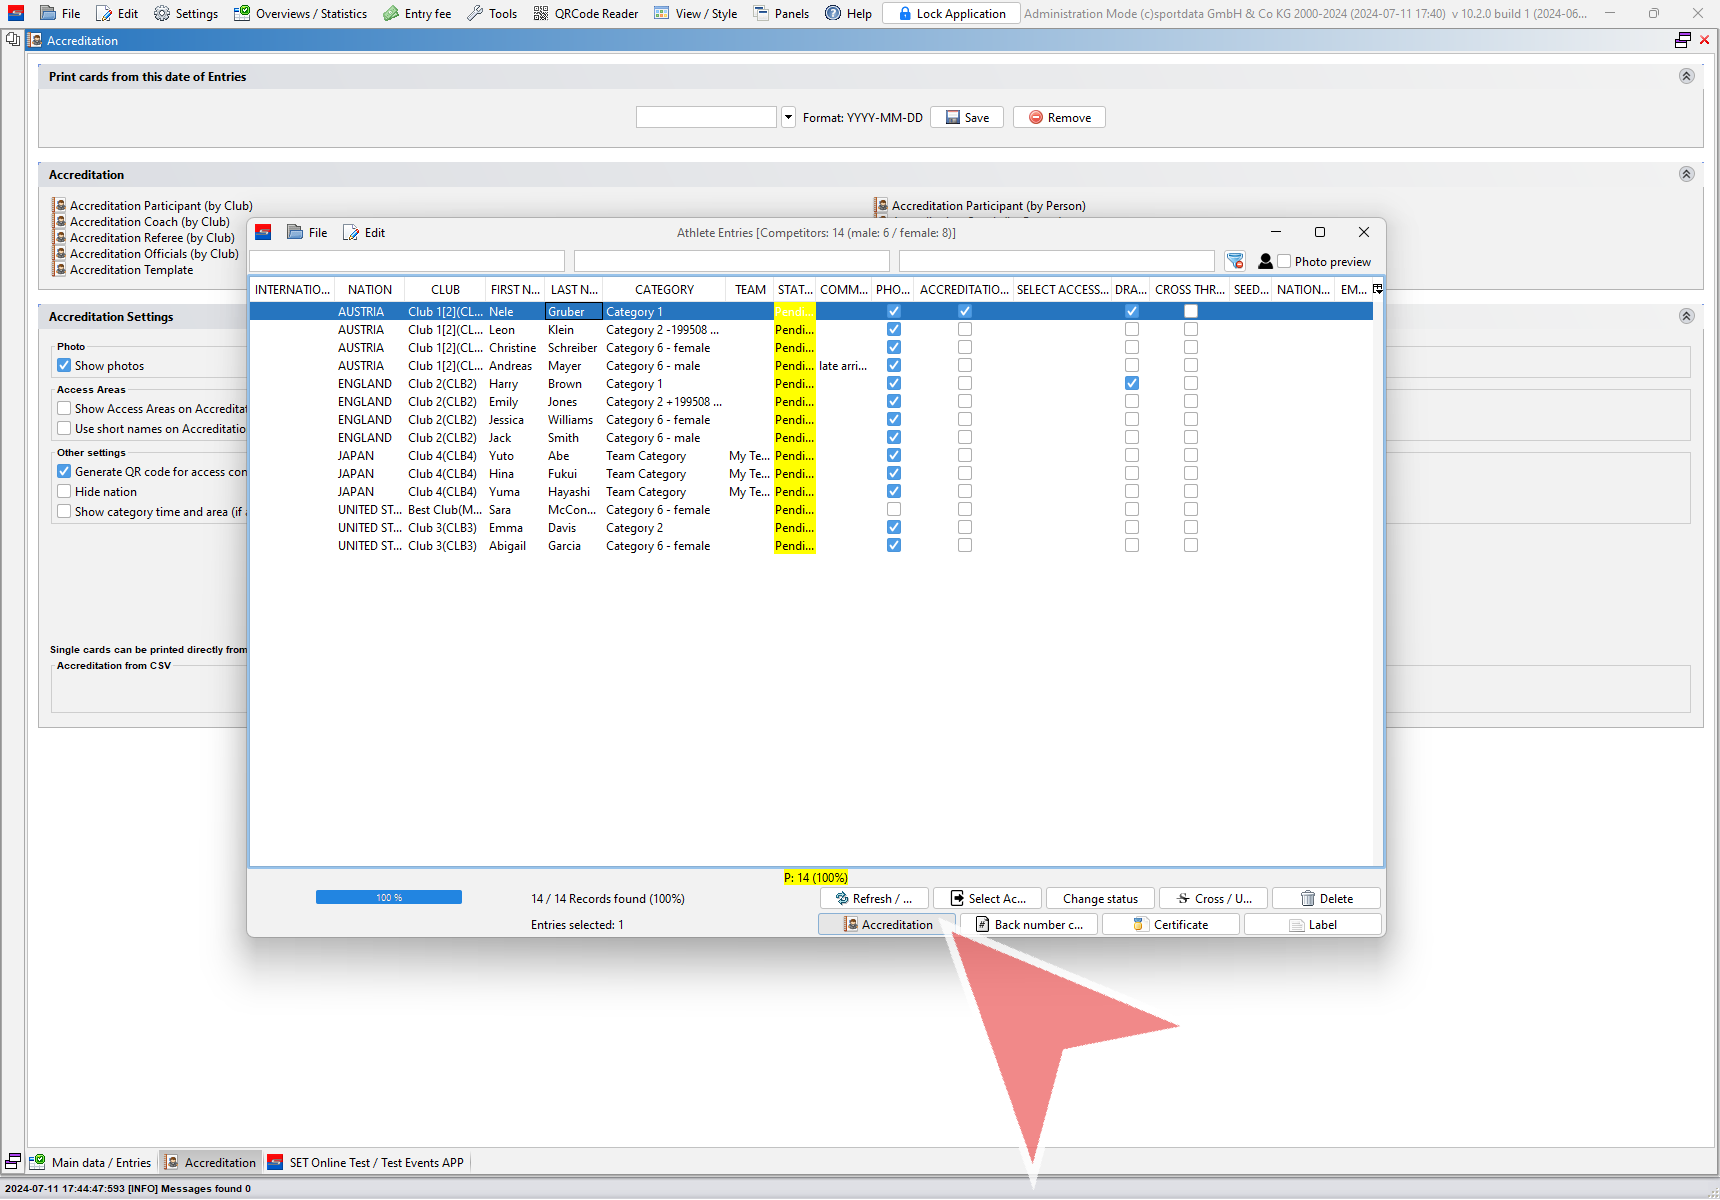
To print accreditations for individuals open the corresponding entry list.
Select one or multiple person and click on the “Accreditation”-button.
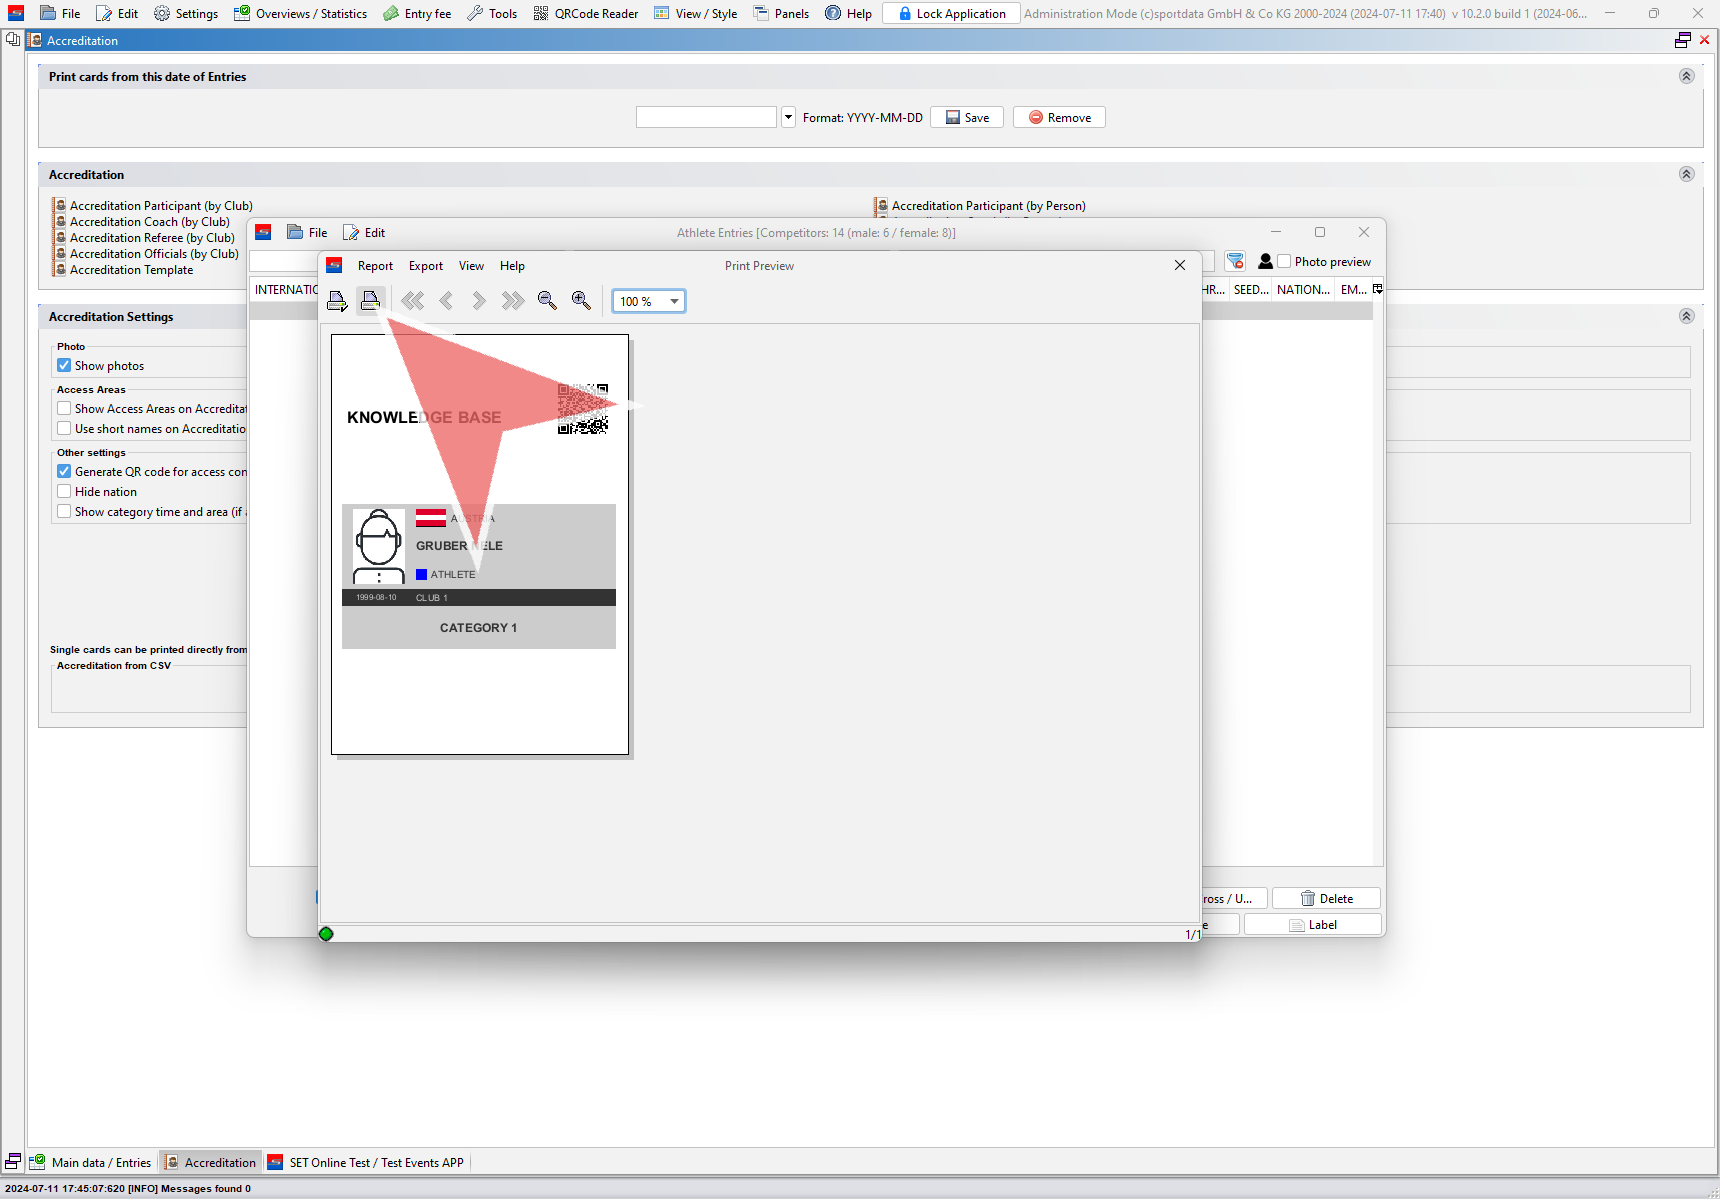
The preview of the generated accreditations is shown and can be printed directly from here.
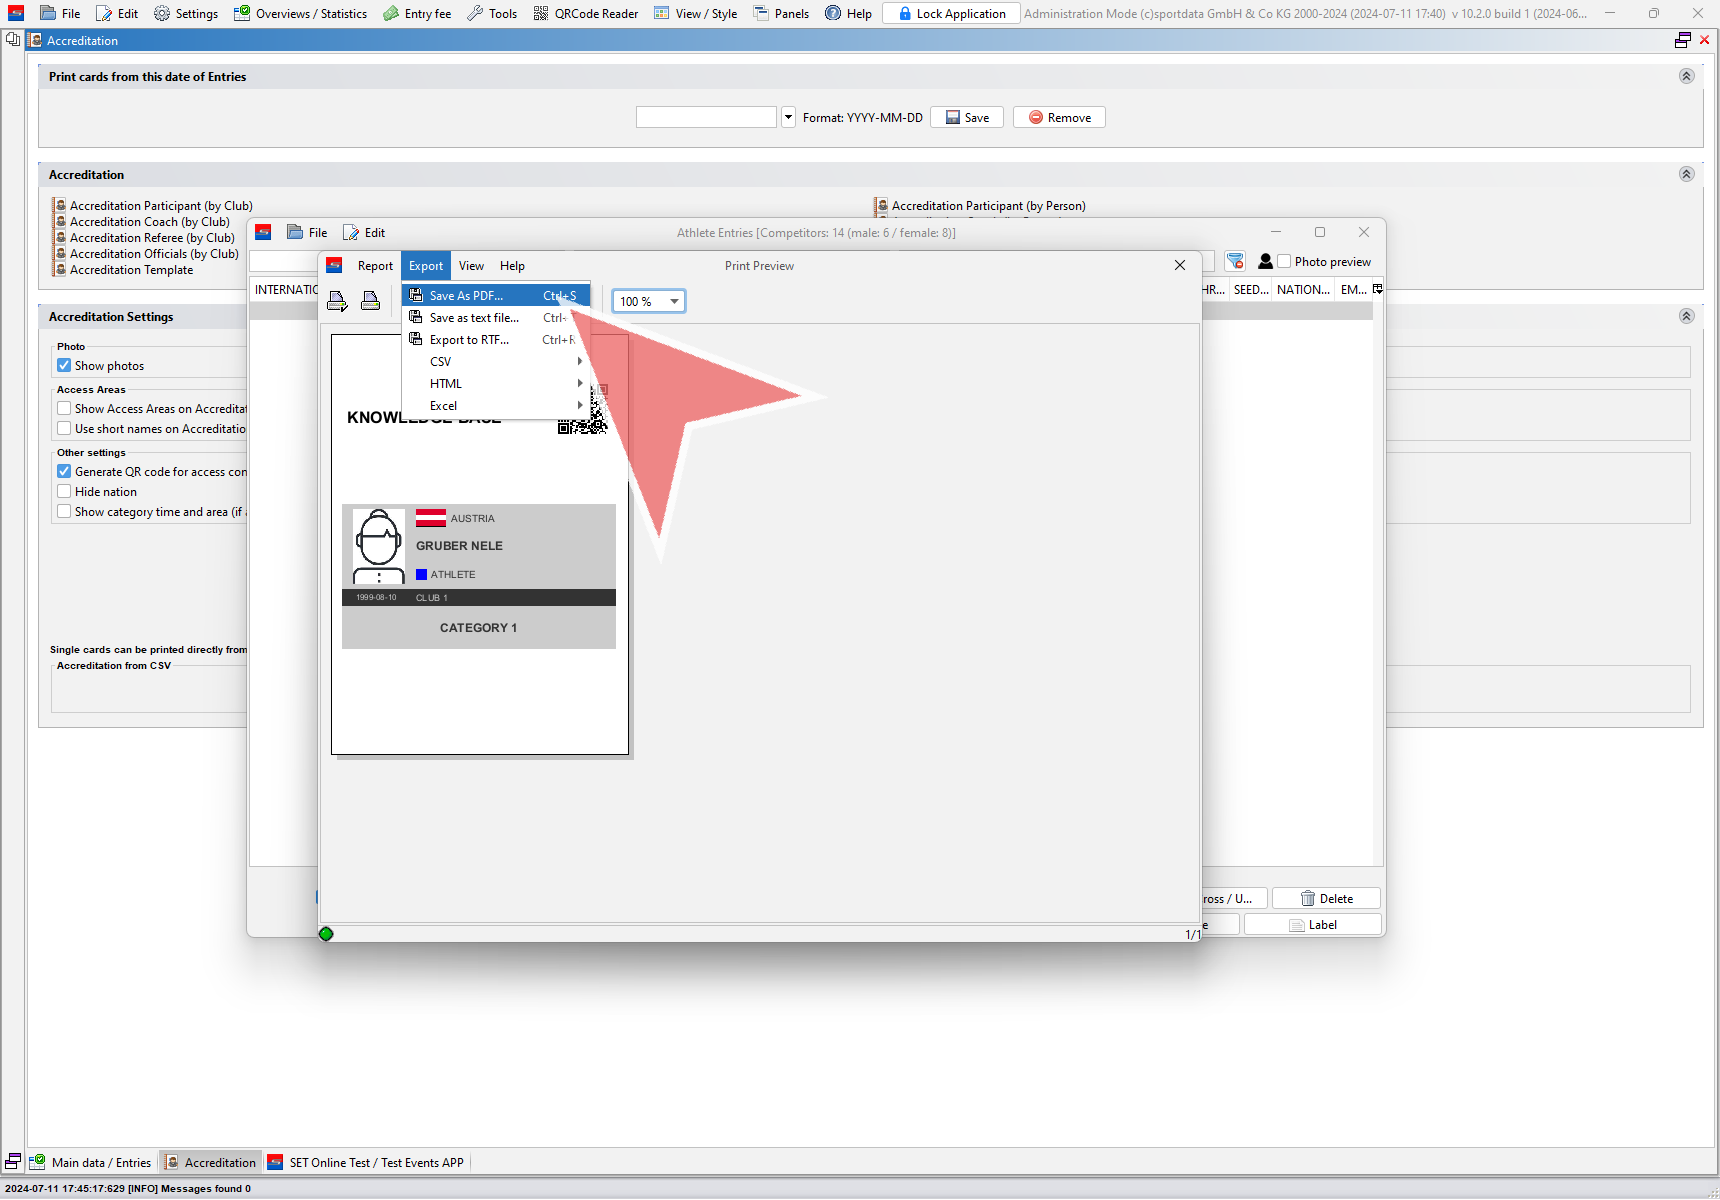
It is also possible to save the generated accreditations as a PDF.
Generate accreditations – Clubs
To generate accreditations for a whole club, use the left options. This is useful when preprinting accreditations since the club order remains and can be easily sorted.
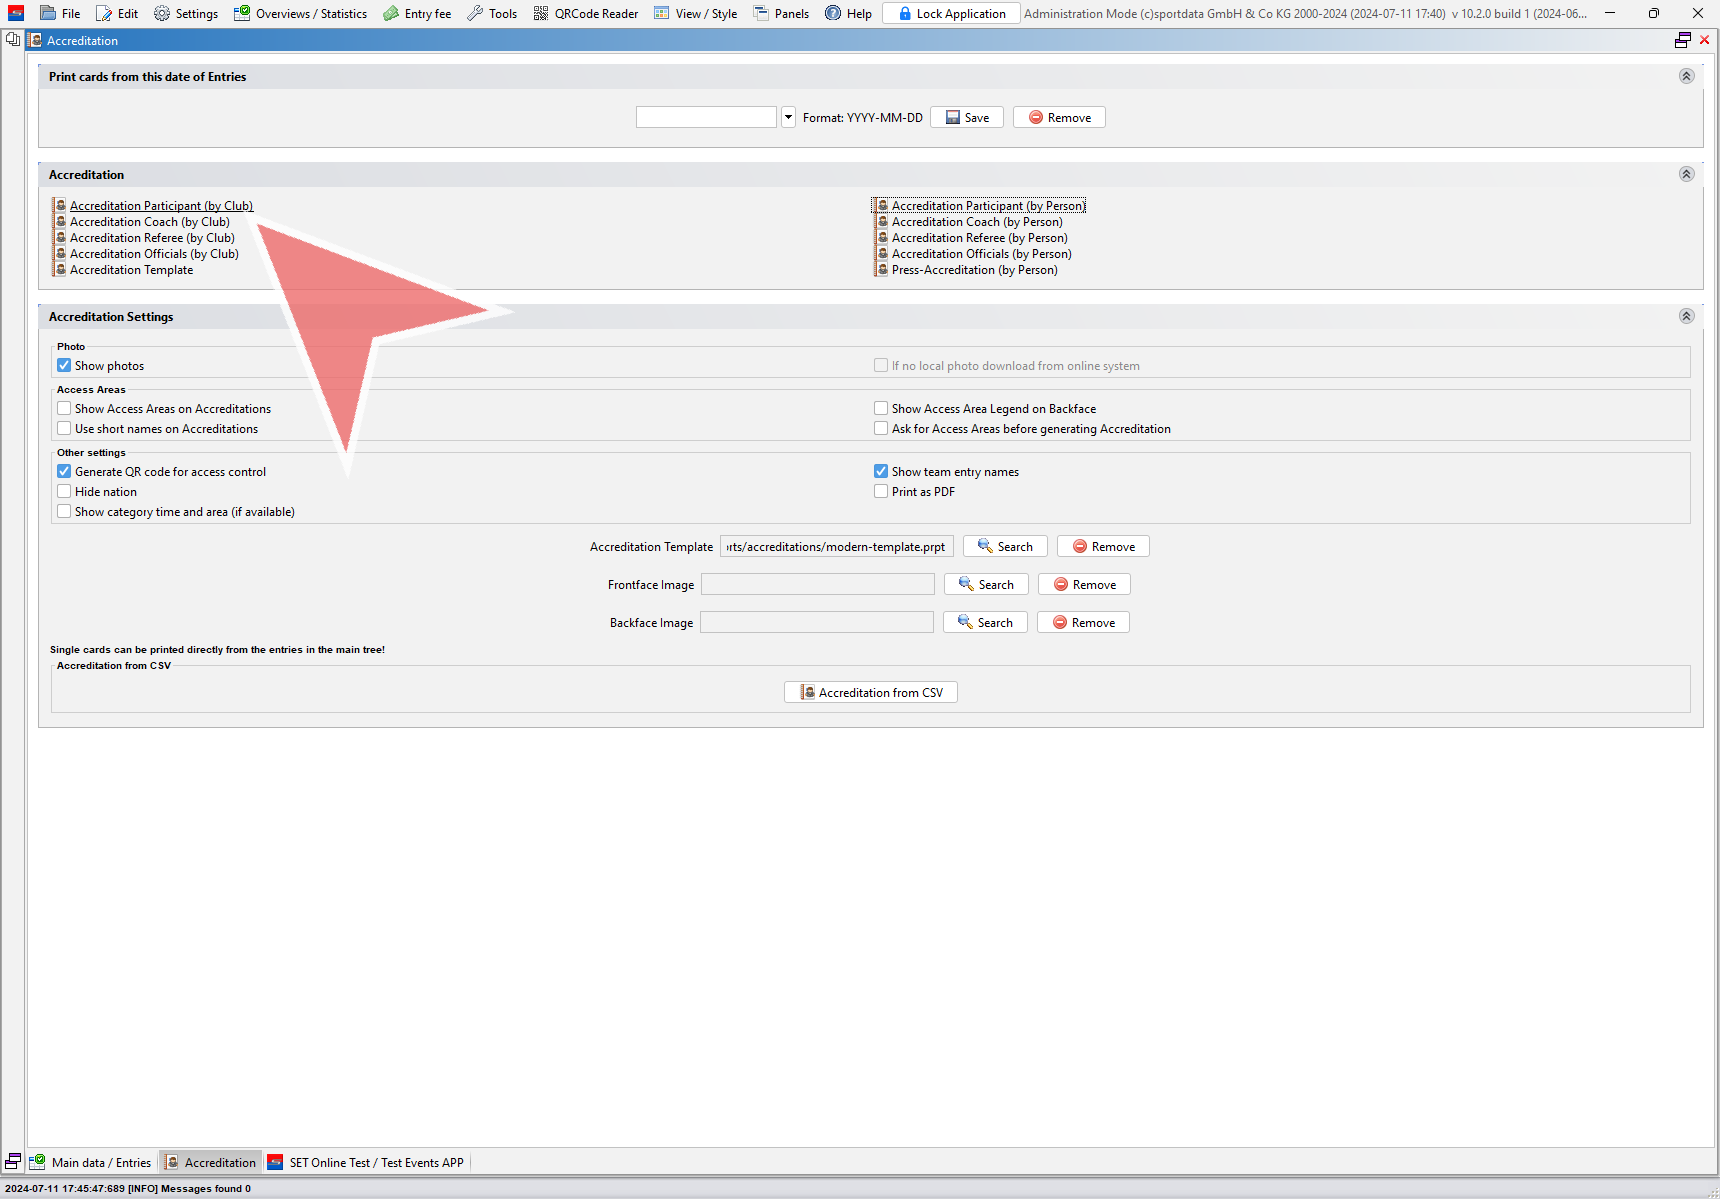
Select one, multiple or all clubs and click on “Print selection”.
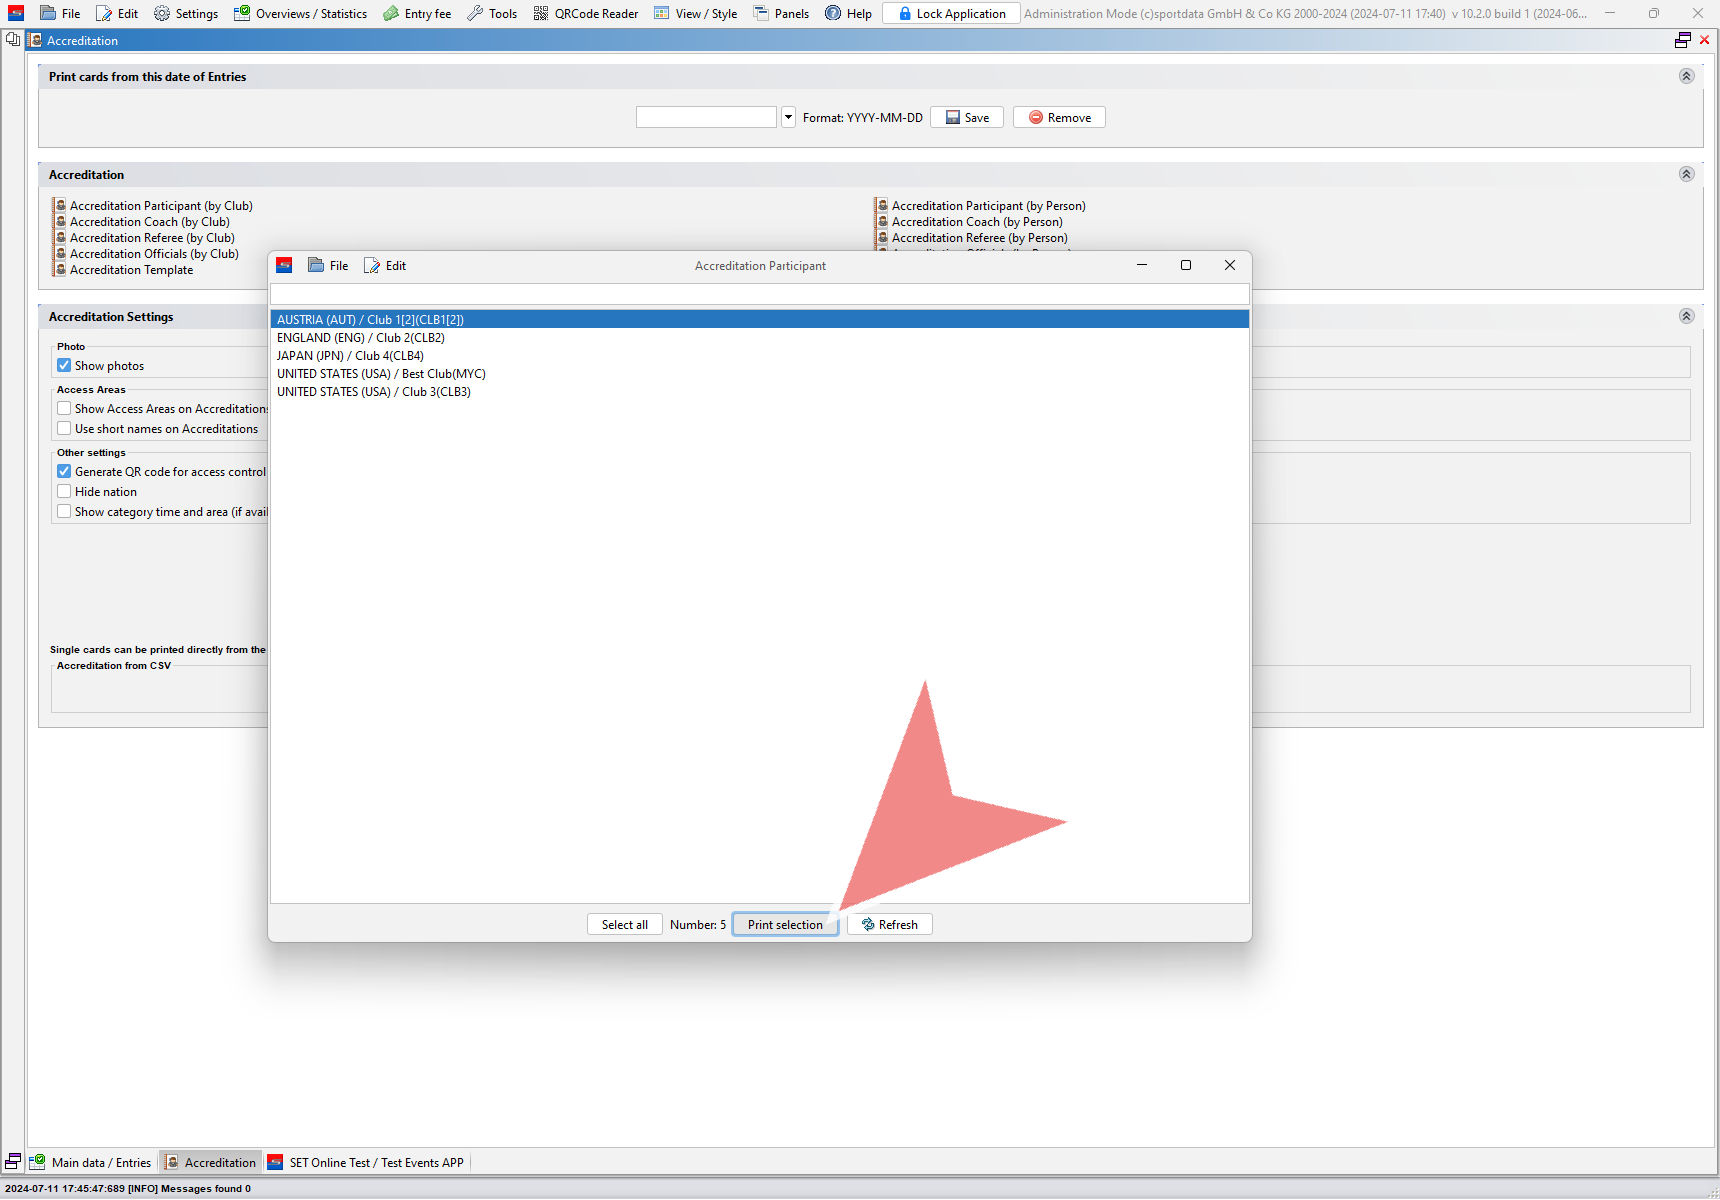
The preview of all generated accreditations pops-up and can be printed or exported as PDFs.
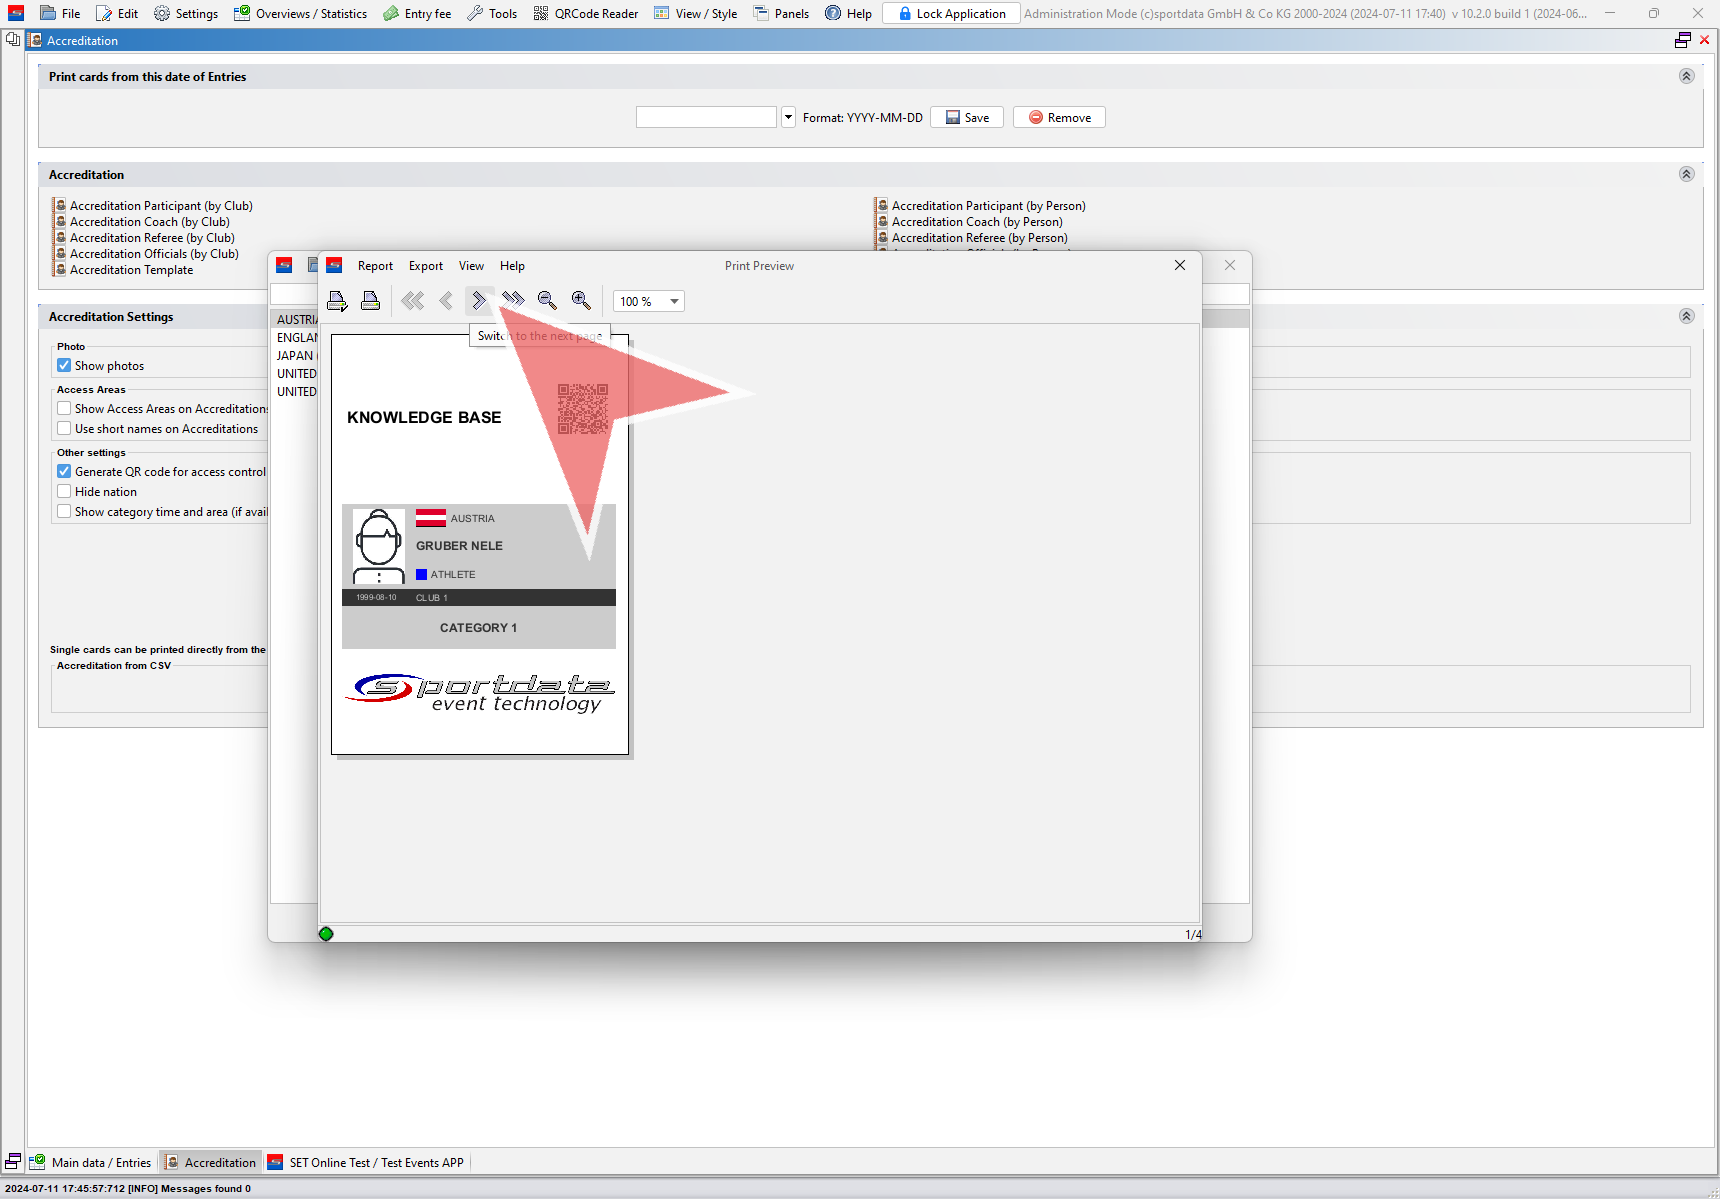
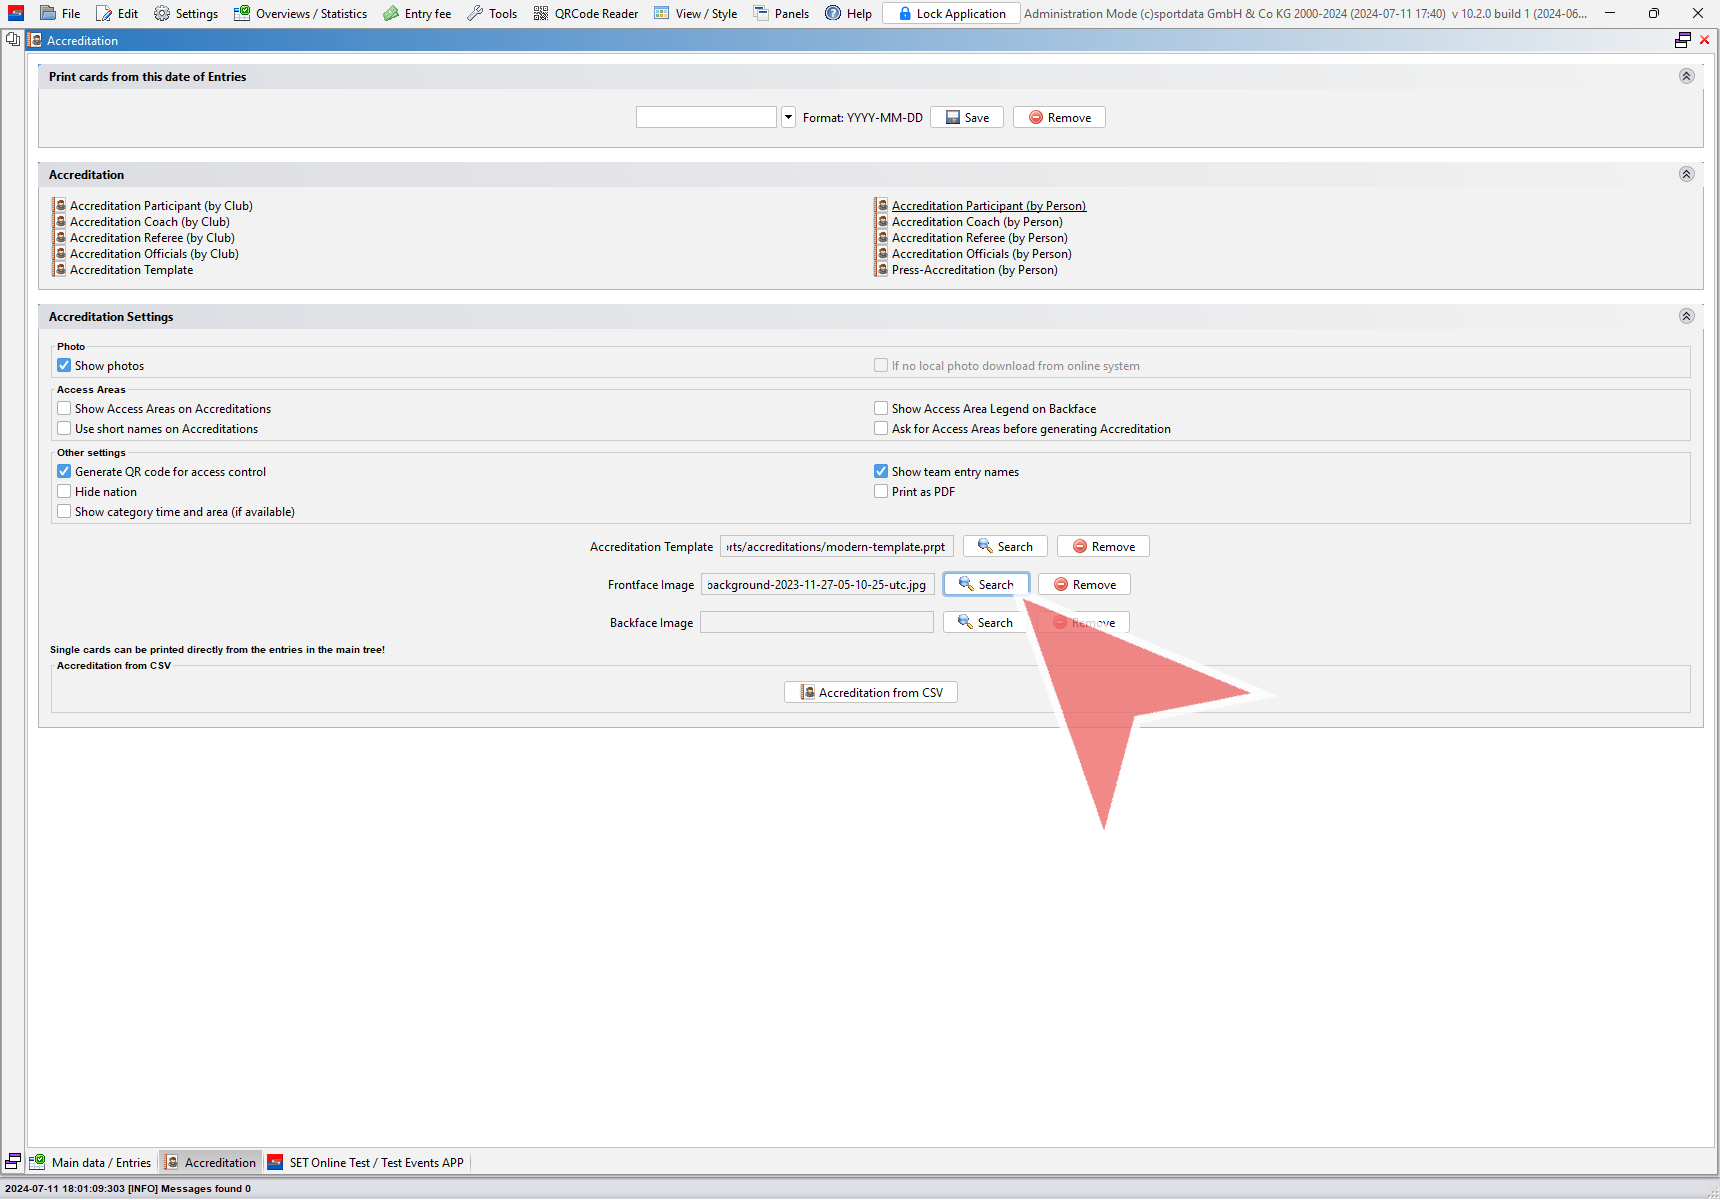
Add a background picture
You can easily add a background picture for your accreditation by selecting it as “Frontface Image”. The same works for the backside with using a “Backface Image”.
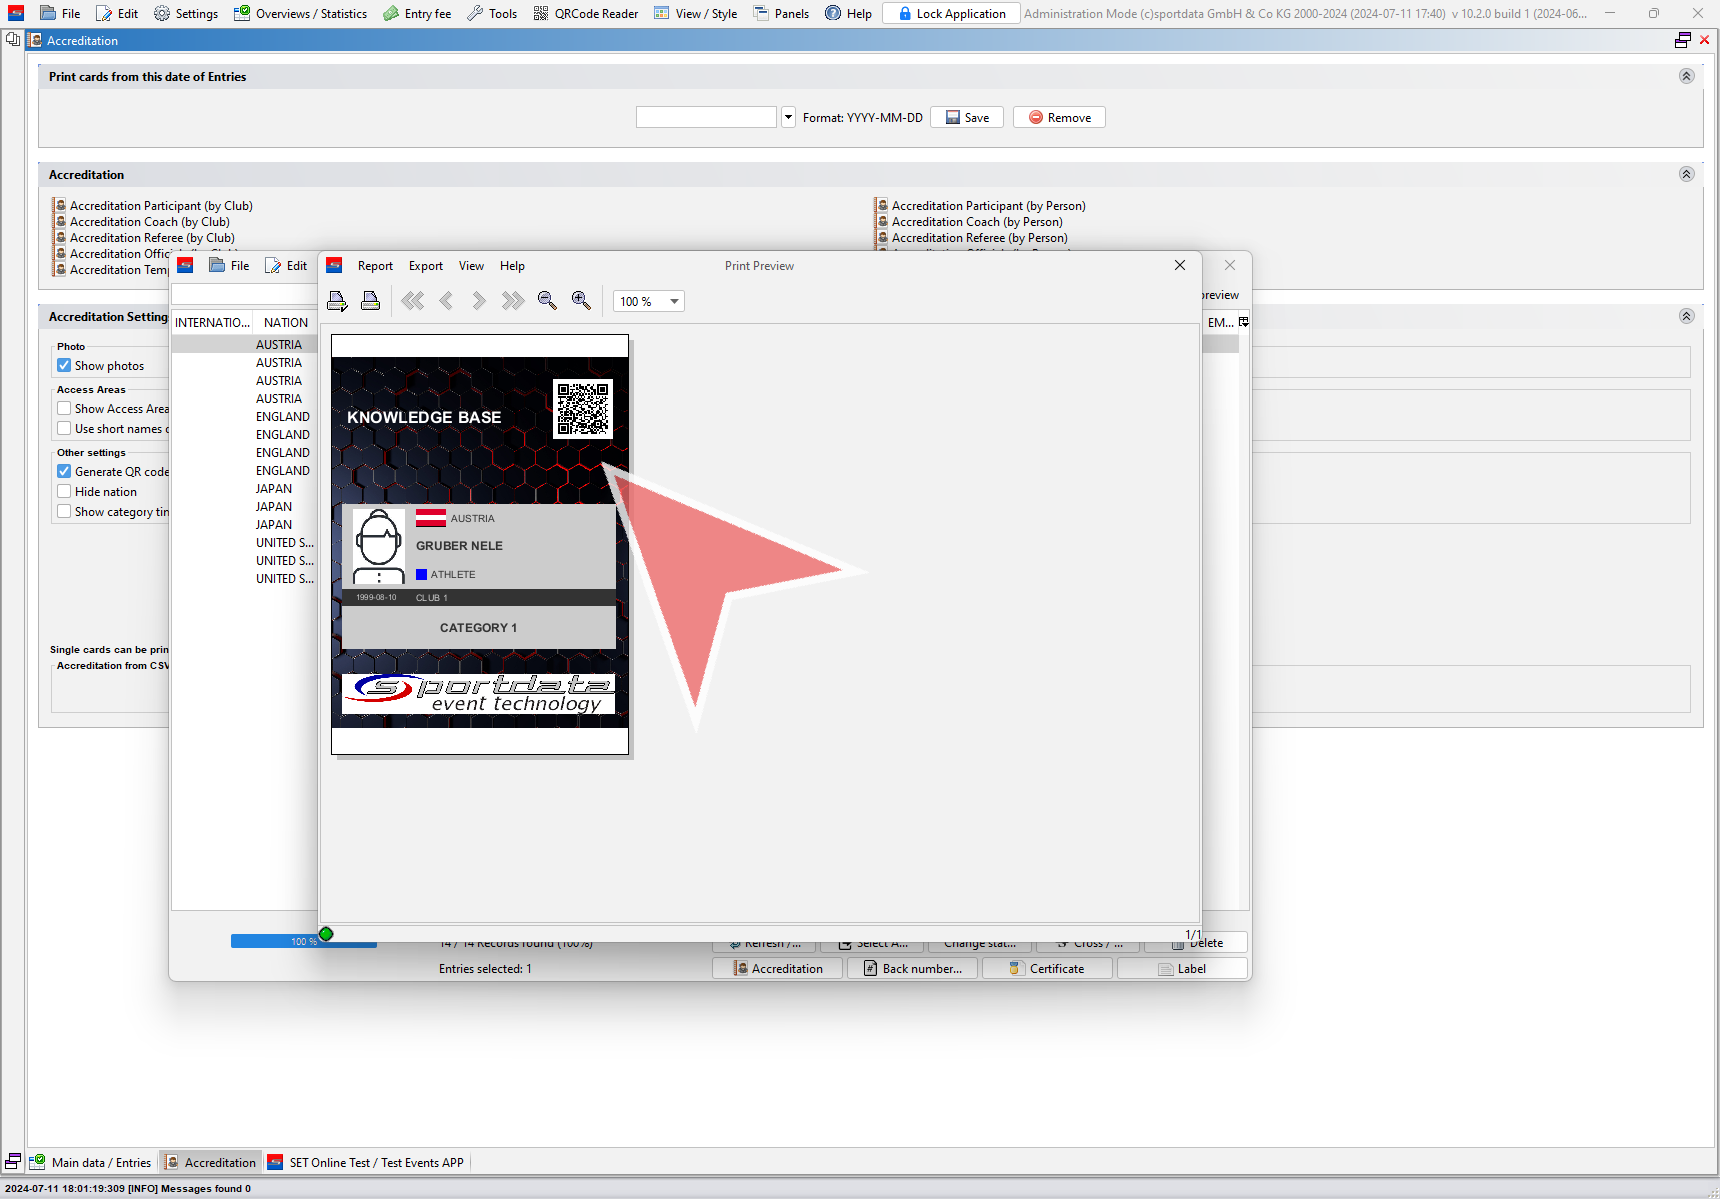
The accreditation with the background picture is shown in the preview.
Add and change logos
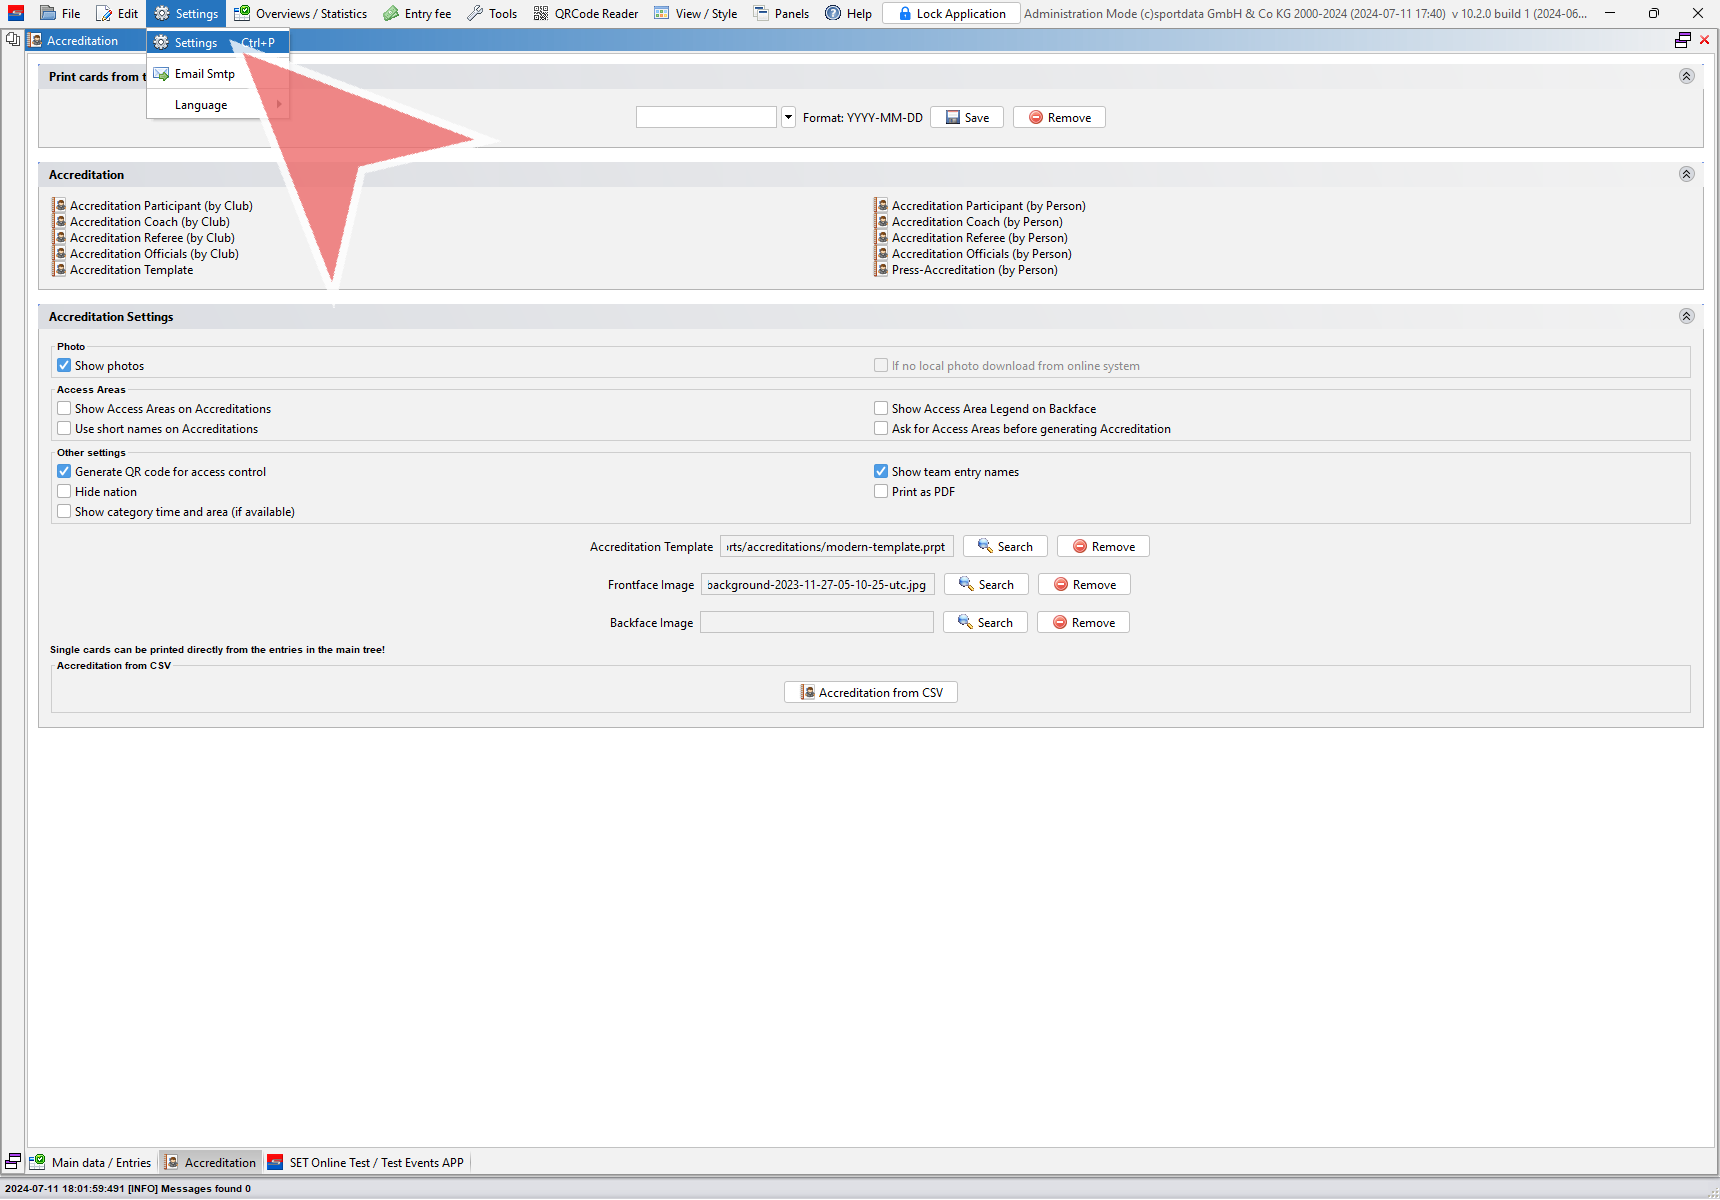
Most accreditation templates include logos. To change these go to “Settings”.
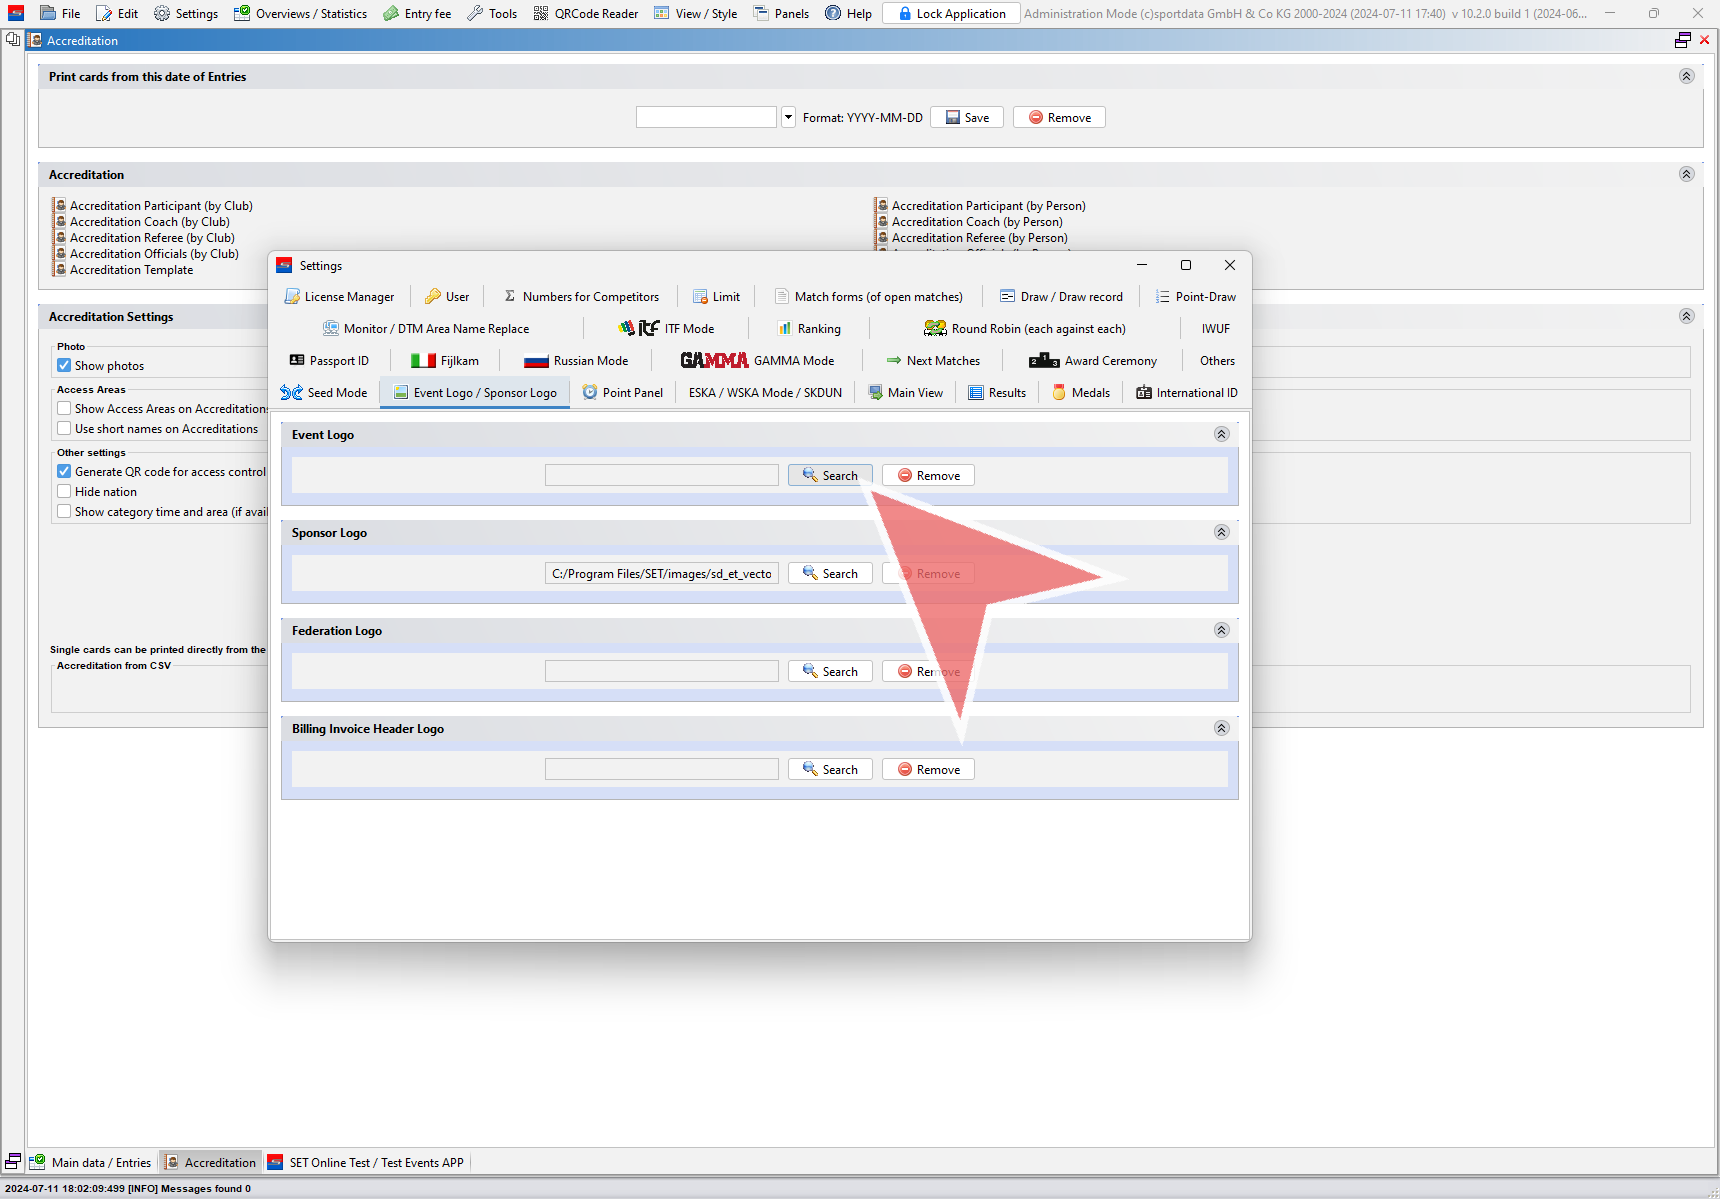
Go to the “Event Logo / Sponsor Logo” tab and click on the search button next to the logo you would like to change.
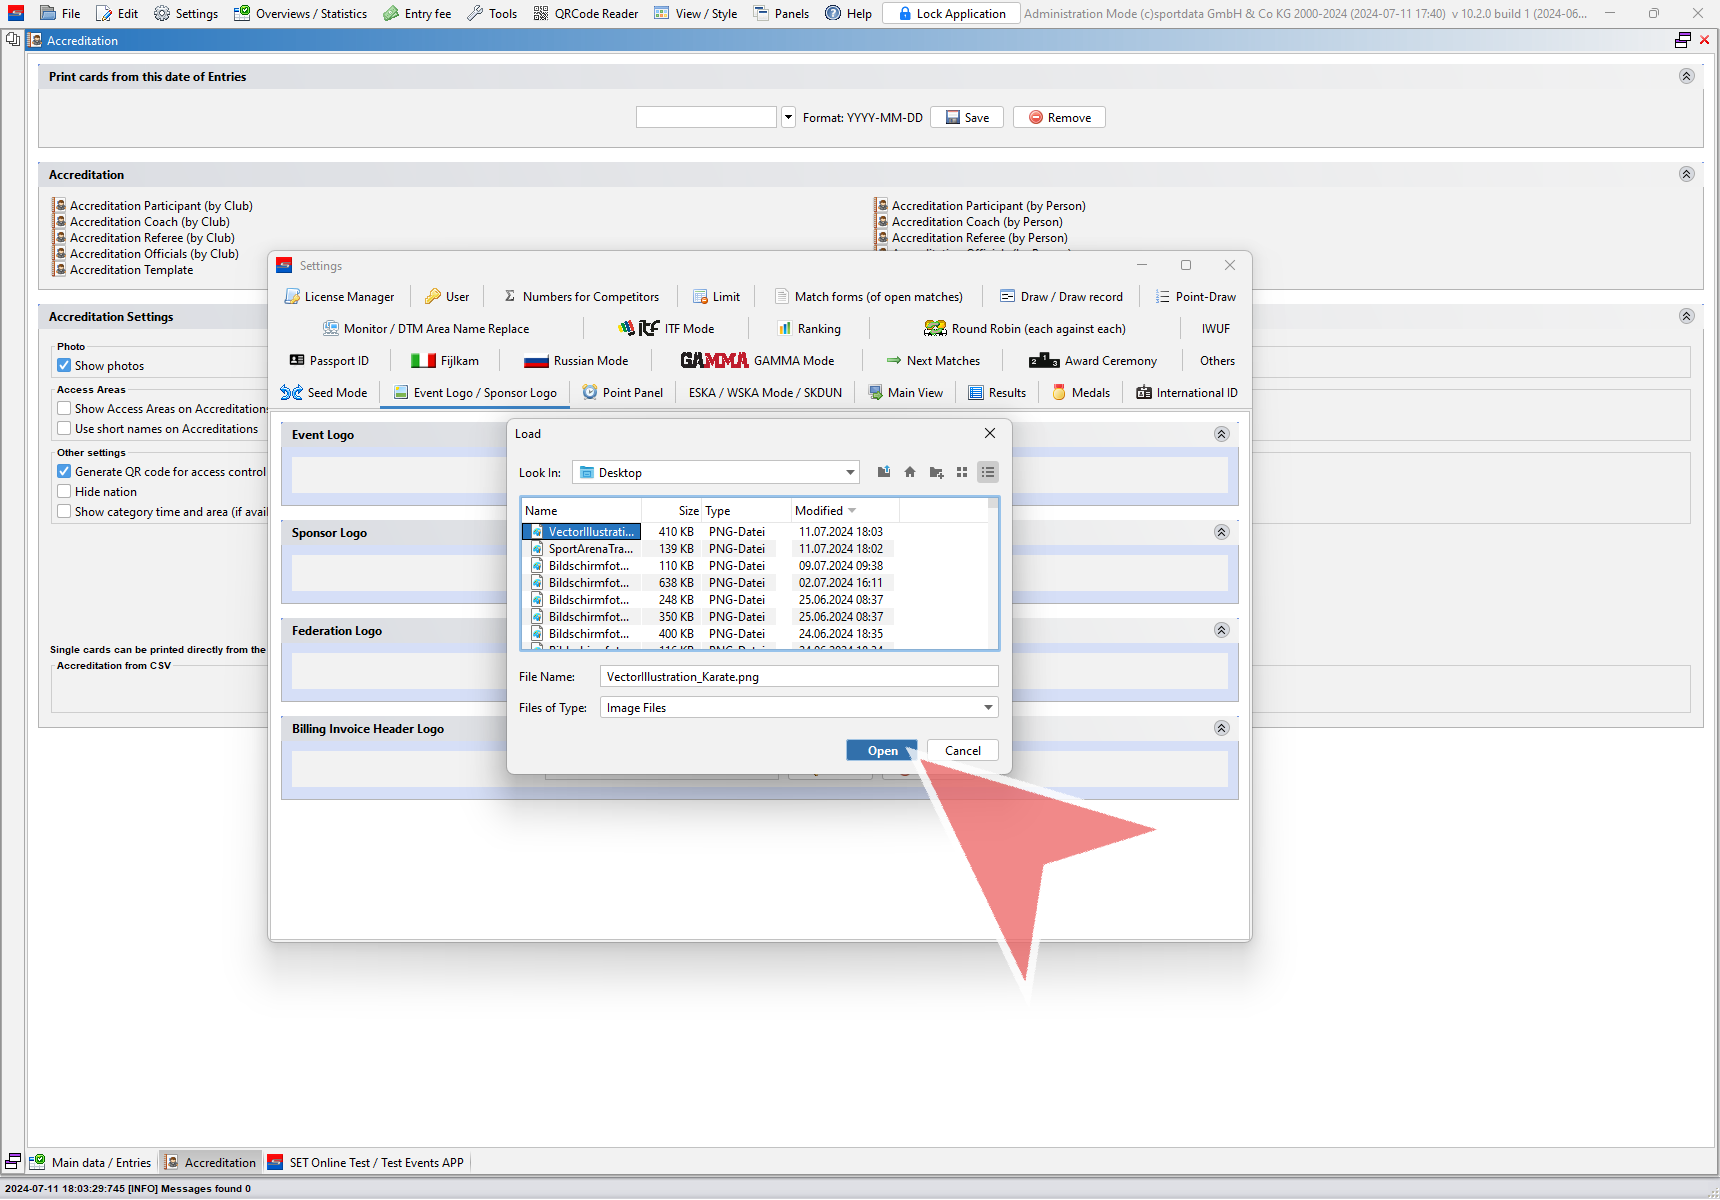
Select the correct file and click on “Open”.
The new logos are shown on the accreditation, the location is determined by the template. The “modern-template” for example shows the event logo on top and the sponsor logo at the bottom.
