This article gives a short overview about the options and function of the entry list and how to organize and work with it. The structure of the different entry lists (athletes, coaches, officials, etc) are quite similar and adapt to the different requirements. This explanation bases on the athletes entry list.
Interactive Demo
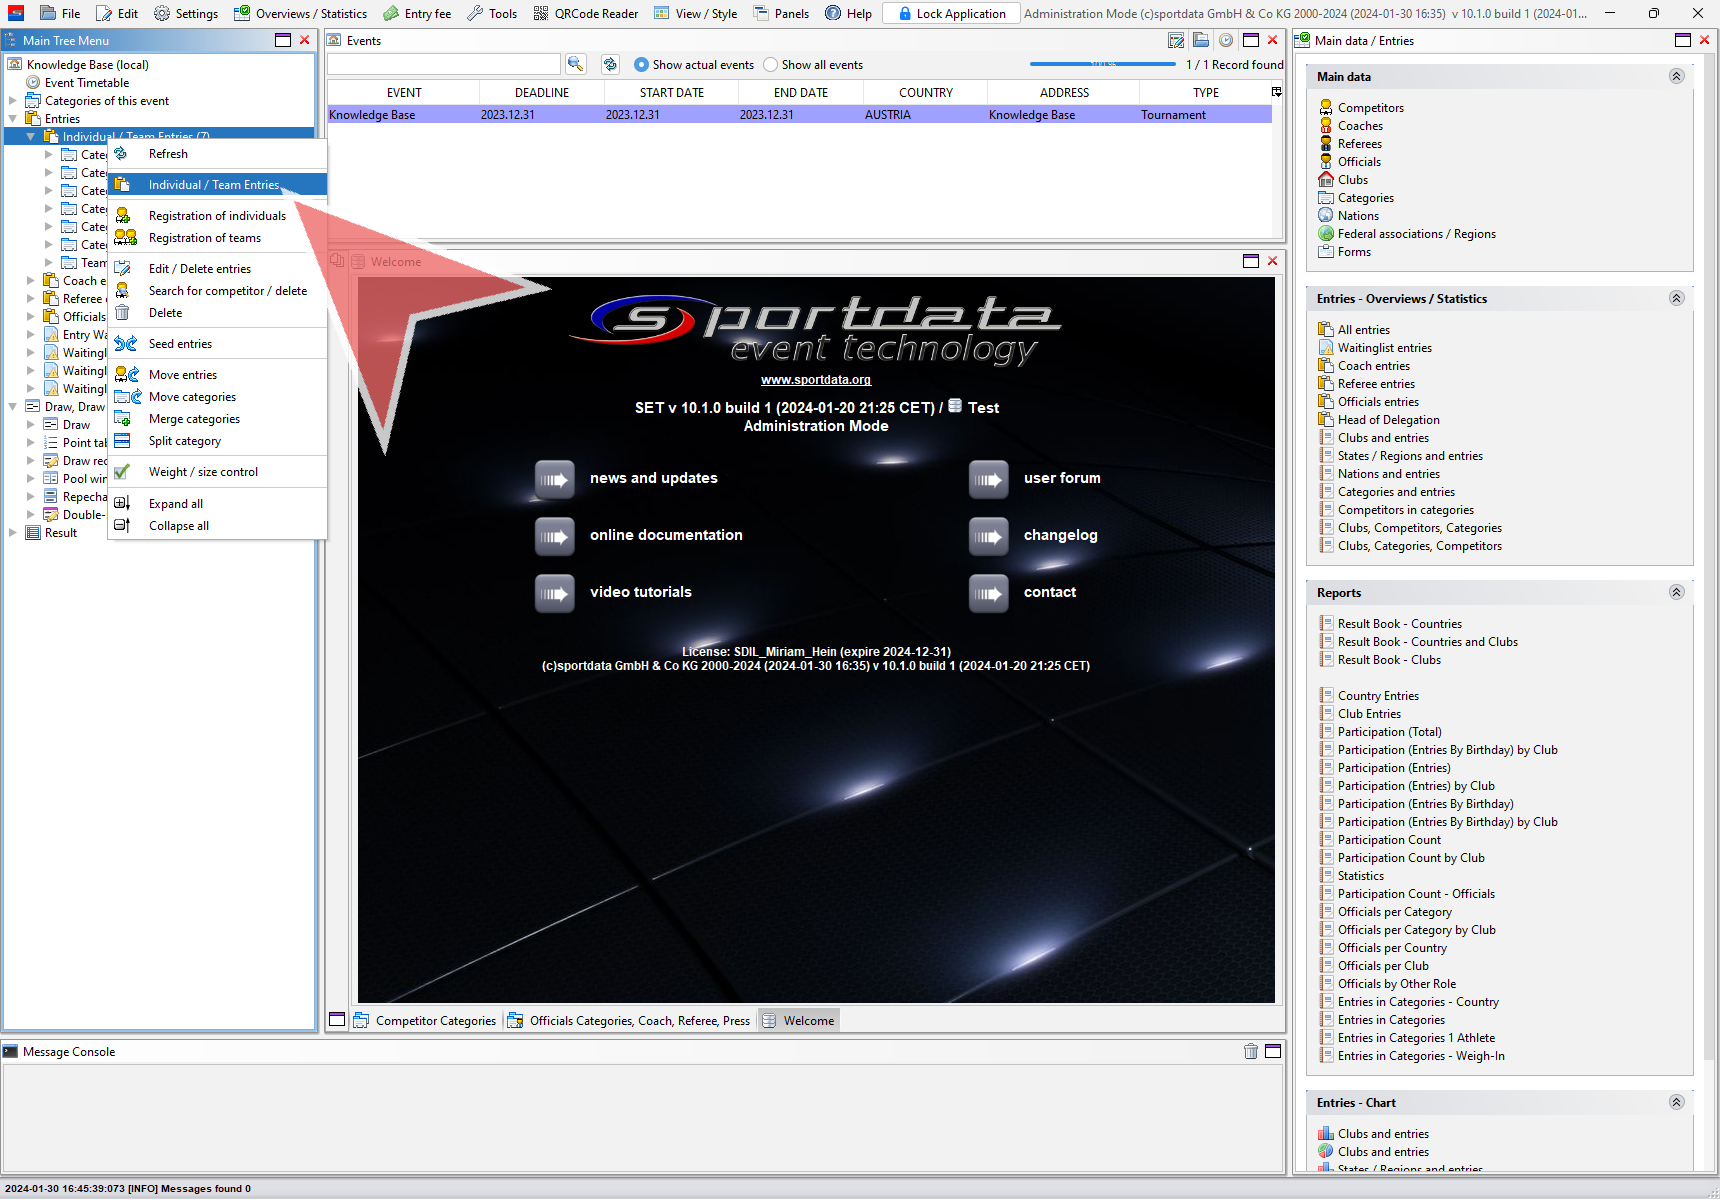
Open the entry list
To open the entry list log in with the administration mode and rightclick on “Individual / Team Entries” and select “Individual / Team Entries” from the shown menu.
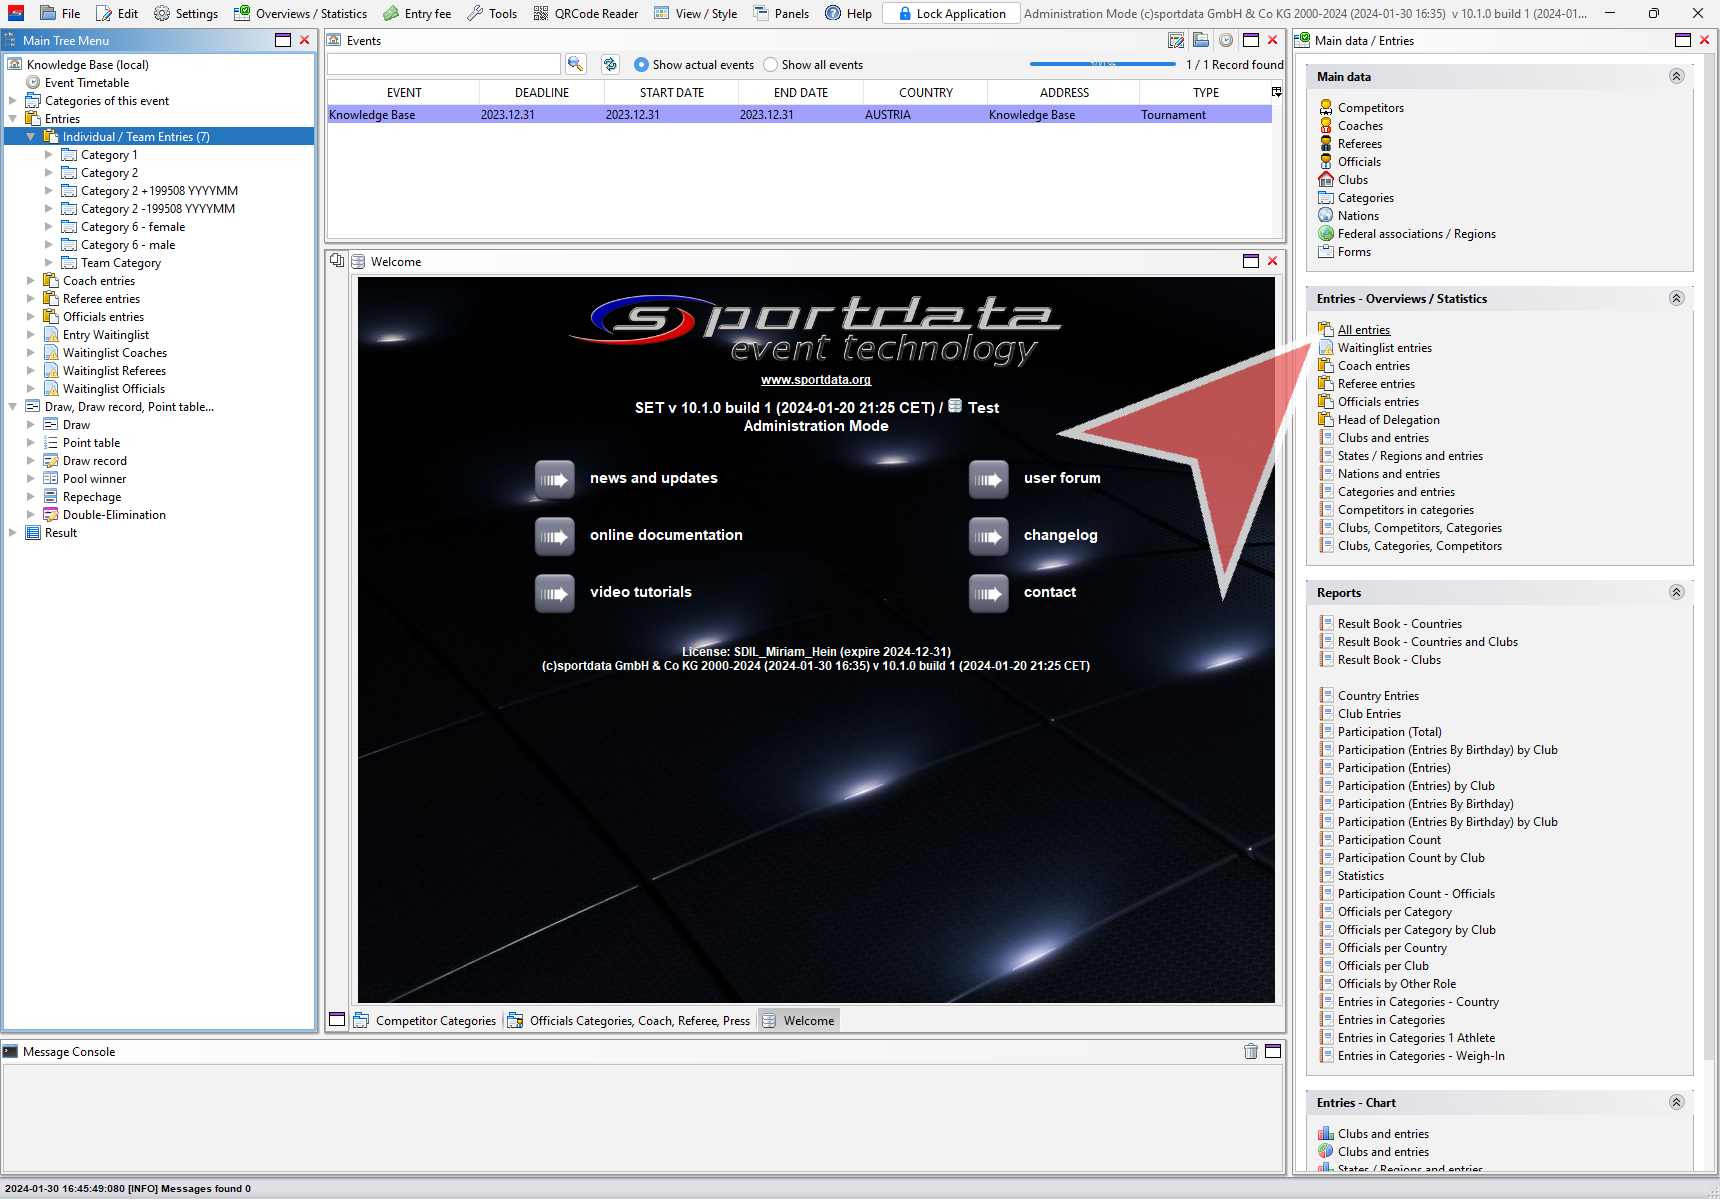
Alternatively click on “All entries” in the “Main data / Entries”-panel.
How to organise the entry list
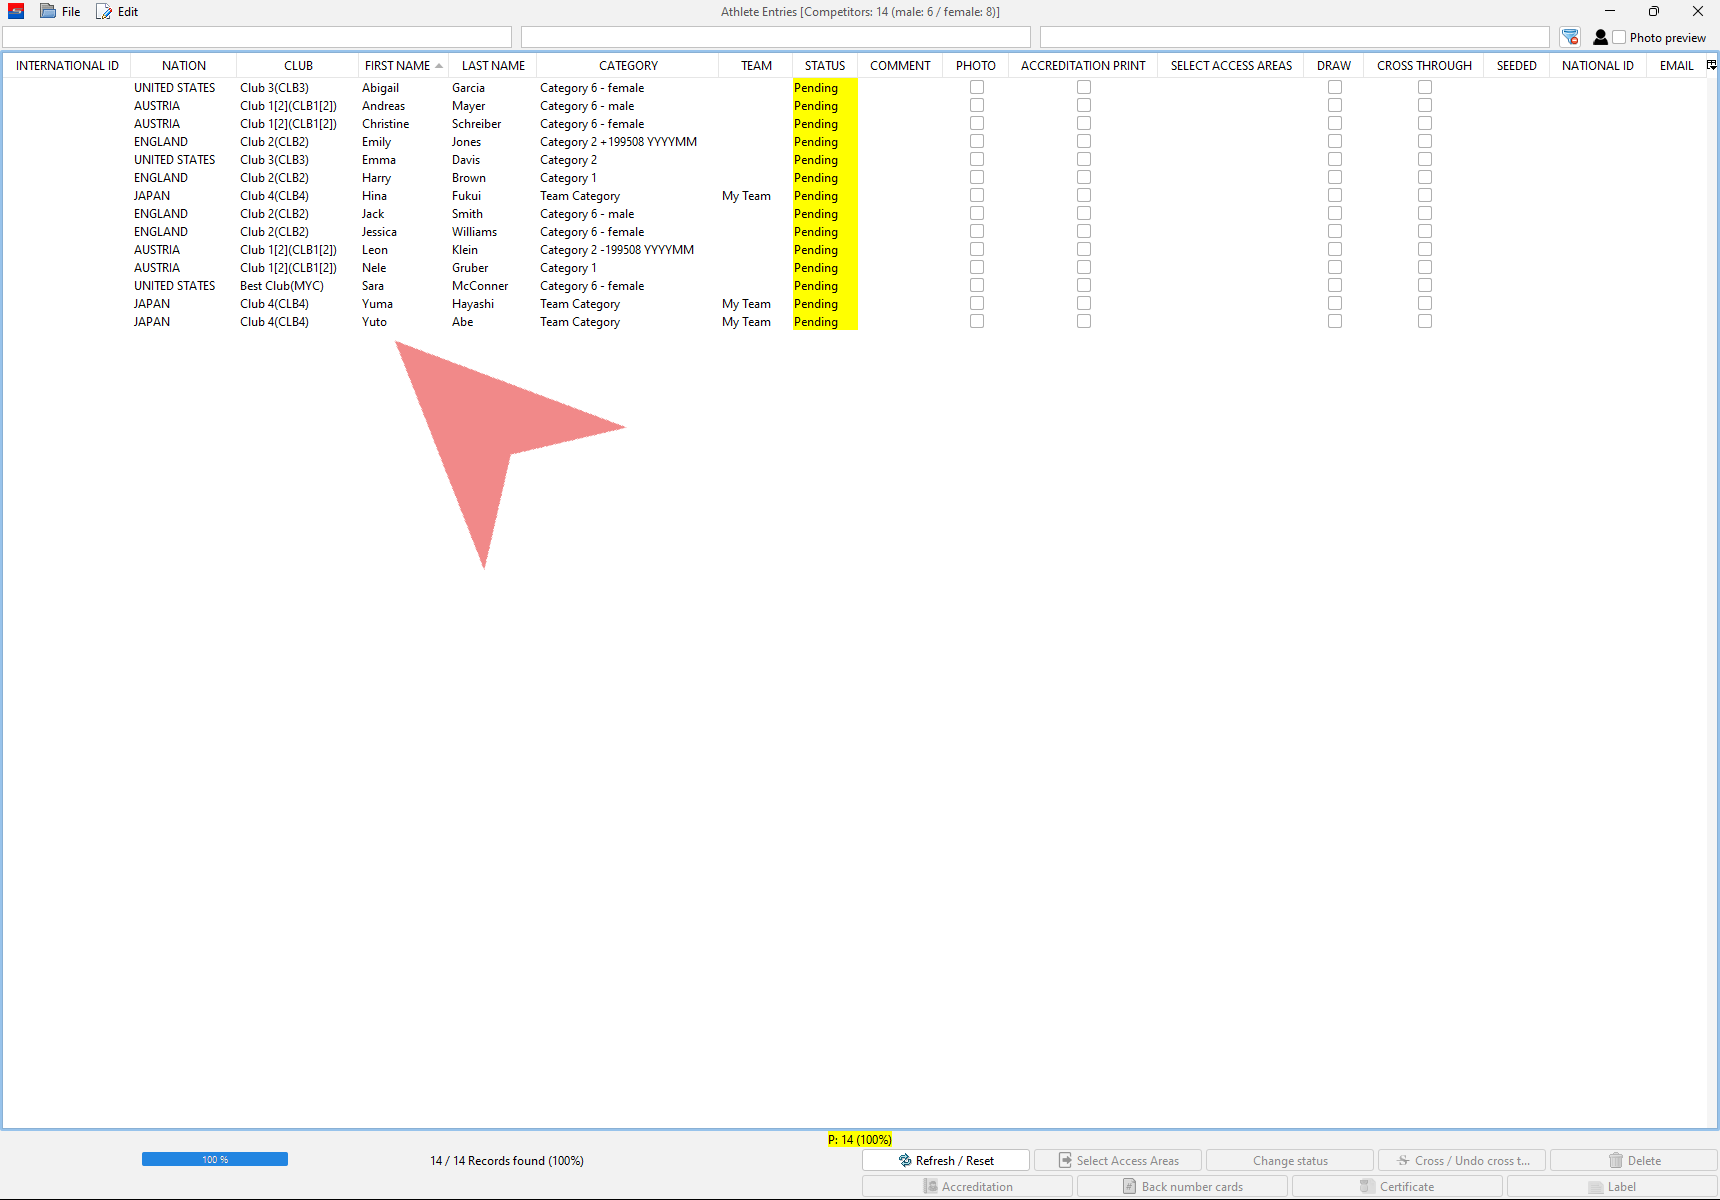
The entry list shows all current entries and their details organised in colums. Click on the headline of a column to sort the list by that column.
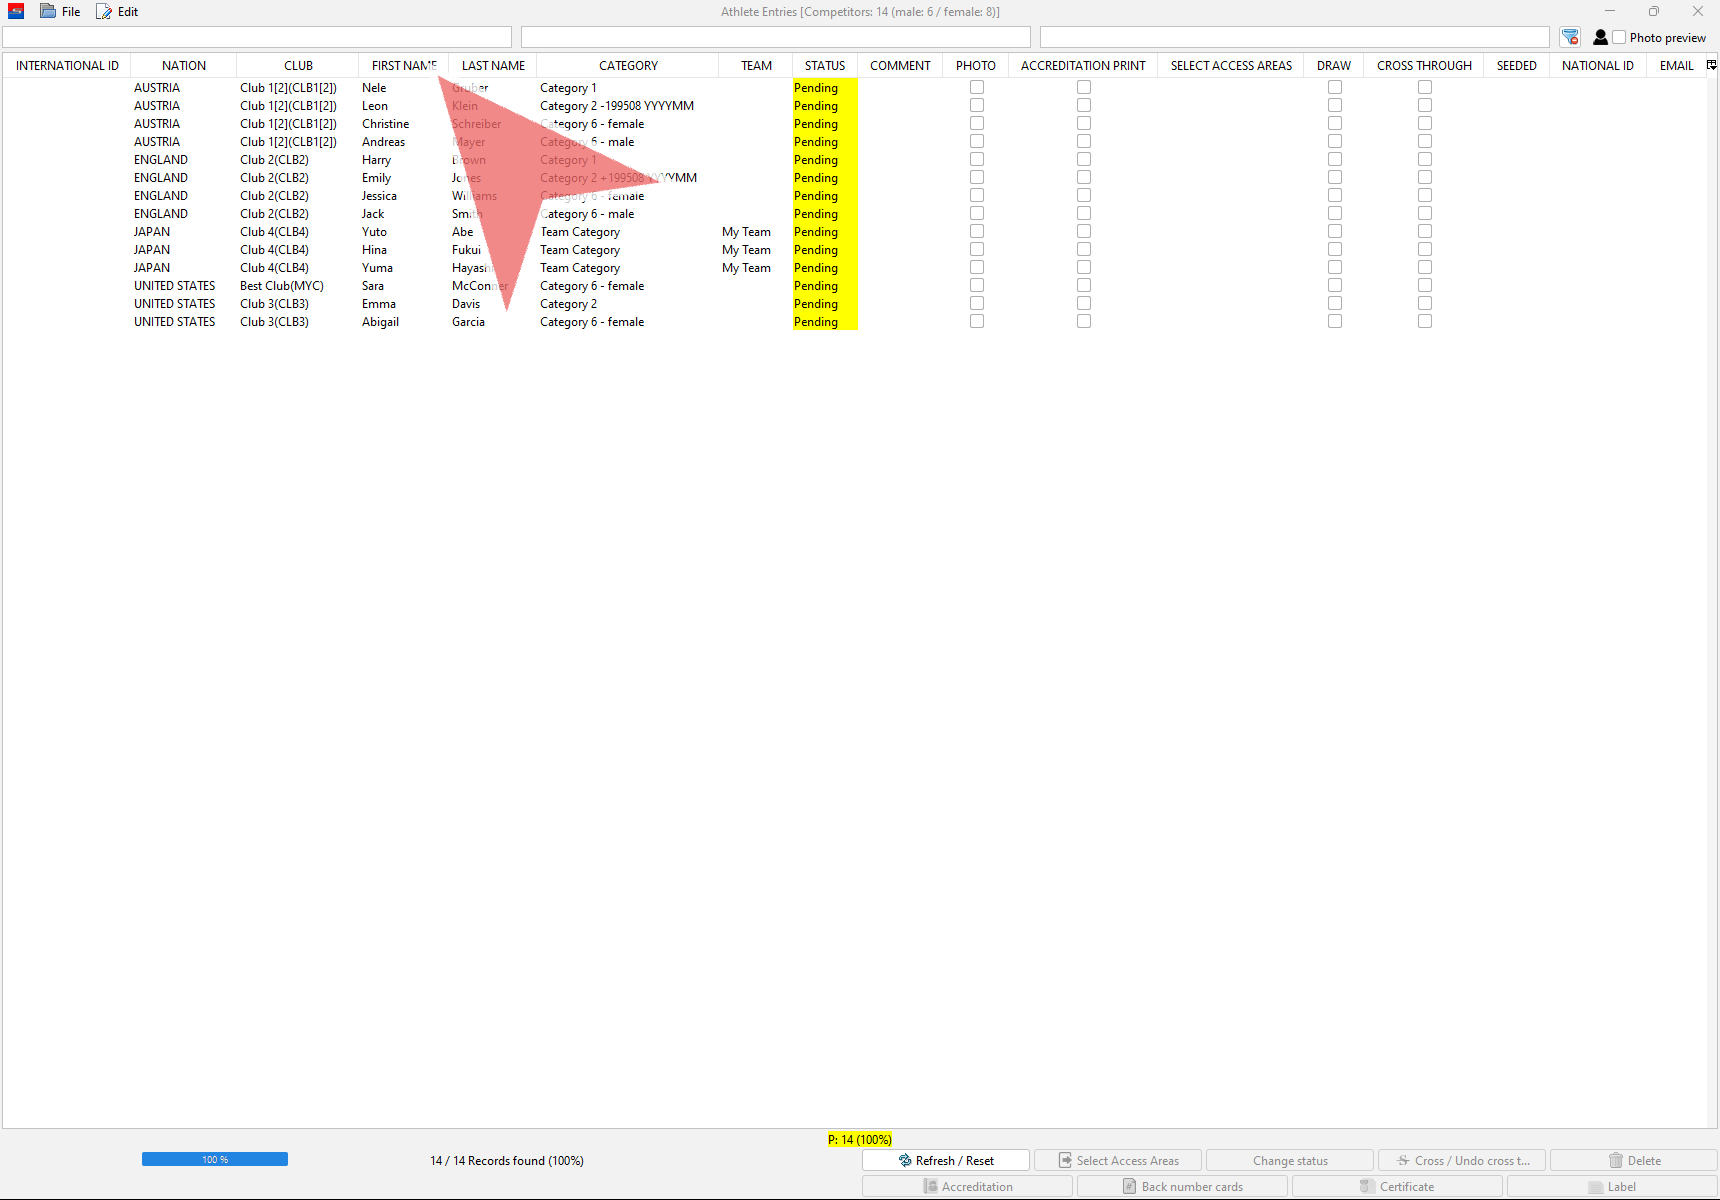
If you click again on the same headline it will sort the list in reverse order. Click on headlines in order to sort them by mulitple characteristics (e.g first by nation then by category)
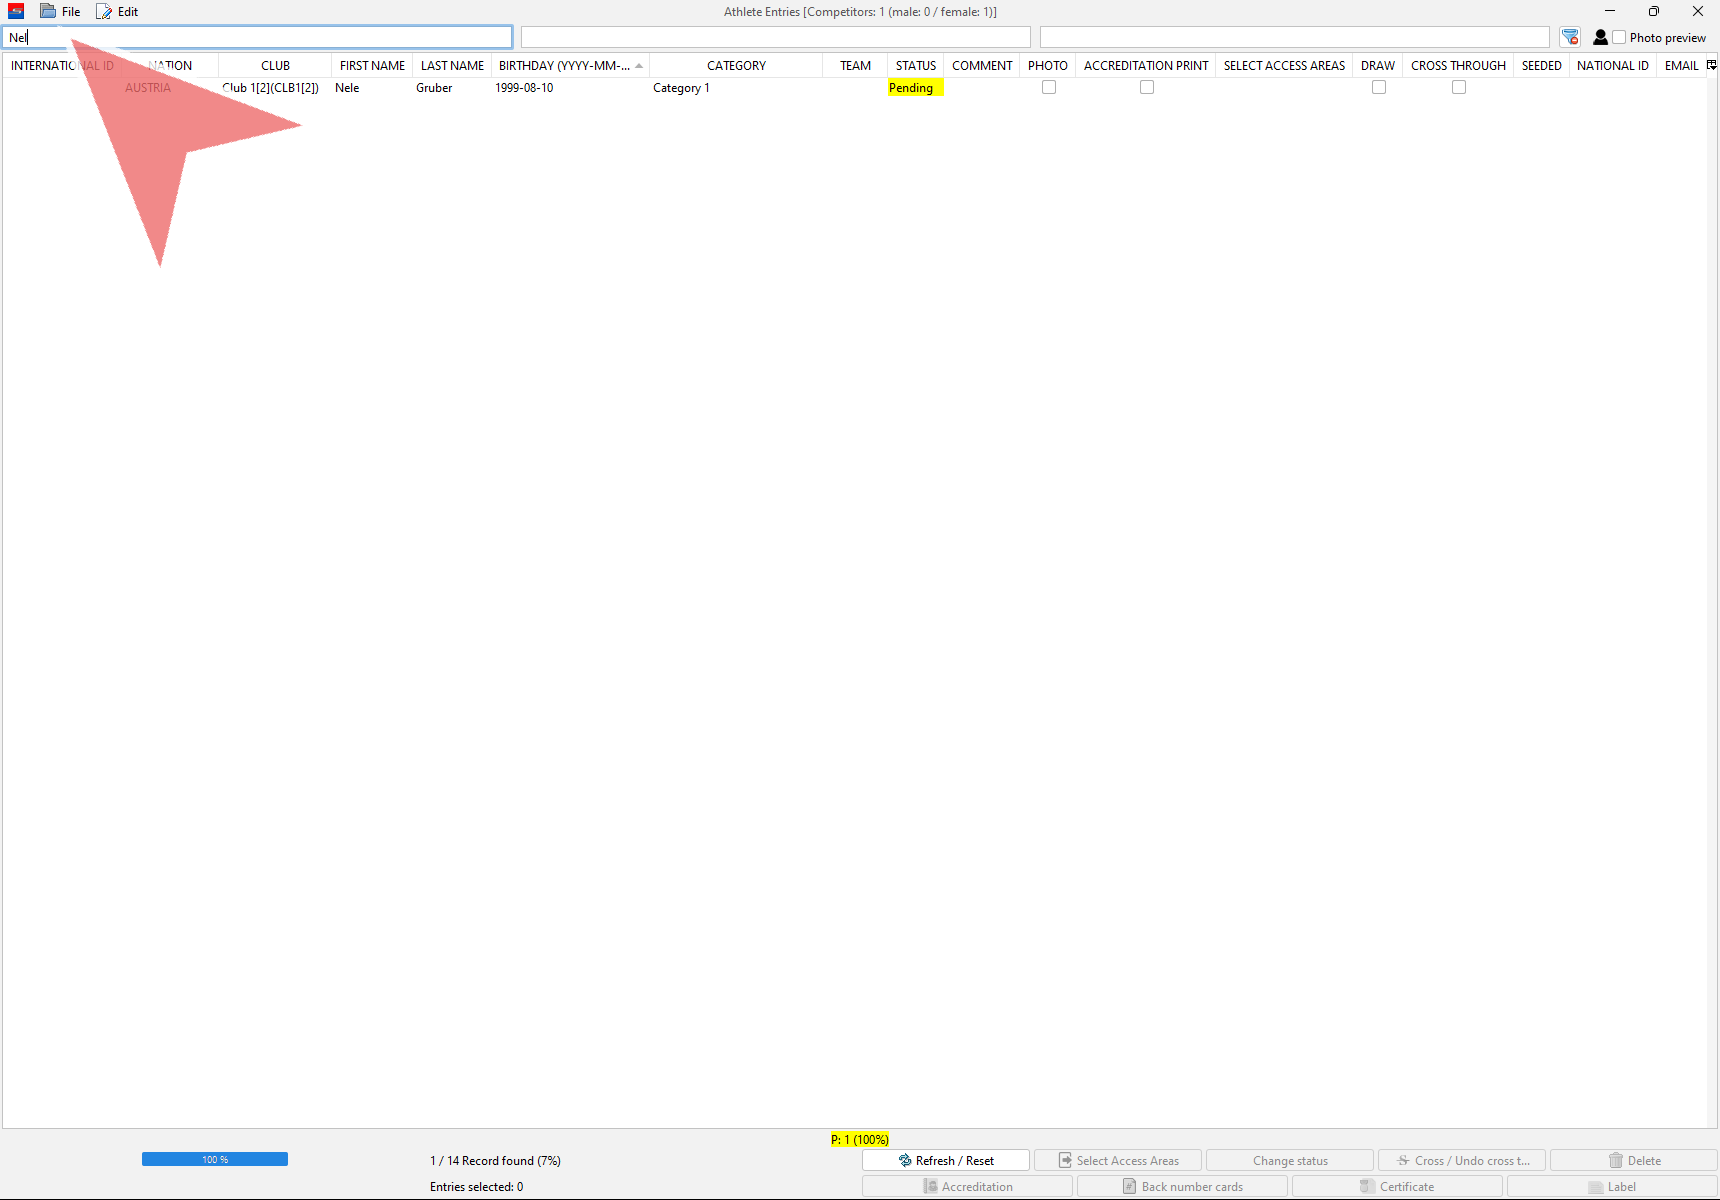
Usage of filters
To filter the list by to find certain entries type in the sought information (e.g. a name) in one of the 3 text fields and the list will be automatically adjusted. It is also possible to use multiple filters at the same time.
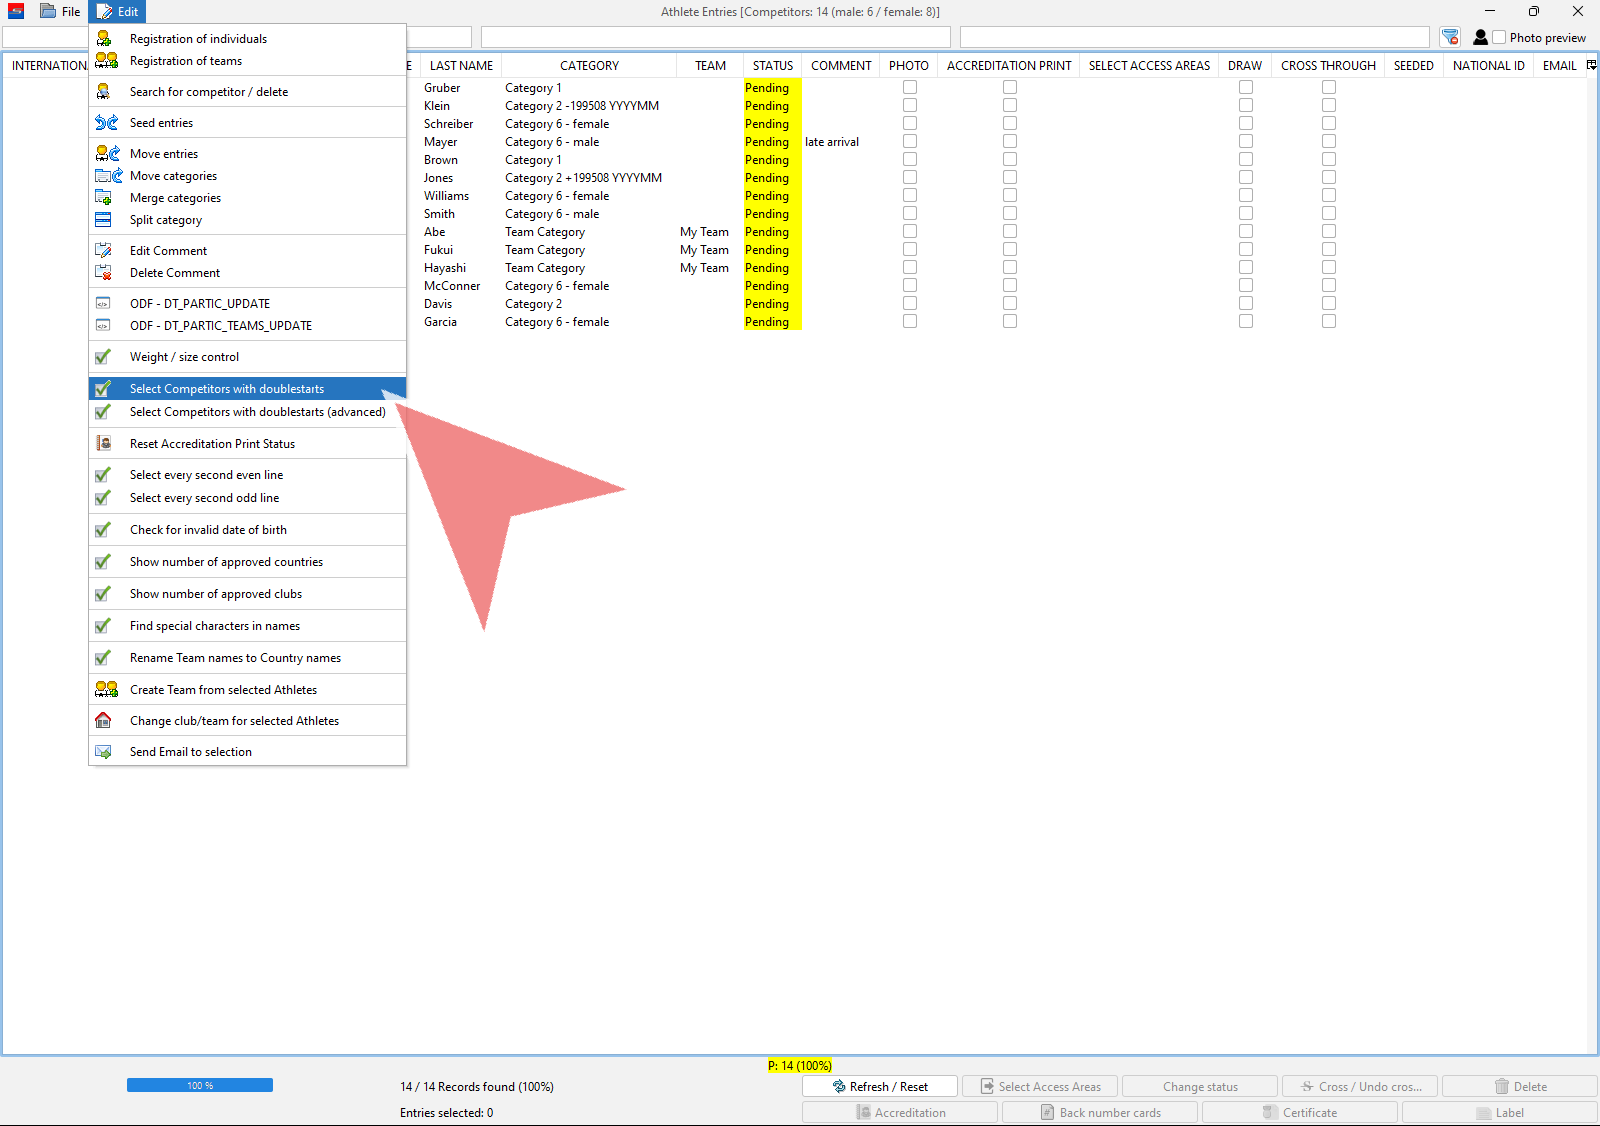
Selection options
To access additional selection options, go to “Edit” and choose the desired function. All corresponding athletes will be marked afterwards.
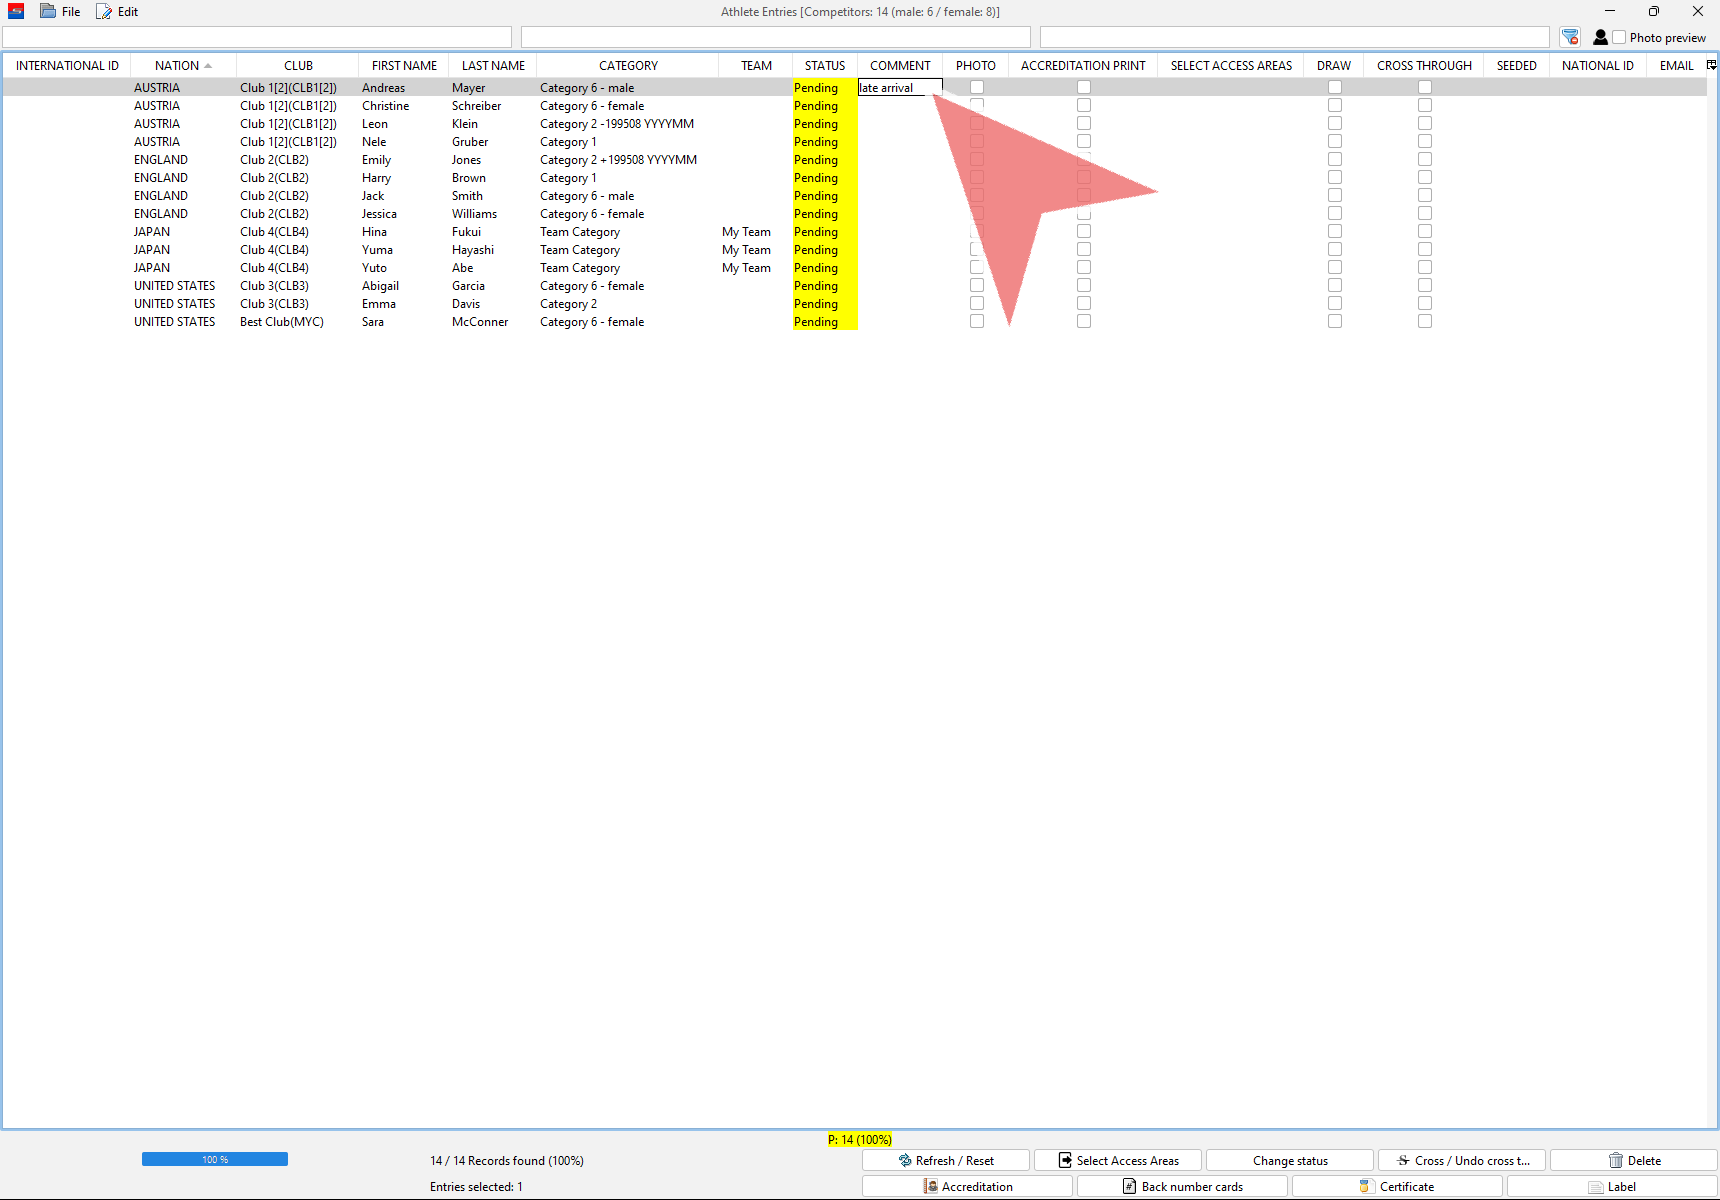
Comment function
Double-click on the comment field of an entry to enter a comment.
Print accreditations
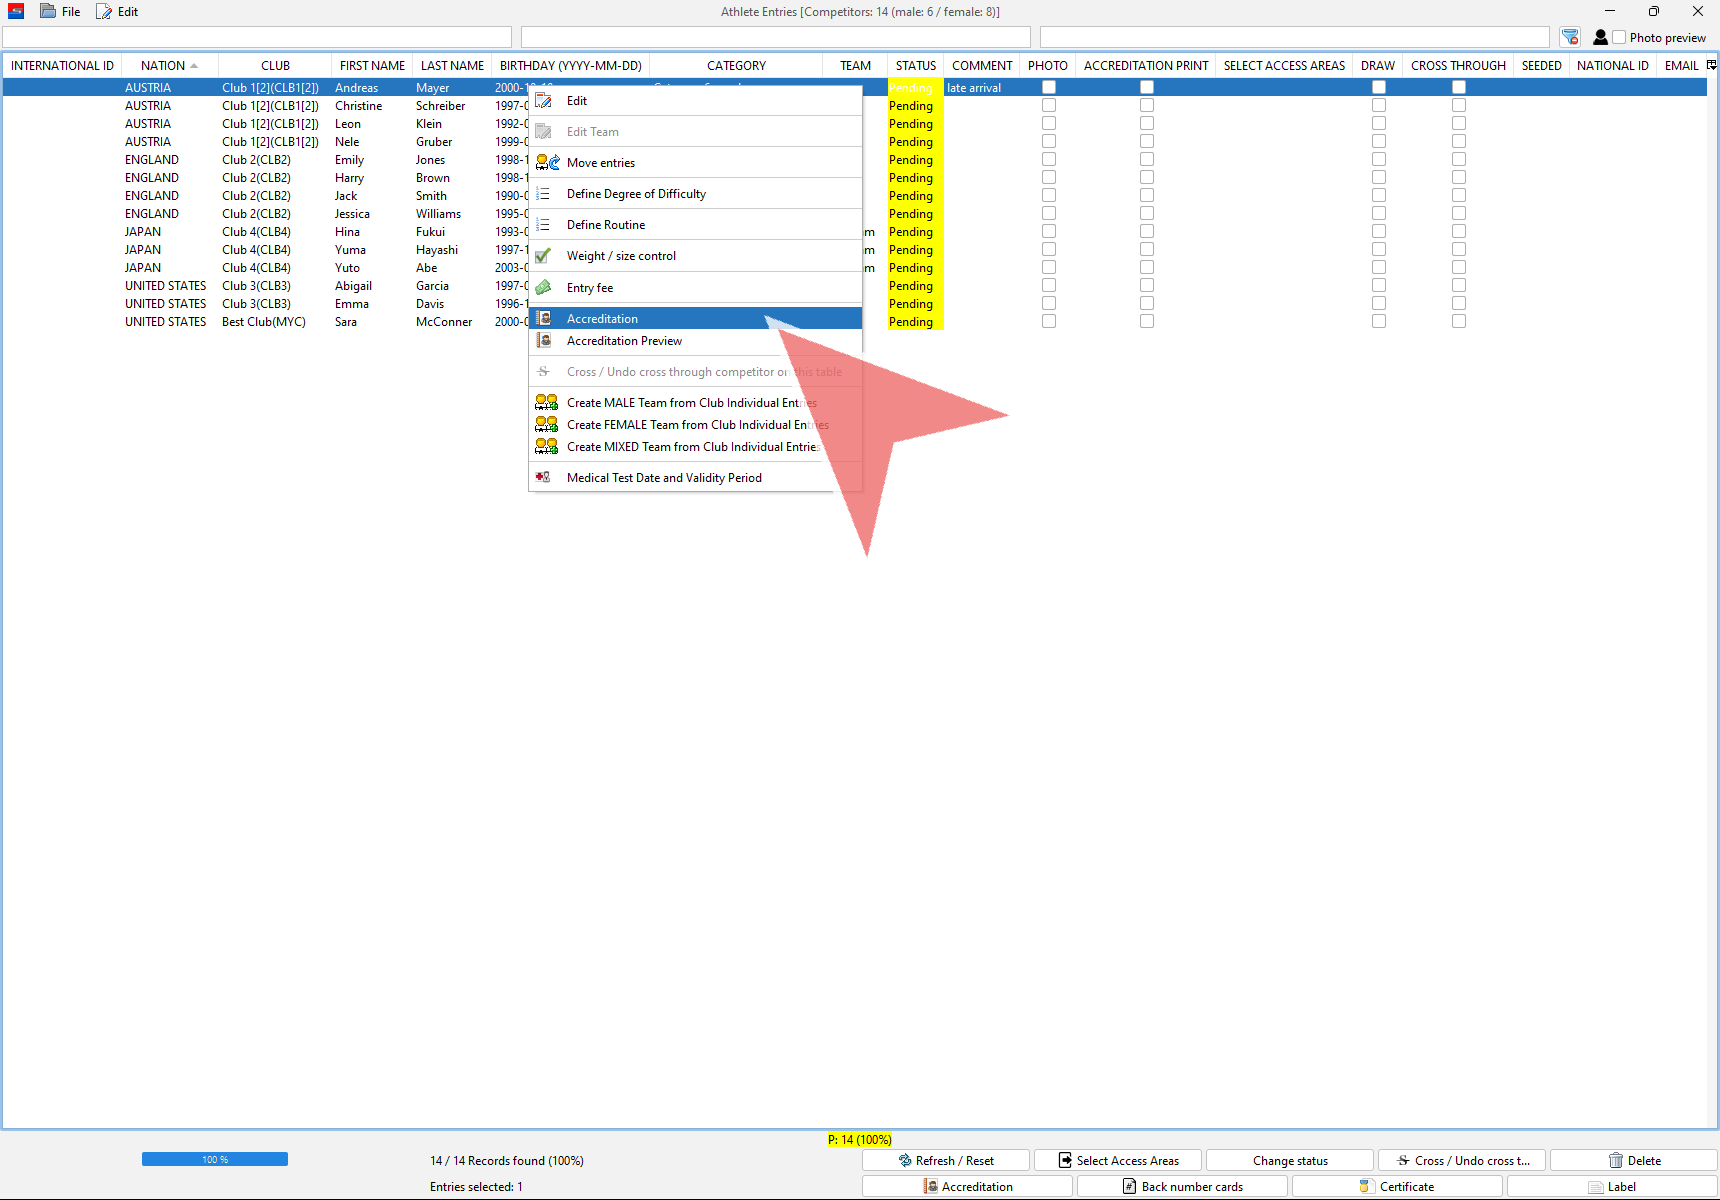
To print the accreditation of an athlete, rightclick on his name in the entry list and select “Accrediation”.
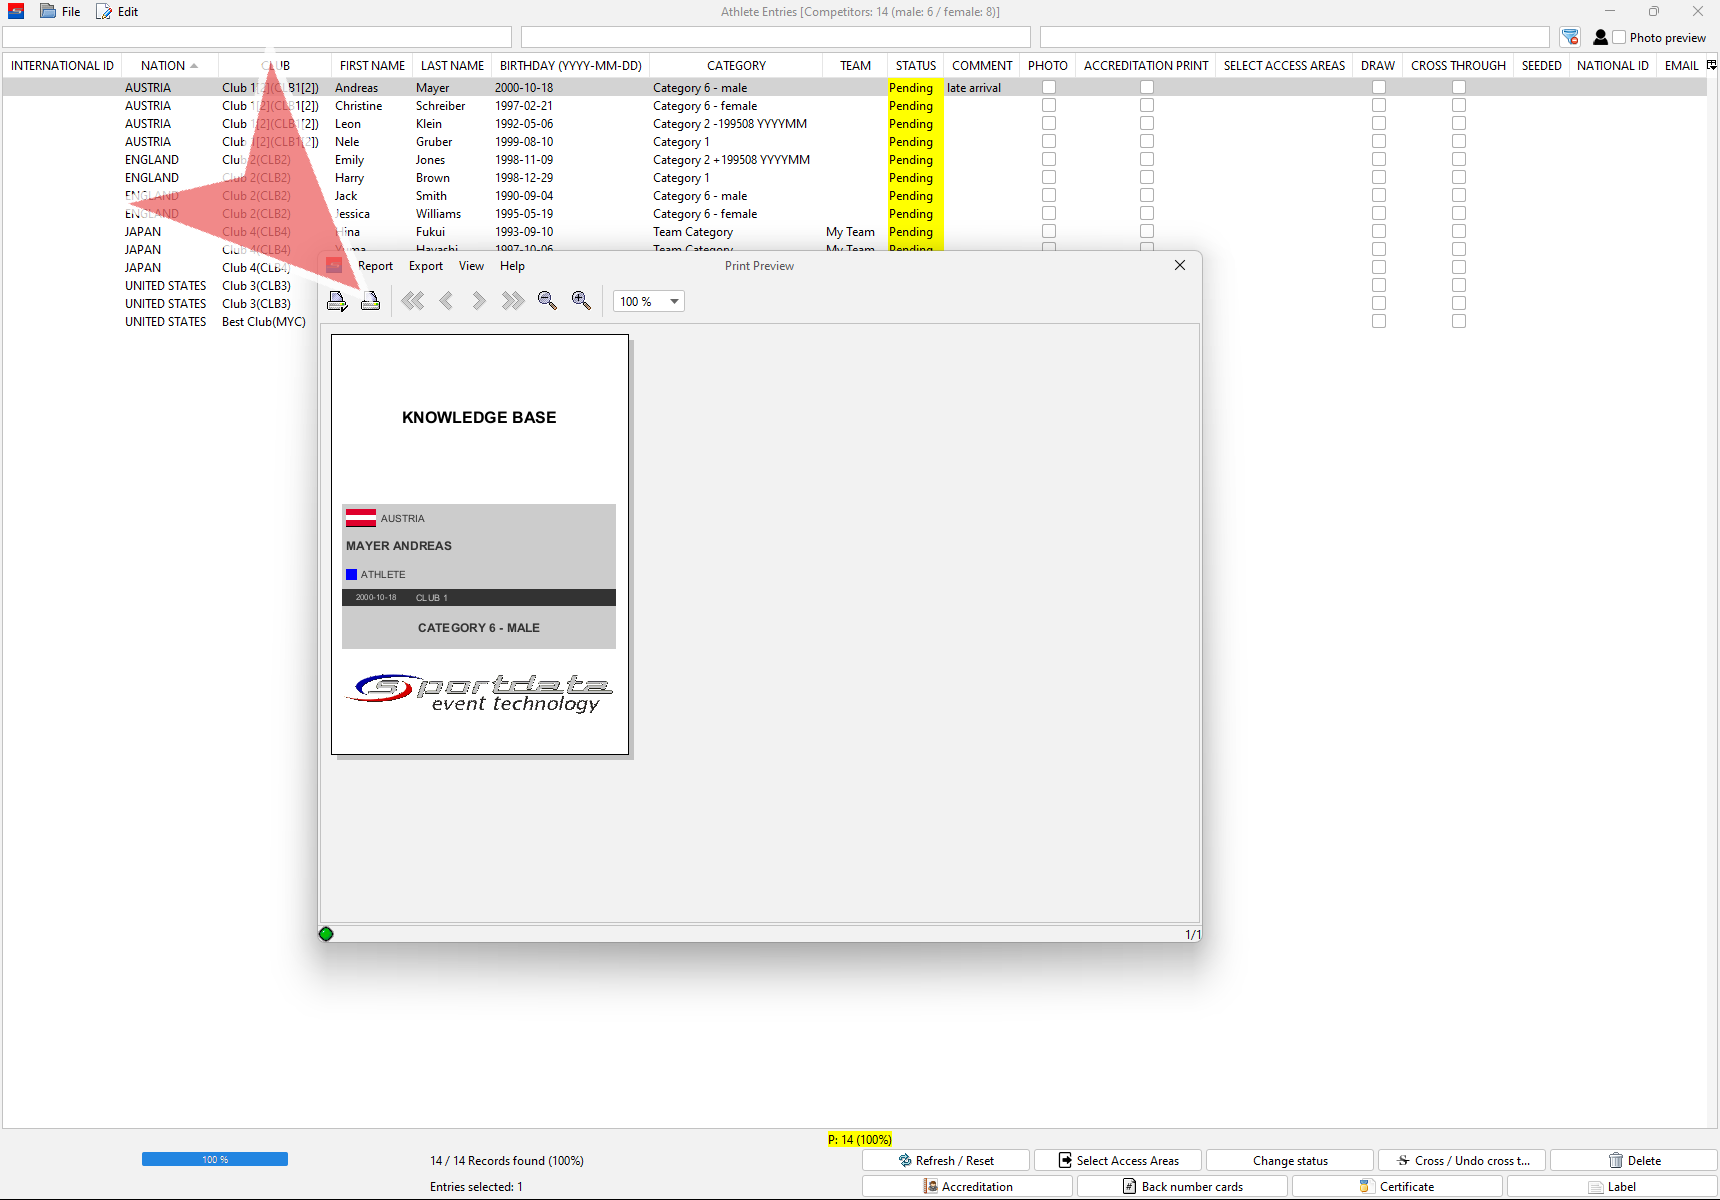
A preview of the accreditation is shown in an extra window from where it can be printed directly.
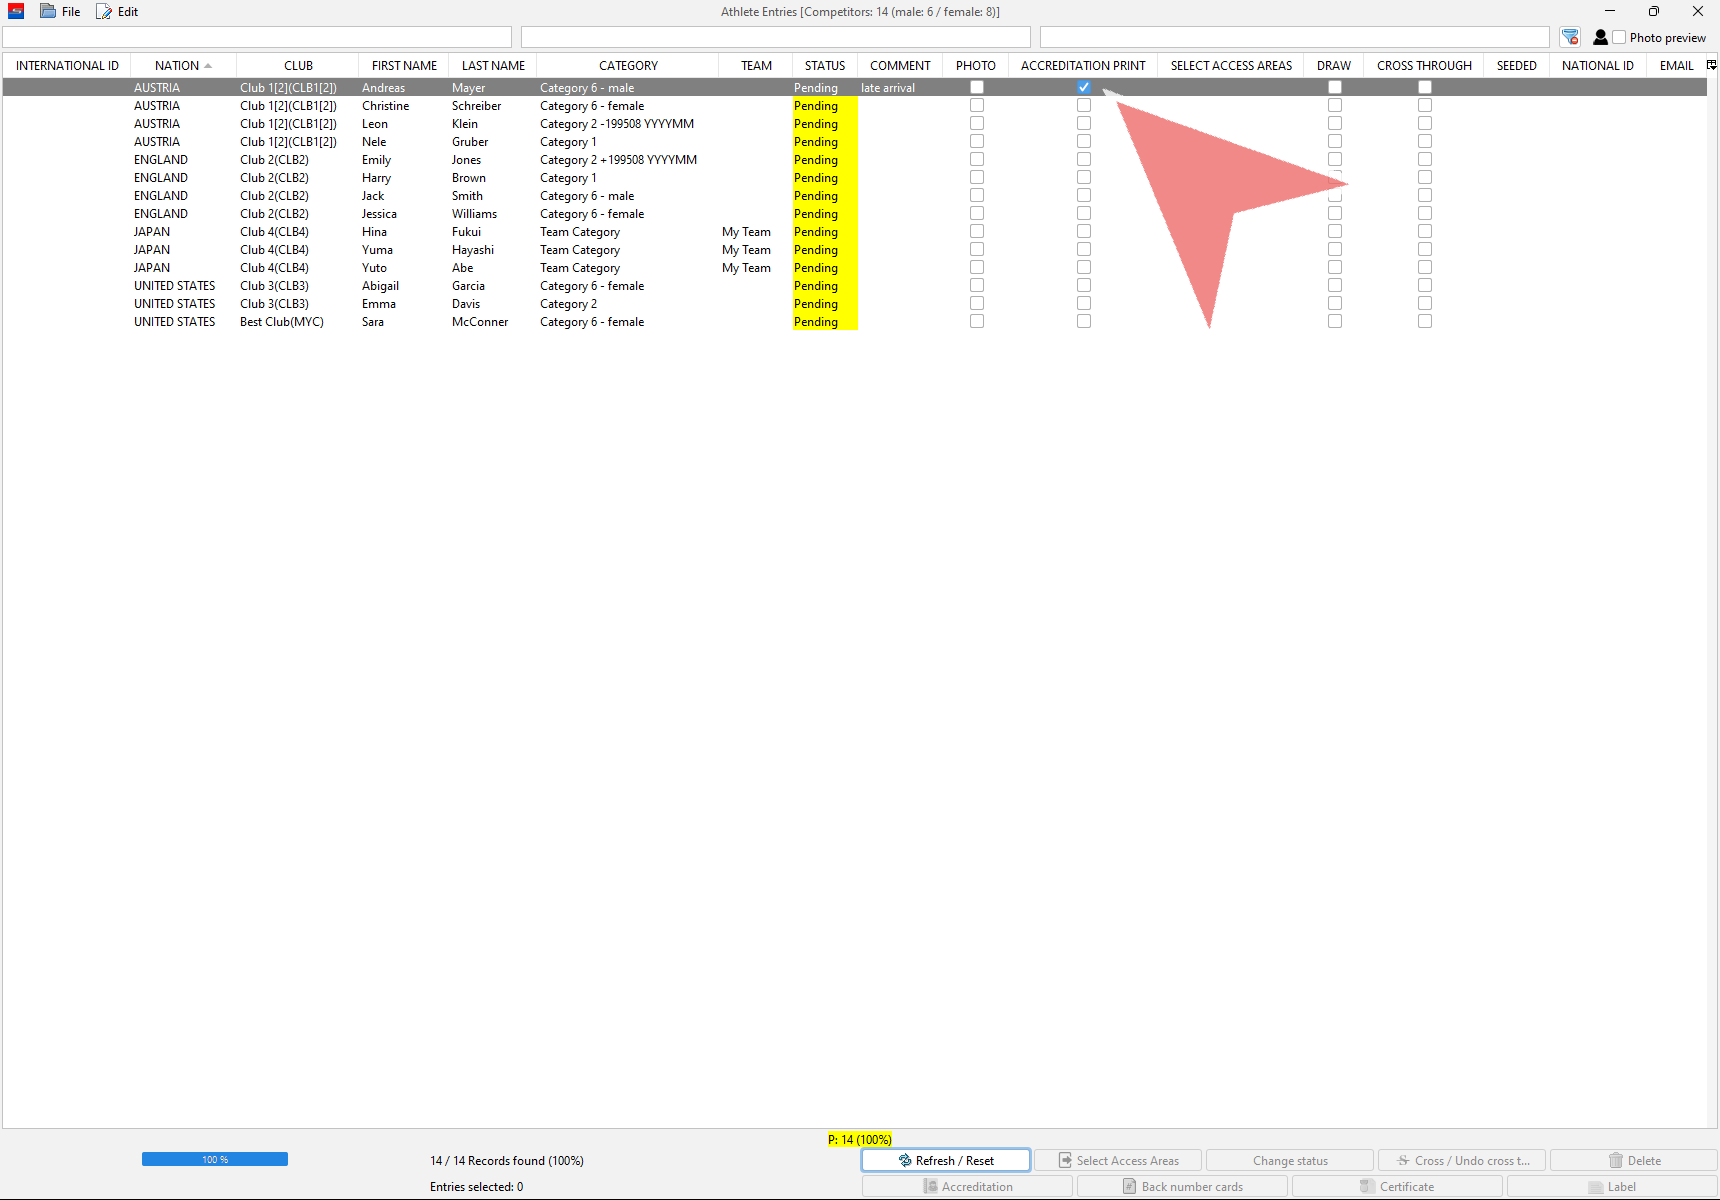
After a refresh (button at the bottom) the accreditation print status will be updated.
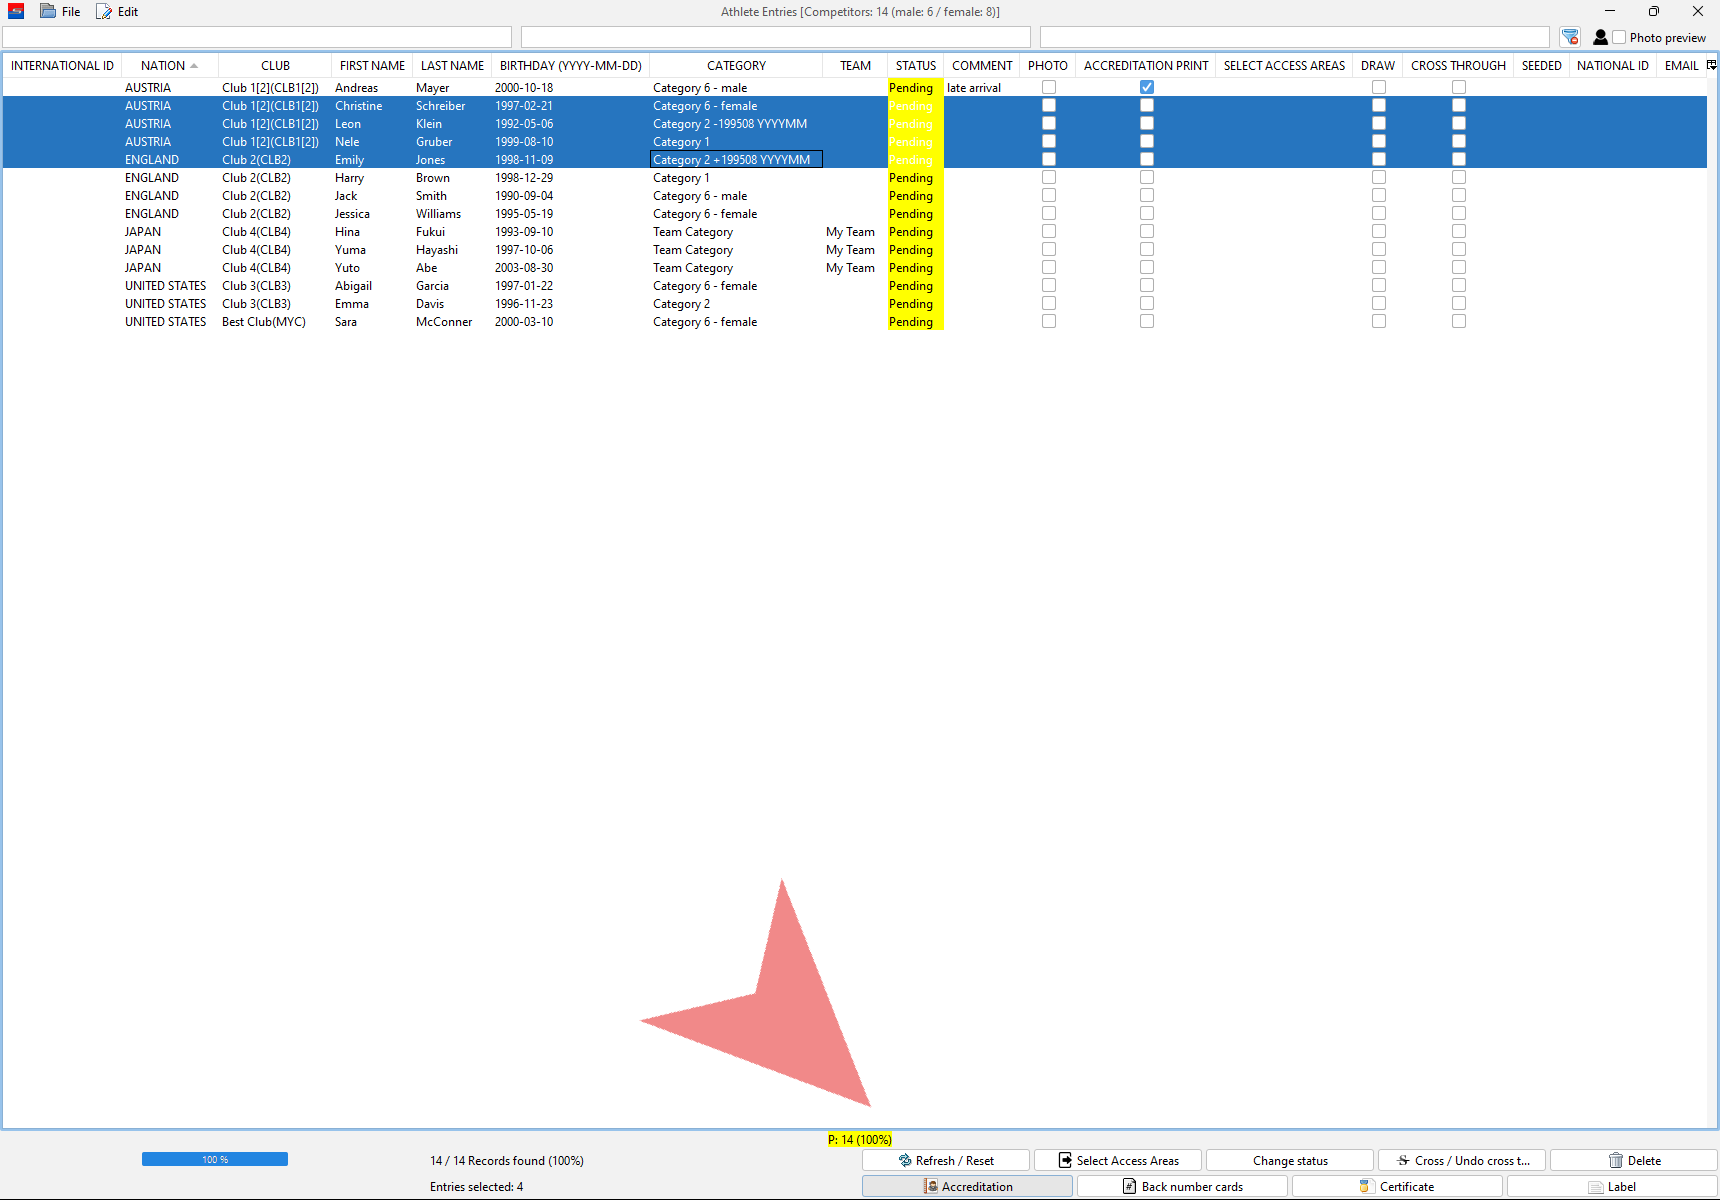
To print multiple accreditations, mark the corresponding entries in the entry list and click on the “Accrediation”-button.
More Options
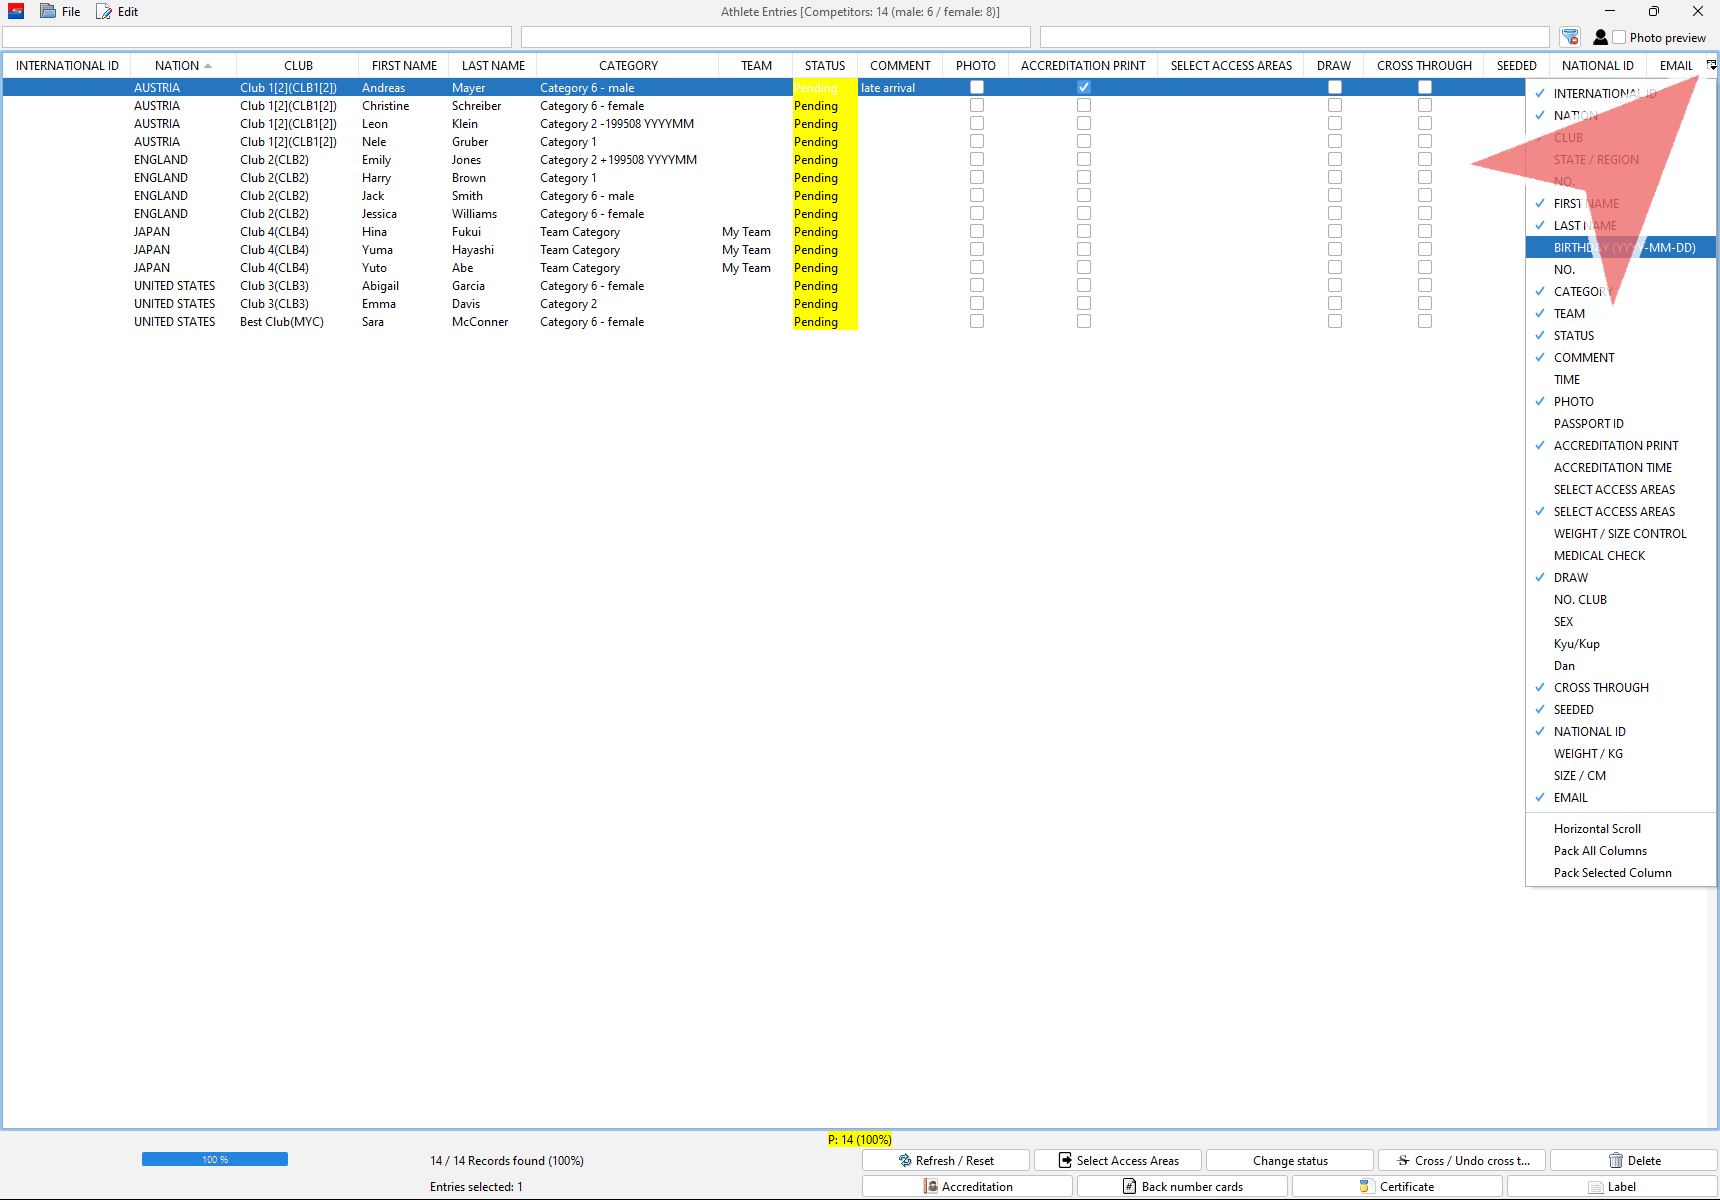
To access more information about the entries, click on the icon in the top right corner. Select and unselect headings to include or exclude the according information in the entry list view.
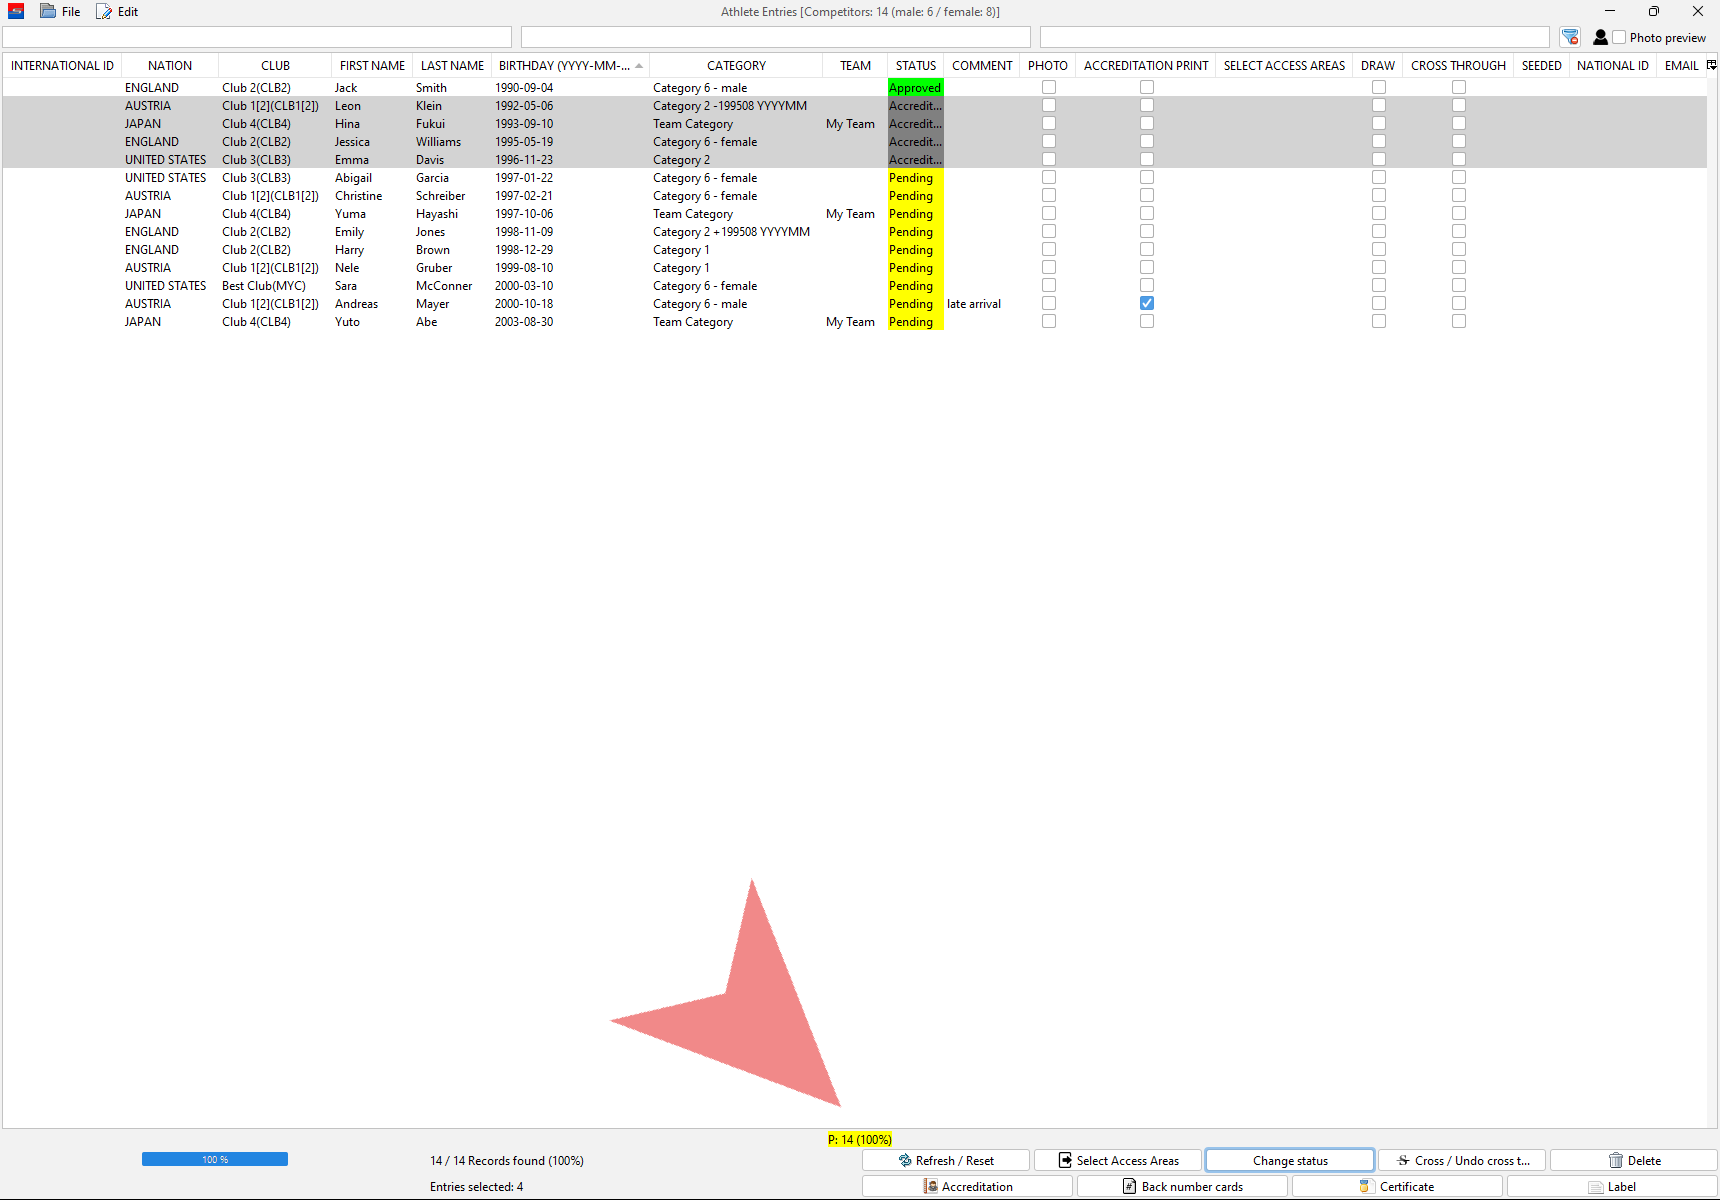
Change status
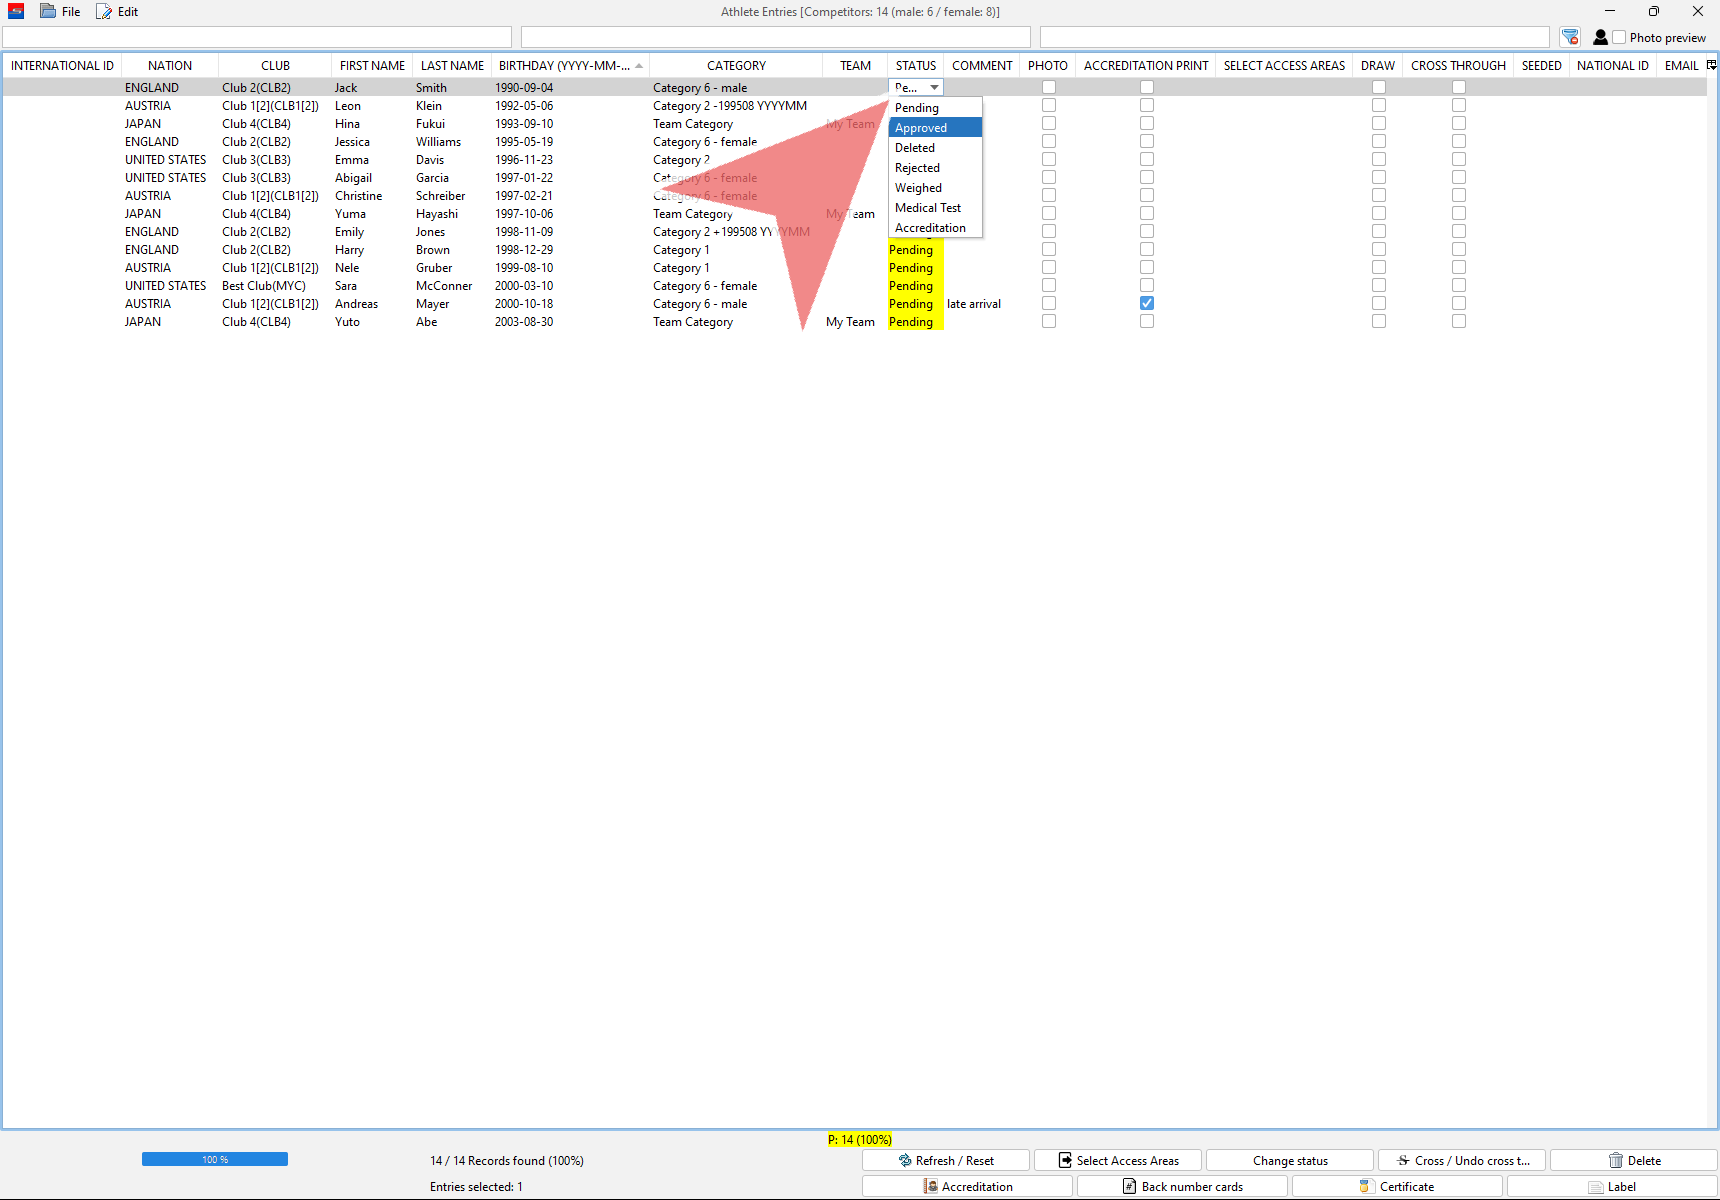
To change the status of an entry, click on the current status and select the desired status.
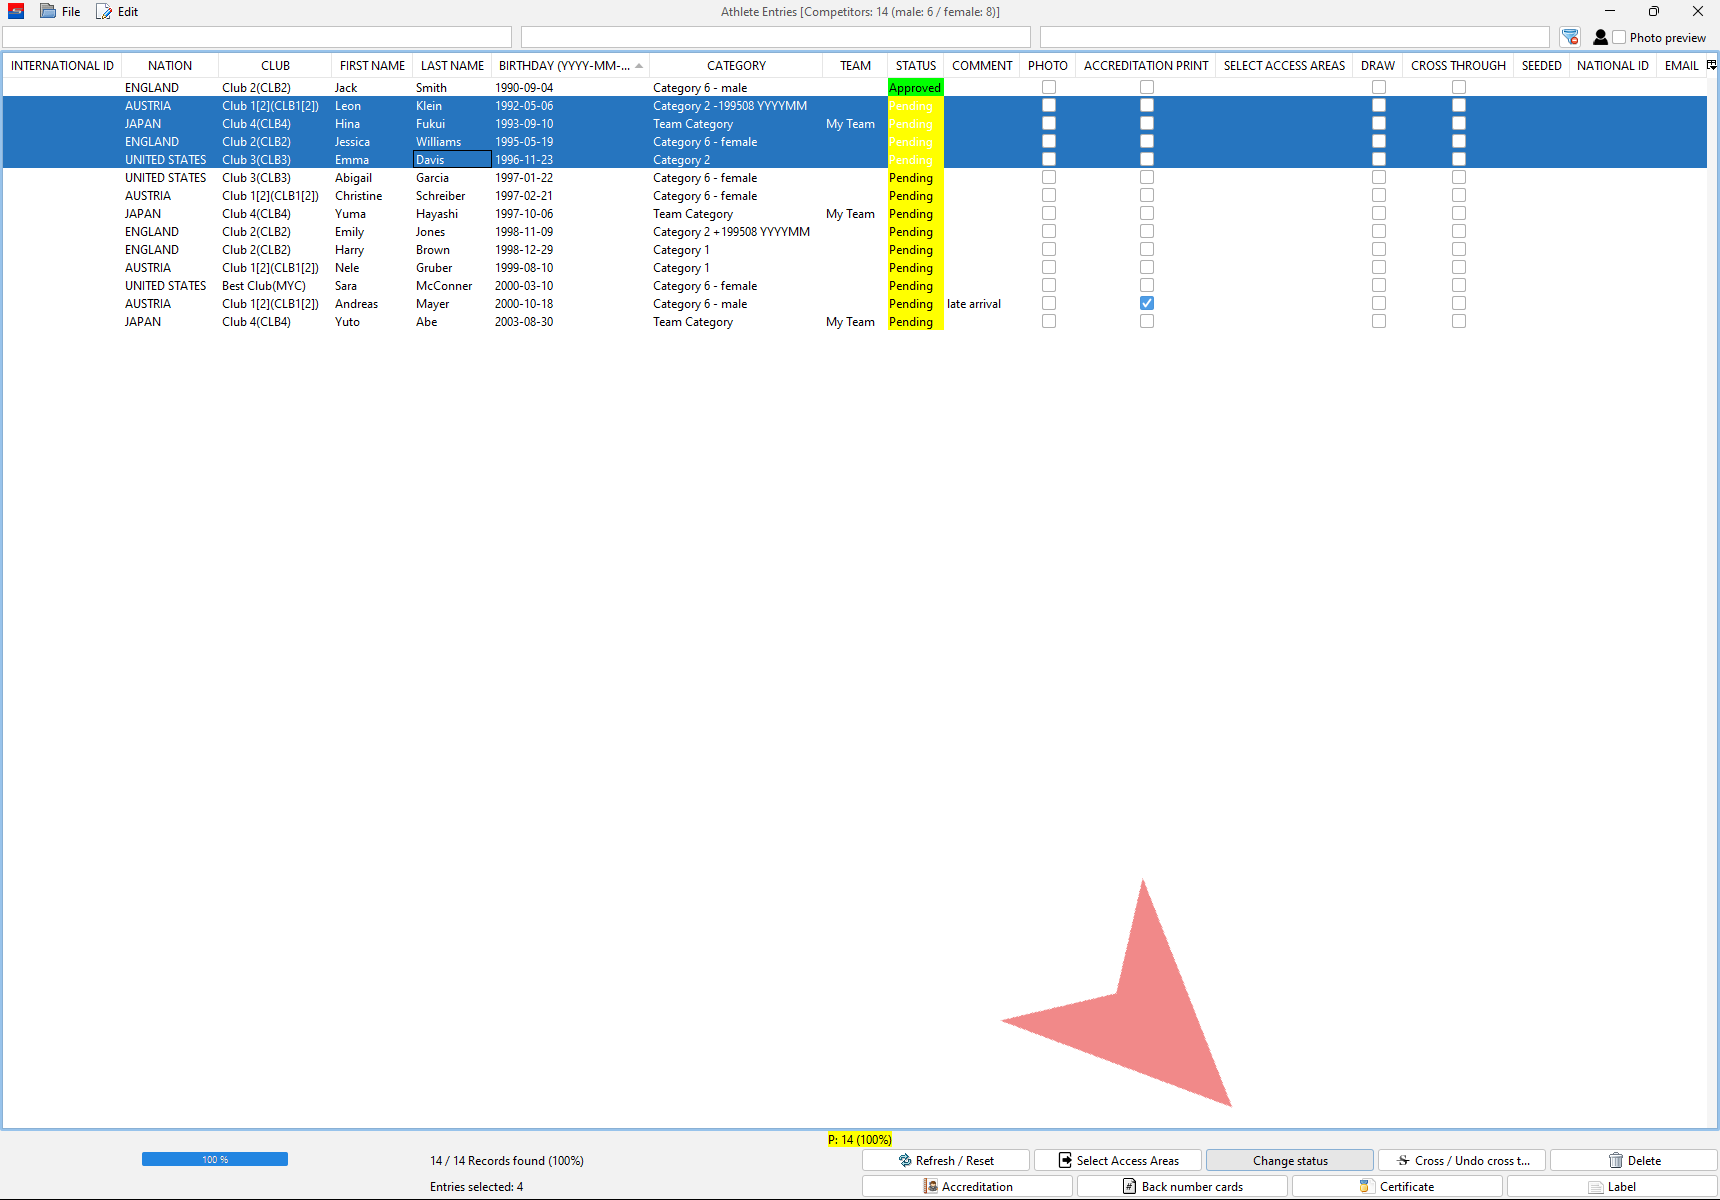
To change the status of multiple entries at the same time, select them with the common shortcuts and click on the button “Change status”.
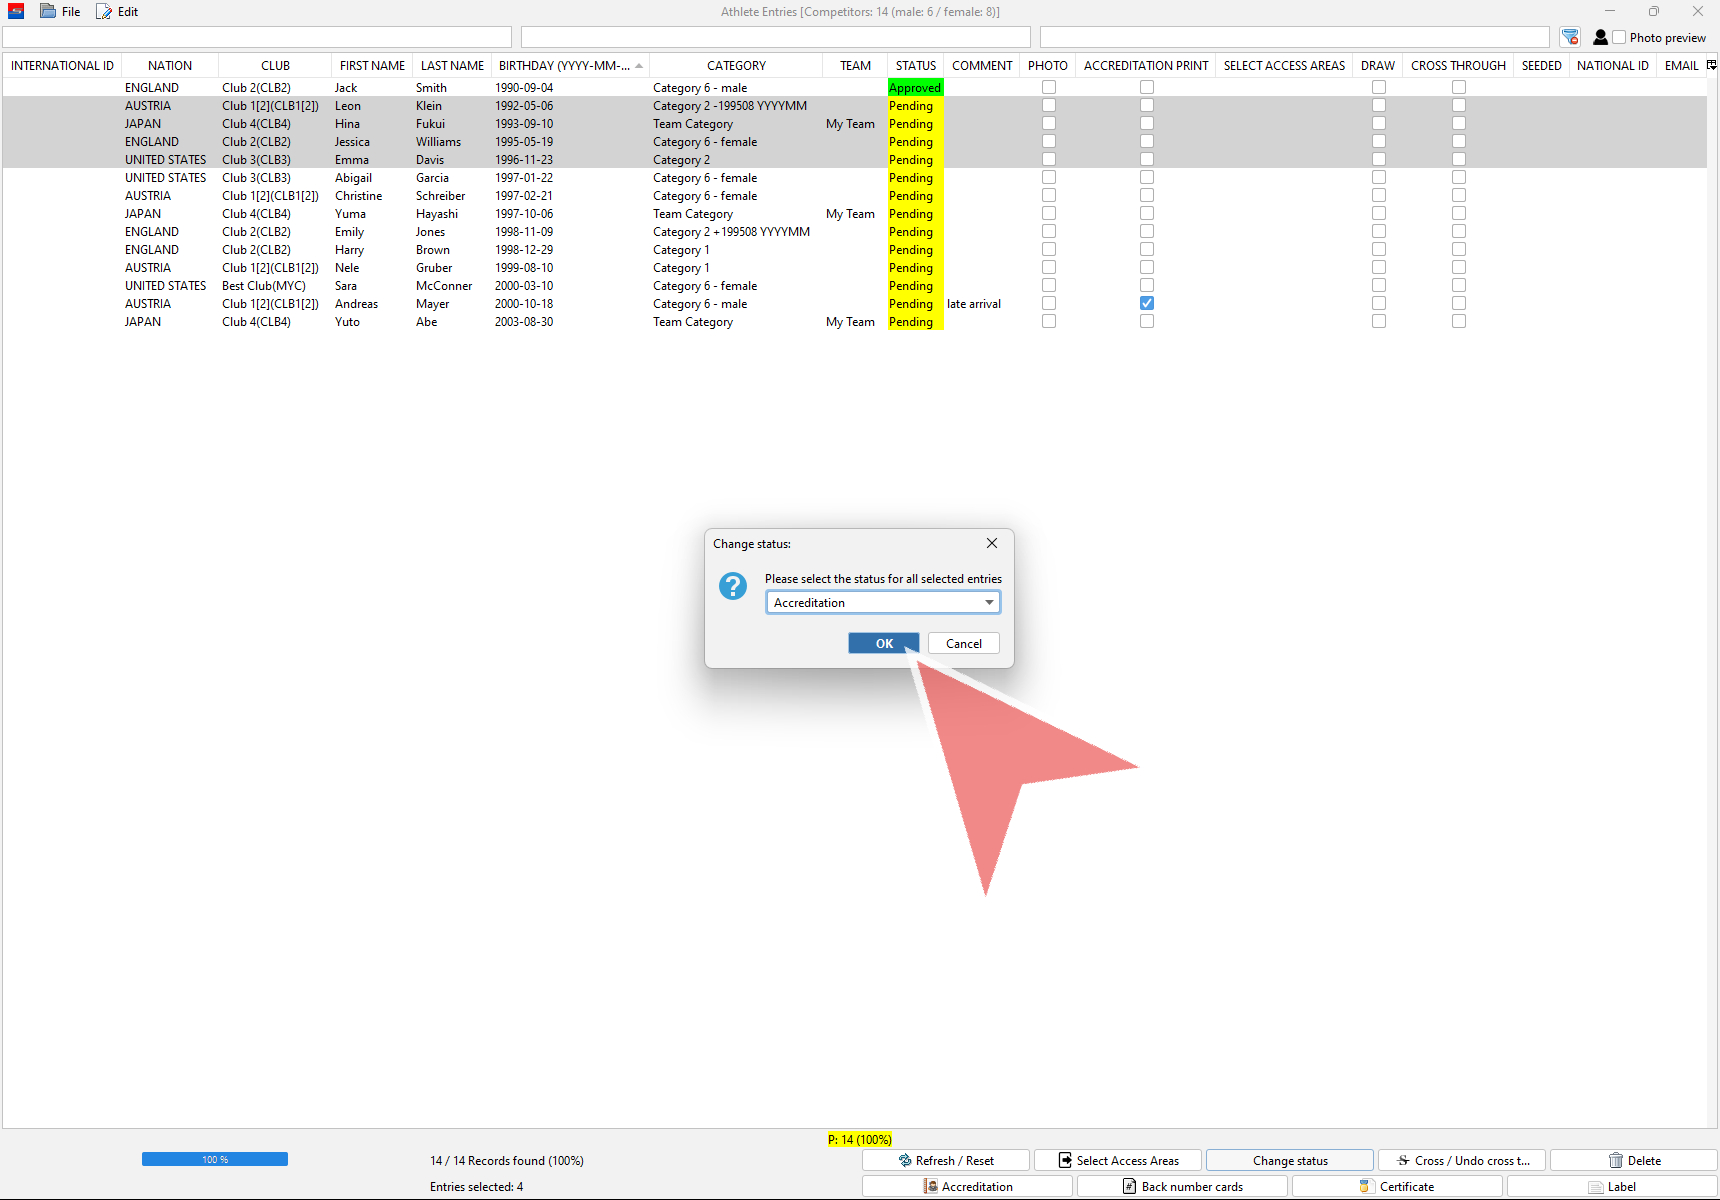
Select the desired status in the drop down menu and confirm the change of the status with OK.
Function buttons
At the bottom are different buttons, which allows you to access certain action for single or multiple entries at the same time, like creating their certificates or selecting access areas. They are descirbed in more detail in the corresponsing articles.